For all the new features that arrived along with Windows 11, there’s an entire changelog of deprecated features that Microsoft decided to let go of. Most features that Microsoft scrapped for Windows 11 won’t be missed by users, but there is one that I miss dearly – the ability to drag a file onto an app in the taskbar menu to open it.
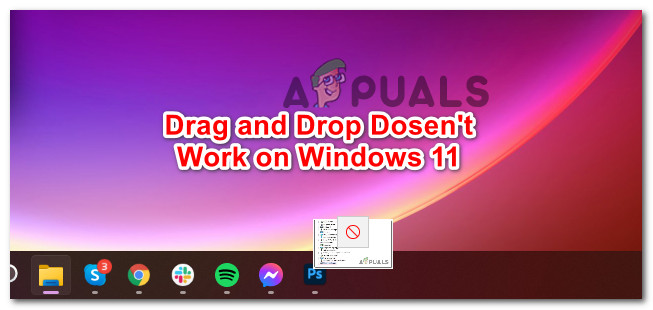
Contrary to what most people believe, this is not a bug or an issue that Microsoft is working to resolve. Windows 11 currently doesn’t come with support for the taskbar drag and drop feature (for now).
Here’s an official response from a Microsoft engineer in regards to this:
“Currently, dragging a file onto an app in the taskbar to open it in that app is not supported in Windows 11, but we appreciate all your feedback, and we’ll continue to use it to help guide the future of features like this.”
Although this comment is pretty clear, it also gives us hope that Microsoft might decide to add this functionality in the future.
But until that day arrives, there are a few workarounds that you can use to revive that taskbar drag and drop feature.
Here’s a list of methods that you can use to get around the fact that Microsoft dropped the taskbar drag and drop functionality o on Windows 11:
- Dragging and dropping via Alt + Tab – This is one of the oldest tricks in the books on the Windows ecosystem. While this method takes a bit of practice (until you build up muscle memory), it’s a great way to save time when having to drag and drop stuff from one place to another.
- Drag and drop between folders – If you mainly used taskbar drag and drop to move files from one folder to another, you can replace your workflow by opening the two folders side by side and simply dragging the file/s from one place to another.
- Use a 3rd party option – Perhaps the most elegant solution of solving this (if you’re not against 3rd party tools) is to install and configure StartAllBack. This is a tool that brings the old functionality back, along with the old taskbar aesthetic present on Windows 10, Windows 8, or Windows 7 (your choice).
- Editing the Registry – There are some Registry edits that you can do in order to force your taskbar to accept dragged and dropped items, but the method has a big drawback. Upon enforcing this registry change, you will be unable to open the Start and Search menus or access Cortana from your taskbar menu any longer. Because of this, we recommend staying away from this method unless you are prepared to accept the drawbacks.
Now that you are familiar with every potential workaround that will allow you to get around the fact that a native taskbar drag and drop feature is missing from Windows 11, follow the guides below for detailed instructions on how to enforce it.
Drag and Drop via Alt + Tab
If you can bring yourself to use the Alt + Tab menu, it’s probably the best way to make up the time lost in your workflow now that the taskbar drag & drop feature has been removed from Windows 11.
This is an ideal workaround for designers and generally people that work with Photoshop, Illustrator, Maya, and the likes. Sure, it’s not as fast as simply dragging and dropping files into your taskbar, but it’s damn close once you build your muscle memory up to the point where you do this without thinking about it.
Follow the instructions below to drag & drop files on Windows 11 using Alt + Tab:
- Click and hold down on the file that you wish to drag and drop, then move it a little to put it in grab mode.
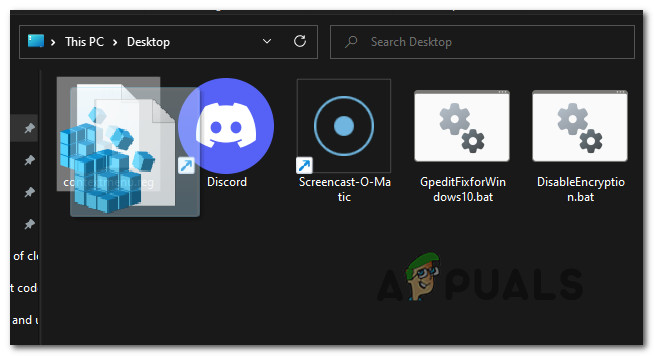
Drag and drop files Note: You can cancel your selection anytime by right-clicking.
- While the file is in grab mode (you’re still holding down the click button) press Alt + Tab to bring up a list with all the available tabs.
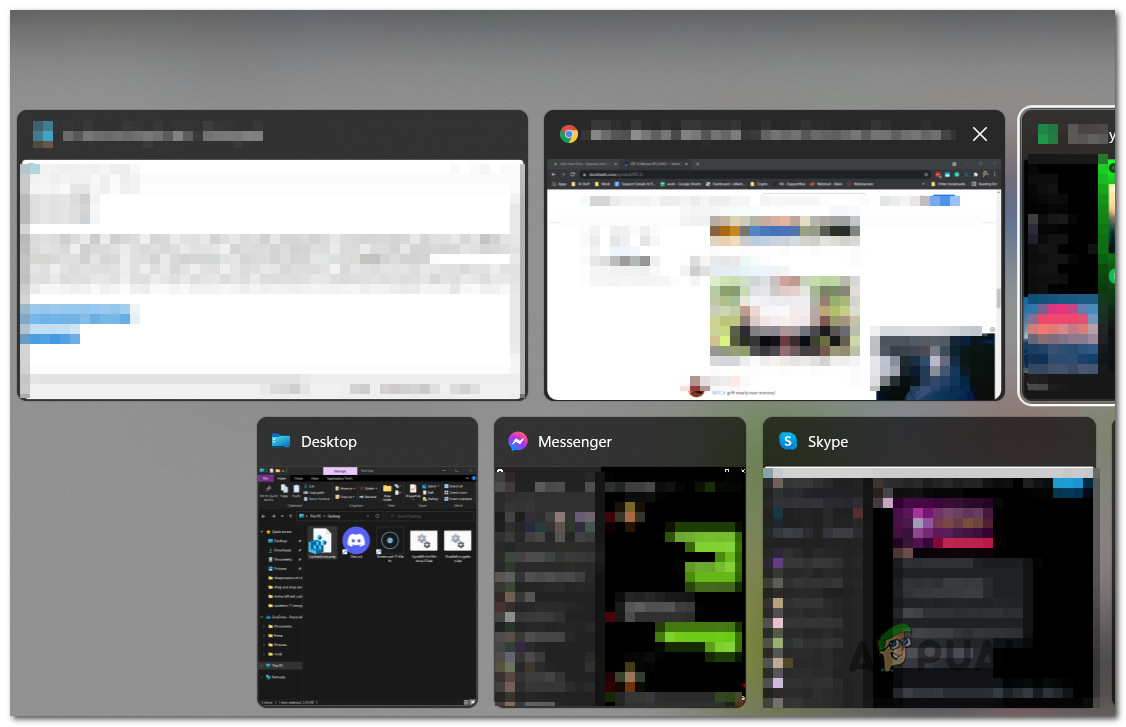
Accessing the Alt + Tab menu - Inside the Alt-Tab menu, keep the Alt key pressed while hitting the Tab key repeatedly to cycle through all the available tabs until you eventually arrive at the desired location where you want to paste the file, then release the tab key too.
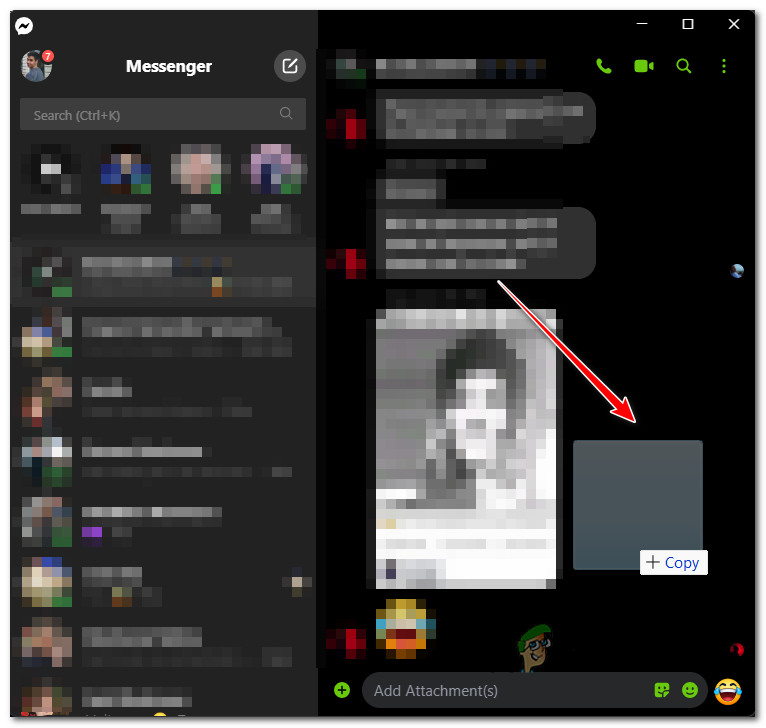
- Once you’re inside the window that you wish to drop the file to, simply move your cursor directly over that window and release the left-click to drop the file there.
Drag and Drop between two Windows or Folders
In case you have a dual setup monitor (but even if you’re not) and most of your chores involve moving files from one location to another, an alternative solution is to put the two windows side by side and drag and drop the files between them.
Again, this is nowhere near as convenient as dragging and dropping directly on your taskbar and considerably slower than the method above, but it’s very suitable for extended displays.
Follow the instructions below to drag and drop between two windows (or folders) on Windows 11:
- Open up the windows (folders or applications) that you wish to use the drag and drop feature on and arrange them side by side.
Note: You can do this with two folders, two applications, or one folder and an app. - On the folder that you wish to drag and drop from, click and hold on the file, then move the cursor to the other window before releasing it to complete the drag and drop operation.

Dragging and dropping the file Note: For some applications, you might be required to confirm the operation in an additional prompt.
Install and configure StartAllBack
If you don’t mind using a third party too, you also have an option to install and configure a third-party tool called StartAllBack to bring back the old functionality.
Unfortunately, there’s a catch – taskbar drag & dropping still won’t work with most applications. Although the developers have announced that they’re working on improving this feature in the future, so far the actual functionality is limiting, to say the least.
If you’re willing to give this method a try, follow the instructions below:
- Open your browser and visit the official download page of Start All Back for Windows 11.
- Once you’re inside the correct download page, click on the Download button to commence the download of the StartAllBack installer.
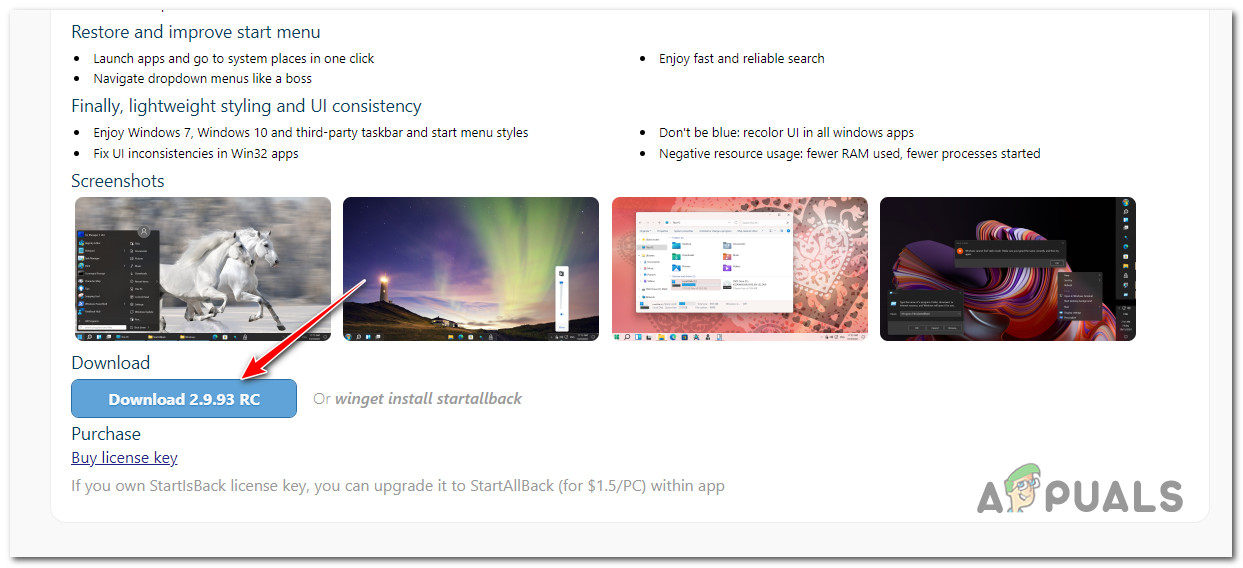
Download the StartAllBack installer Note: As I’m writing this piece, there’s only a Release Candidate version that works well for the most part. But things might change as the developers move towards a final release. If possible, download the most stable version.
- After the download is complete, double-click on the StartAllBack executable that you’ve just downloaded and click Yes at the User Account Control prompt to grant admin access.
- At the first installation screen, click on Install for everyone or on Install for me, depending on if you want to install this tool for your user account alone or for every user that has access to this computer.
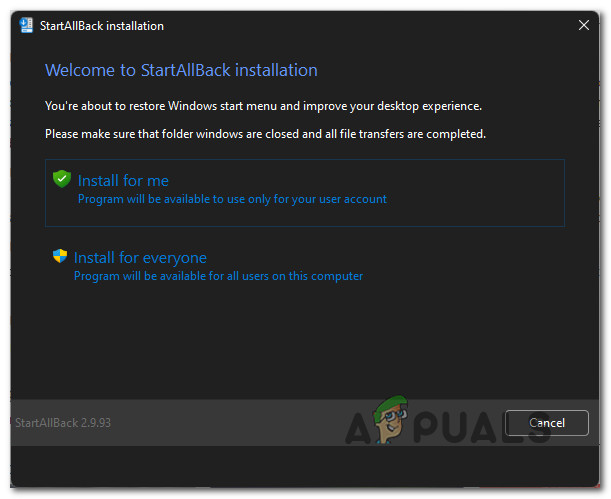
Install the StartAllBlack Note: In order to install to every user, you’ll need to use an administrator account.
- Next, wait until the utility is installed – you will see your taskbar flashing a few times before this functionality is enforced.
- After the installation is complete, you can attempt to drag and drop different types of files to different applications to experiment with what works and what doesn’t.
Edit the Registry
There’s also this workaround that enables you to enable and adjust the drag and drop feature on Windows 11 by using the Registry Editor to create a new Registry value called UndockingDisabled.
IMPORTANT: Unfortunately, there is a big drawback to this method. Upon enforcing this fix, the Start button, the search button, and Cortana will no longer be accessible from your taskbar. You will see the icons but they won’t launch anything when you attempt to click them. However, you will still be able to access them via shortcuts.
As you can see, there’s a BIG drawback associated with this fix. But if you want to enforce it regardless of these unpleasant consequences, follow the instructions below:
- Press Windows key + R to open up a Run dialog box. Next, type ‘Regedit inside the text box and press Ctrl + Shift + Enter to open up the Registry Editor with admin access.

Opening up the Regedit utility - When you’re prompted by the User Account Control, click Yes to grant admin access.
- Once you’re inside the elevated Registry Editor prompt, use the left-hand pane to navigate to the following location:
HKEY_LOCAL_MACHINE\SOFTWARE\Microsoft\Windows\CurrentVersion\Shell \Update\Packages
Note: You can either get to this location manually or you can paste the path directly into the navigation bar and press Enter to get there instantly.
- Next, make sure that the Packages reg key is selected from the menu on the left, then move over to the right-hand side menu.
- Once you’re there, right-click on an empty space and choose NEW > Dword (32-bit) Value from the context menu that just appeared.

Creating a new DWORD value - Next, rename the newly created DWOD value to UndockingDisabled by right-clicking on it and choosing Rename from the context menu.
- Once the registry value has been successfully created and renamed, double-click on UndockingDisabled from the menu on the right.
- Set the Base to Hexadecimal and the Value Data to 1 before clicking on Ok to save the settings.
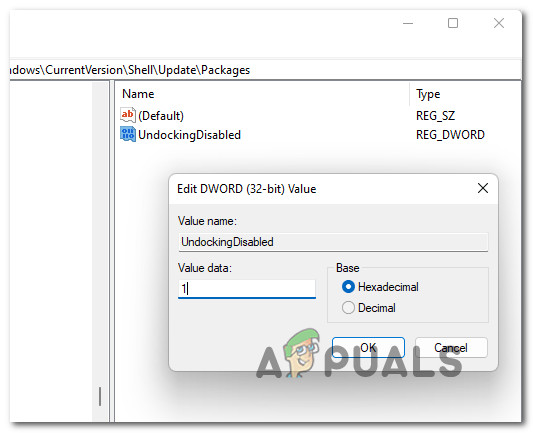
Modifying the value data of UndockingDisabled - Close the elevated Registry Editor window and reboot your PC before seeing if this method has been successful.
Why was the Taskbar Drag & Drop feature removed from Windows 11
There’s a lot of discussion around this subject on the insider Microsoft forum. The general consensus is that Microsoft Engineers decided to remove this feature because the taskbar and most of the other Windows 11 new UI elements are actually Edge WebViews.
This decision is probably in line with Microsoft’s push to make Edge as relevant as possible for their ecosystem (as their marketing says)
Note: If you were around for the Windows 95 days, you might remember Microsoft getting sued for their marketing materials saying that Internet Explorer is tightly integrated with the OS when in actuality, it wasn’t. The decision to go with Edge WebViews for the taskbar and for every window is probably just them learning from their mistakes.
In case none of the methods below seem like workarounds you can get used to, chances are you will get the old taskbar drag & drop functionality back at some point.
Judging from the amount of backlash that Microsoft is getting for removing this feature, there’s a chance that Windows 11 will get this functionality back at some point – when this happens, we’ll be sure to update this article.
The post How to Fix ‘Drag and Drop Not Working’ on Windows 11? appeared first on Appuals.com.


0 Commentaires