Windows 11 brings a slew of new features, some of which have not been well received among users. If you look at the previous iteration, it also had some unwelcome changes such as the Photos app, which replaced the Windows Photo Viewer.

The Photos App isn't bad at all, in fact it comes with a built-in Video Editor, and I think it is quite useful. The main reason why people do not like the Photos app is due to its performance. It is rather sluggish to open, it takes an extra second or two to load, even when you are trying to view images which are just a few KB in size. The interface may appear slightly confusing, if you are coming over from Photo Viewer.
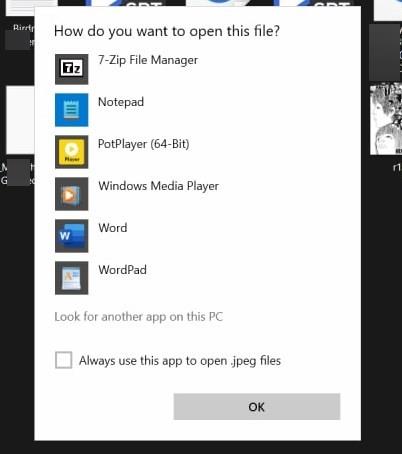
Well, if you like the simplicity of the legacy application, you are probably going to be disappointed to hear that Windows 11 does not include Photo Viewer by default. You can verify this by selecting any image and right-clicking on it. Select the "Open With" menu item and click on "Choose Another App". Click the "More Apps" option and scroll down the list, it will not display Photo Viewer among the choices, because it is hidden by the operating system.
The good news is that you can easily get the program back in Windows 11.
How to restore the Windows Photo Viewer in Windows 11
1. Download this Registry fix to your computer. It is based on the modification created by a user named Edwin at the Tenforums. The procedure remains the same as what we used on Windows 10 earlier.
2. Extract the ZIP file and double-click on the key file.
3. Accept the UAC prompt to allow the entry to be added to the Windows Registry.
This will add the Windows Photo Viewer in Windows 11. If you access the Start Menu, you may be surprised to see that it still won't list the option. The Start Menu won't find the app if you search for it, either. This is why the next step is necessary.
Note: Save your work before proceeding, in order to prevent data loss.
Access the Windows Photo Viewer in Windows 11
1. Press the Ctrl + Shift + Escape hotkey combo, to open the Task Manager.
2. Locate the process for Windows Explorer, and right-click on it. Select the Restart option, and the Taskbar will flash briefly while the process is reloaded. Alternatively, you may choose to restart the computer.
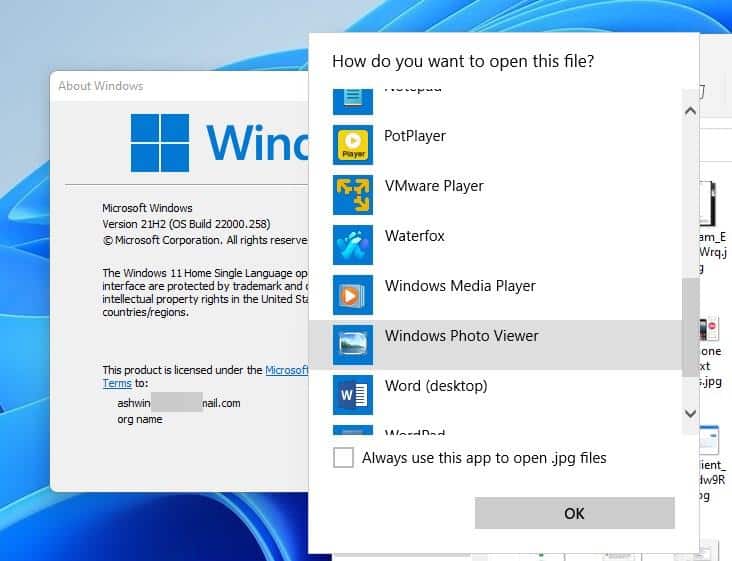
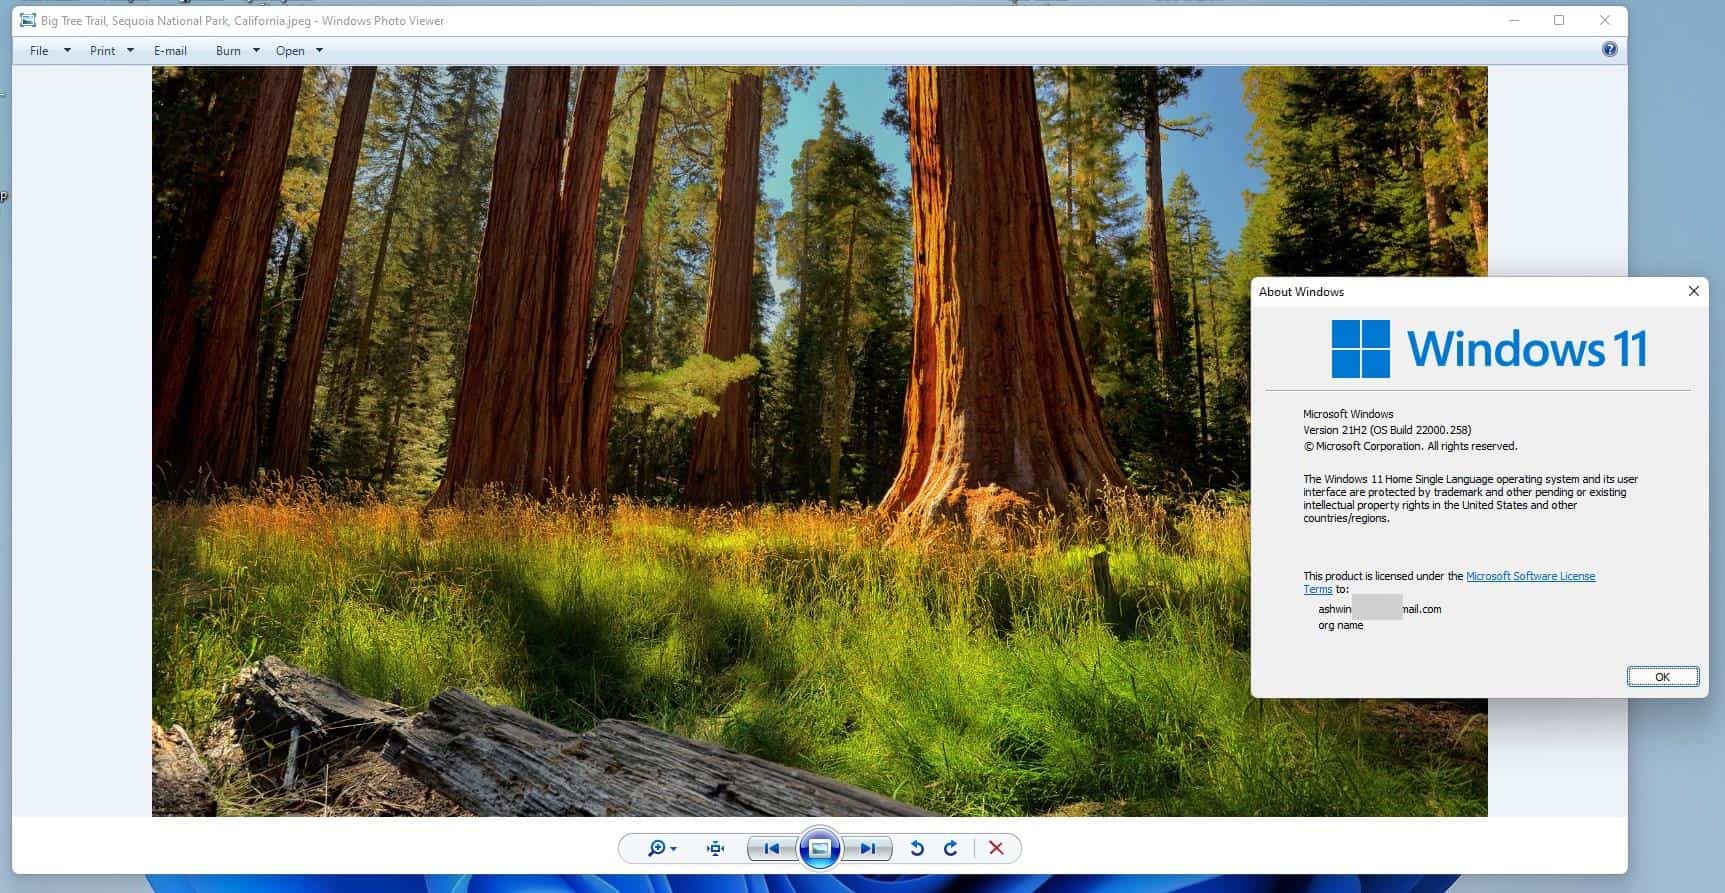
3. Open File Explorer and navigate to a folder that contains some pictures. Right-click on an image, click on "Open With > Choose Another App > More Apps." The Windows Photo Viewer will be listed there, click it to open the image in the classic application.

You may optionally set the program as the default image handler. To do so, just check the box which says "Always use this app to open .[FORMAT] files", where FORMAT is the extension of the image. e.g. PNG, GIF, JPG, etc.

As for the program's features, all options in it work fine. It is a little sad we have to resort to such tricks for accessing the legacy program. Microsoft should make it easier for users to choose the image viewer of their choice, what do you think about this?
Thank you for being a Ghacks reader. The post How to restore the Windows Photo Viewer in Windows 11 appeared first on gHacks Technology News.

0 Commentaires