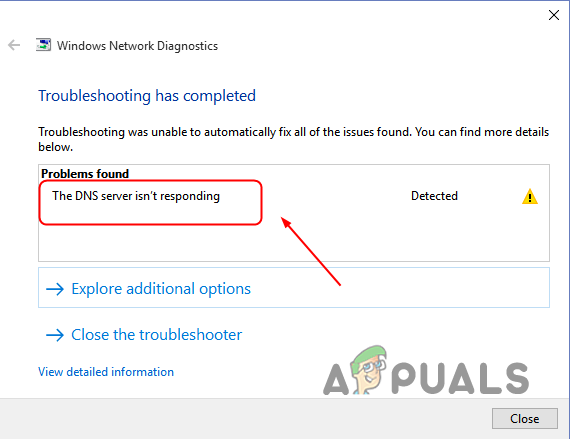
As it turns out, upon trying to run the network troubleshooter, users are shown the “DNS server not responding” error message. The reason this occurs is pretty obvious from the error itself. However, what could cause the DNS server to not respond? To answer that, you will have to take a look into the DNS server that is being used and if there are any reported issues with it at that current state. In this article, we are going to show you how to resolve the error message in question so just follow through.
As it turns out, there are other factors as well that might cause the error message in question as well. In some cases, the problem can arise due to the third-party antivirus software that has been installed on your system, while in others, the issue can be due to the corrupted DNS cache. Before we get started, let us go through the probable causes first so that you establish an understanding of the issue before we mention the different methods that you can use to resolve the issue.
What Causes “The DNS Server isn’t responding” Error?
- DNS Server Down — The first reason that the problem in question may occur is when your current DNS server is down and thus cannot be reached. In such a scenario, you can simply change your DNS server to resolve the issue.
- DNS Cache — In some cases, the error message mentioned can also arise due to damaged or corrupted DNS cache on your system. If this case is applicable, you will have to simply clear it out to fix the problem.
- Third-Party Interference — Finally, the problem can also come up when a third-party application is interfering with it. It has been widely reported that antivirus software is a big example of this. In such a scenario, you will have to close out the problematic program to circumvent the error.
Now that we have gone through the possible list of causes, let us get started with the different methods that you can use to resolve the issue in question. So, without further ado, let us jump right into it.
Use default DNS Server
The first thing that you should do when you encounter the problem in question is to check your network settings and make sure that you are using your default DNS server. The default DNS server that is used on your system is managed by your ISP. As such, any chances of issues with the DNS server are easily propagated by the ISP so that the customers do not face any trouble.
In case you are using a third-party DNS server, you should revert to your default DNS server and see if that fixes the problem. Follow the instructions given down below:
- First of all, open up the Control Panel on your system.

Opening up Control Panel - On the Control Panel window, navigate to Network and Internet.

Control Panel - There, click on the Network and Sharing Center option provided.

Network and Internet Settings - Now, in front of Connections, click on the link provided.

Network Sharing Center - On the window that opens up, click the Properties button.

Ethernet Status - After doing that, double-click on the Internet Protocol Version 4 (TCP/IPv4) option.

Ethernet Properties - On the follow-up window, make sure the Obtain DNS server address automatically option is selected. Then, click OK.

Using Default DNS Server - Do the same for Internet Protocol Version 6 (TCP/IPv6) as well.
- After doing that, go ahead and restart your system.
- Once your PC boots up, see if the problem is still there.
Clear DNS Cache
As it turns out, in some cases the problem mentioned above can also originate due to corruption or damage to the DNS cache. When this happens, you will have to flush out the DNS cache and then register the DNS again on your system to resolve the issue. To do this, follow the instructions given down below:
- First of all, open up the Start Menu and search for the command prompt. Right-click on the result shown and from the drop-down menu, choose the Run as administrator option.

Opening up Command Prompt as Admin - Once the command prompt window is open, type in the following commands one by one:
ipconfig /flushdns
ipconfig /registerdns
ipconfig /release
ipconfig /renew
Flushing DNS - After doing that, go ahead and restart your computer.
- Once your PC boots up, see if the problem persists.
Change DNS Server
Another way that you can resolve the error message in question is by changing your DNS server. As it turns out, the problem is being caused because the current DNS is unreachable. As such, you can rectify this by changing your DNS server to a different third-party DNS server from Google or Cloudflare. This is pretty easy to do, simply follow the instructions down below:
- First of all, right-click on the network icon on your taskbar and choose the Network and Internet settings option provided.

Opening up Network Settings - On the Settings window, click on the Advanced network settings option.

Network Settings - Then, follow it up by clicking More network adapter options.

Advanced Network Settings - On the window that pops up, right-click on your network adapter, and from the drop-down menu, choose the Properties option.
- Double click on the Internet Protocol Version 4 (TCP/IPv4) option.
Ethernet Properties - At the bottom, choose the Use the following DNS server addresses option.
- After that, provide the following DNS servers respectively. You can either go with Google or Cloudflare.
Google:
8.8.8.8
8.8.4.4
Cloudflare:
1.1.1.1
1.0.0.1

Changing DNS Server - With that done, click the OK button and restart your computer.
- Once your PC boots up, see if the problem is still there.
Reset Network
The problem at hand is likely occurring due to some issue in your network settings. In such a case, what you can do is reset your network settings that will redo your network setup on your system. As such, if any wrong configuration was causing the issue, it will be rectified. To do this, follow the below instructions:
- To start, open up the Settings window by pressing Windows key + I on your keyboard.

Windows Settings - On the Settings window, click on the Network and Internet option provided.
- Once you are there, click the Advanced network settings option.
Network Settings - There, click on the Network reset option.
Advanced Network Settings - Finally, click the Reset now button to reset your network settings.

Resetting Network - Once that has been done, check if the problem is still occurring.
Perform Clean Boot
Finally, if none of the methods have fixed the problem for you, then the error message is probably being caused by the interference of a third-party application on your system. Usually, this can be associated with the antivirus software that is installed on your system. However, very rarely, there can be cases where another app might as well result in the issue.
As such, you can perform a clean boot to see if the third-party programs are indeed the culprit. A clean boot starts up your system with only the required services running in the background. If the problem goes away once you perform a clean boot, it will be evident that the issue is due to a third-party app. In such a case, you can enable the services again to find out the culprit. We would recommend starting with your third-party antivirus program. Follow the instructions given down below to perform a clean boot:
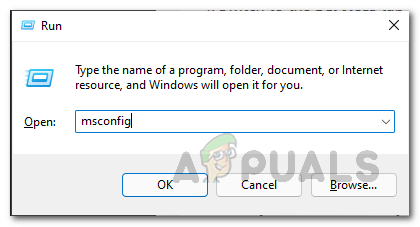
- First of all, open up the Run dialog box by pressing Windows key + R.
- Then, in the Run dialog box, type in msconfig and hit the Enter key.
Opening up System Configuration - On the System Configuration window, switch to the Services tab.
- Once you are there, click on the Hide all Microsoft services check box provided.

Hiding Microsoft Services - After that, click on the Disable all button and then hit Apply.

Disabling Third-Party Services - Then, switch to the Startup tab and click on the Open Task Manager option.

Opening up Task Manager - On the Task Manager window, click on the apps individually and then click the Disable button provided.

Disabling Third-Party Apps - After doing that, go ahead and restart your computer.
- See if the problem is still there once your PC performs a clean boot.
The post FIX: DNS Server Not Responding appeared first on Appuals.com.


0 Commentaires