The Windows update error code 0x80240438 pops up when an update fails to install in Windows 10 or 11. The code states ‘There were some problems installing the updates, but we’ll try later. Upon retrying, the error pops up again.
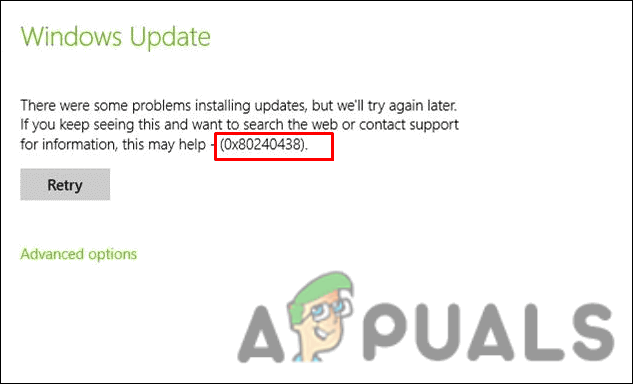
Let’s have a look at the troubleshooting methods that can help fix the problem once and for all.
1. Disable Windows Firewall
Update error 0x80240438 typically occur when the security programs in the system block the updates, considering them a threat falsely.
This issue can occur with both the Windows Firewall and third-party antivirus solutions. In any case, the only solution is to disable the security program temporarily and then install the update. We highly recommend returning the security program, as not doing so will expose your system to several threats.
Here is how you can disable Windows Firewall:
- Press Win + I to open the Settings app.
- Choose Privacy & security from the left pane.
- Head to the right side of the window and navigate to Windows Security > Firewall & network protection.
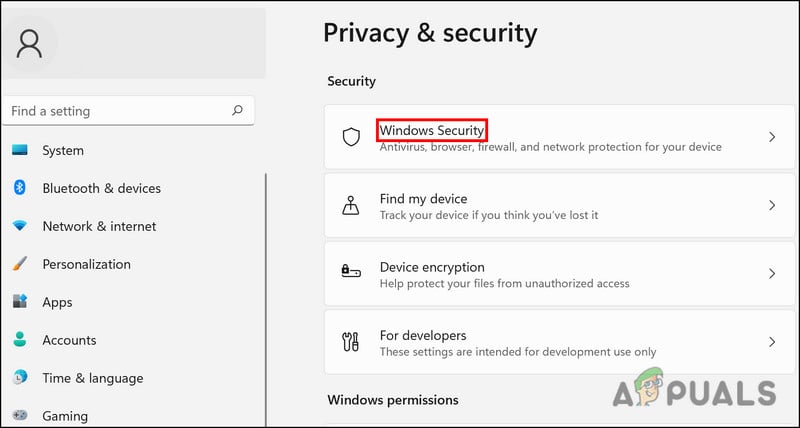
Access the Windows security settings - Choose your network profile from (Domain network, Private network, and Public network).
- Head to the Microsoft Defender Firewall section and disable the toggle.
- Once done, close the window and try installing the update again.
If you are using a third-party solution, you can simply click on its icon in the taskbar. Choose Disable > Disable until the next restart. After this is done, head over to the Settings app and install the update it again.
2. Run the Update Troubleshooter
The Update Troubleshooter can also help you fix errors while downloading and installing Windows updates. Microsoft developed it specifically to identify, resolve, and identify potential problems within the system that may cause the problem.
Here is how you can run the update troubleshooter:
- Press Win + I keys together to open Windows Settings.
- Choose System from the left pane.
- Select Troubleshoot > Other troubleshooters.
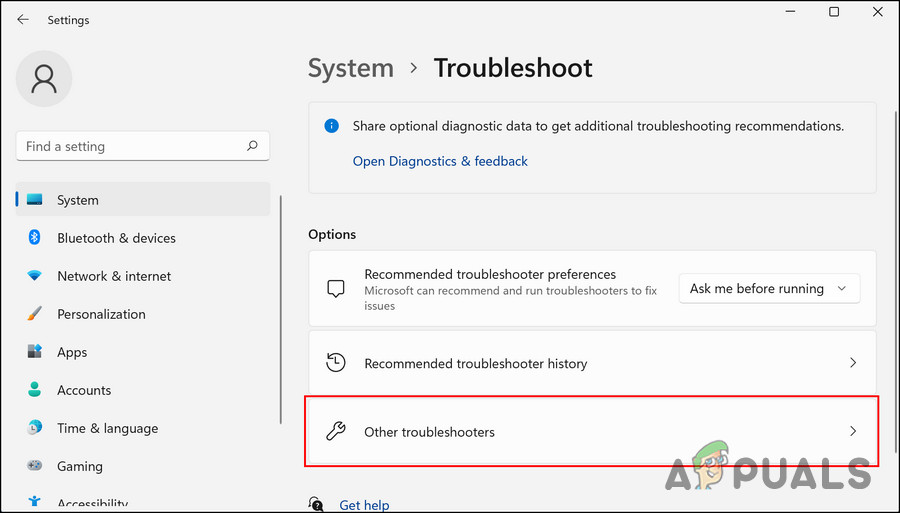
- The Windows Update troubleshooter will appear in the following window. Click on the Run button for it, and it will begin to work.
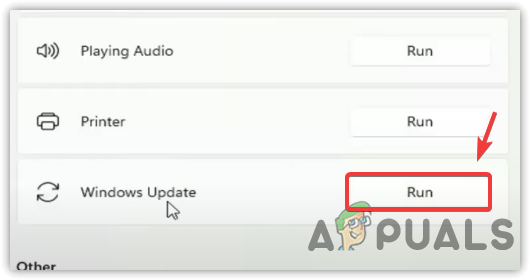
Running Windows Update Troubleshooter - Wait for the troubleshooter to scan for errors. If it finds any issues, it will notify you, and you can then click on Apply this fix to apply the recommended solution.
- If the troubleshooter fails to identify the problem, click on Close the troubleshooter and proceed to the next method.
3. Install the Update Manually
If you cannot install the updates using the Settings app, you can also do it manually using the Microsoft update catalogue. The Microsoft Update Service provides a list of updates launched. You can find Microsoft software updates, drivers, and hotfixes in one place.
Here is all you need to do:
- Launch your browser and navigate to the Microsoft update catalogue.
- Using the search box at the top of the screen, enter the KB number of the targeted update.
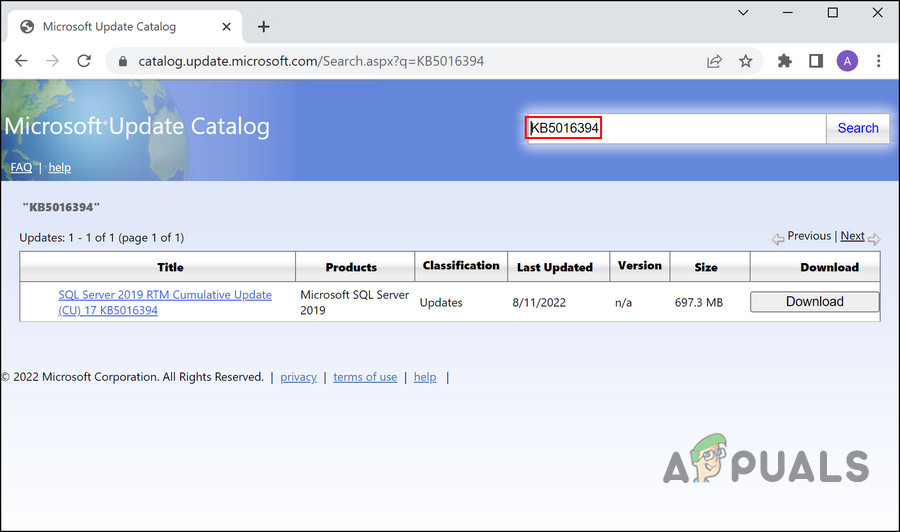
Search the KB number of the update - You should now be able to view a list of appropriate options in the catalog. Click on the Download button for the right update for your device.

Downloading Windows update From Microsoft Catalog - After the update is downloaded, click on it to Install it.
- Follow the on-screen instructions to complete the installation process.
4. Run System Scans
In the case of corruption errors or viruses, the built-in Microsoft-developed utilities may be able to solve the problem.
We will use System File Checker (SFC) and DISM (Deployment Image Servicing and Management) in this situation. The SFC utility will scan the protected system files for potential issues. If any of the files are corrupt, it will replace them with their healthy counterpart.
DISM, on the other hand, is a more powerful tool than SFC and is mainly responsible for repairing a corrupt system image.
Here is how you can run the SFC and DISM utilities:
- Press cmd in the search area of the taskbar and click on Run as administrator.
- In the Command Prompt window, execute the following command:
sfc /scannow
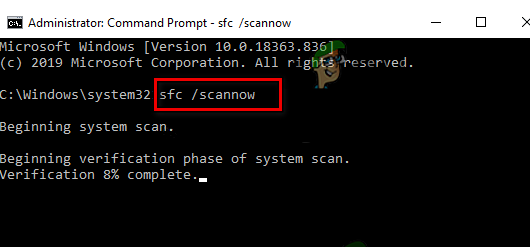
Deploy an SFC scan - Following the execution of the SFC command, execute the DISM command:
DISM /online /cleanup-image /restorehealth
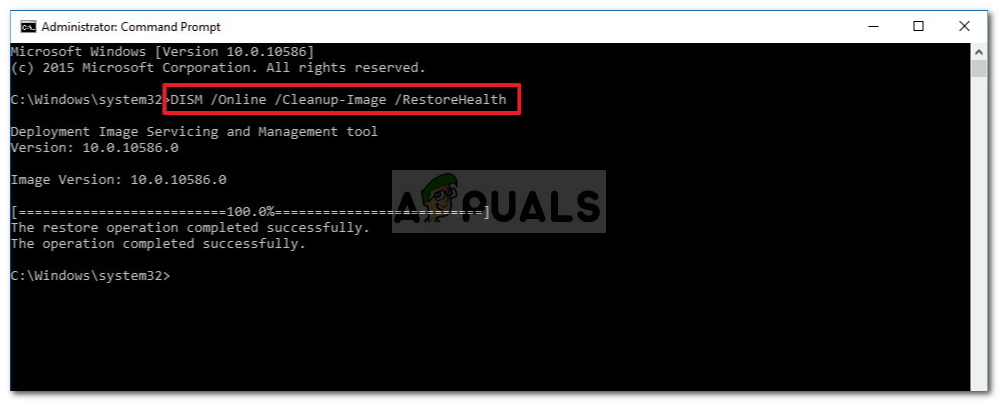
Restoring System Files
Once the command is executed, try to install the targeted update again.
5. Disable IPV6
Users were also able to fix the issue by disabling Internet Protocol Version 6.
IPv6 (Internet Protocol version 6) is the sixth revision of the Internet Protocol and it replaces IPv4. It provides unique IP addresses for devices that connect to the Internet. It can sometimes cause issues with installing the updates in Windows.
Here is how you can disable it to fix the network drive issue:
- Type Control Panel in the Windows search.
- Select Network and Internet from the following window.
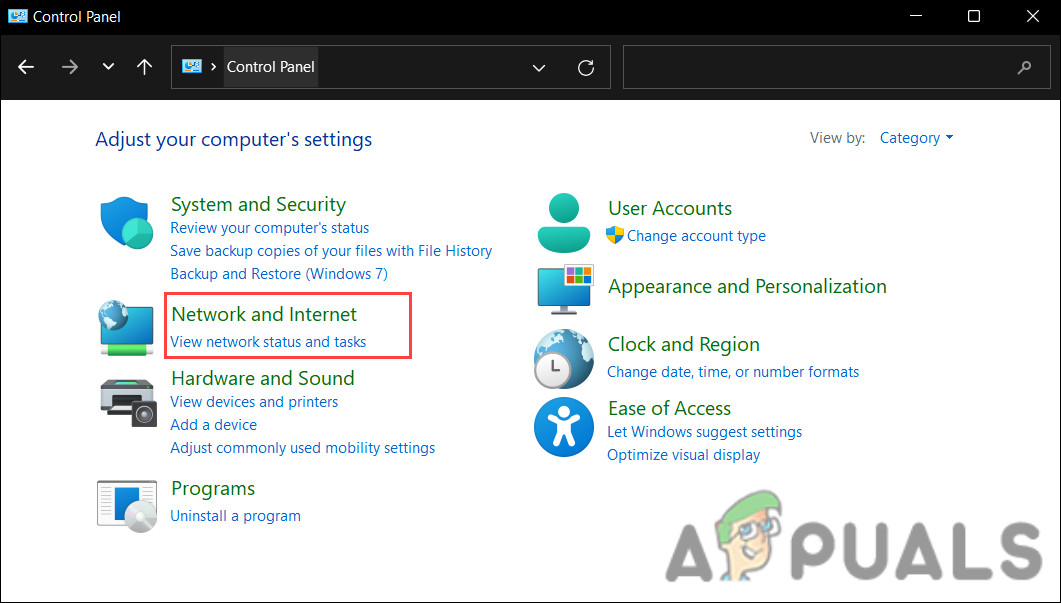
Access the network and internet settings - Head over to Network and Sharing Center, and select Change Adapter Settings.
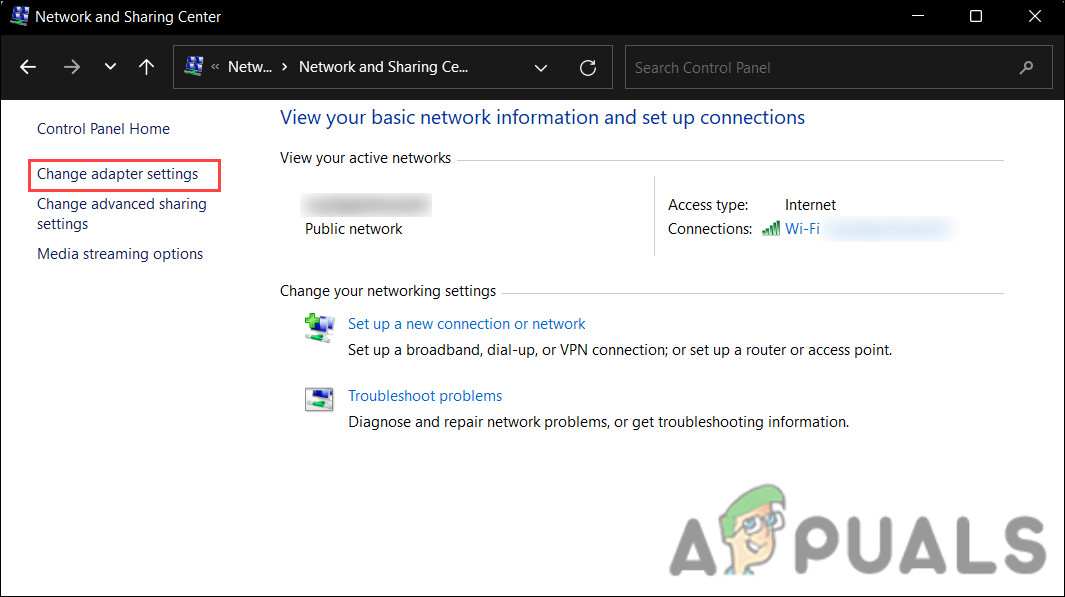
- Open Network Connections and right-click on Wi-Fi.
- Choose Properties.
- In the Properties dialog, navigate to the Networking tab and locate the IPV6 option.
- Uncheck the box for it and click OK to save the changes.
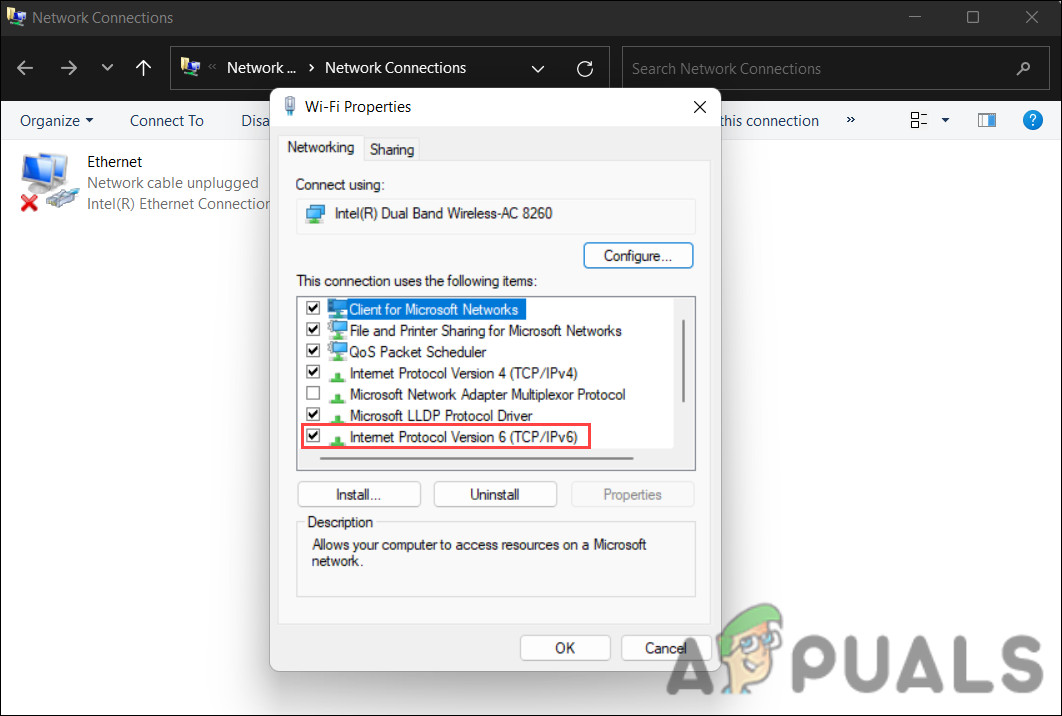
Uncheck the IPV6 option
Hopefully, this will fix the problem.
The post Fix: (0x80240438) ‘There were some problems installing updates’ Windows appeared first on Appuals.com.


0 Commentaires