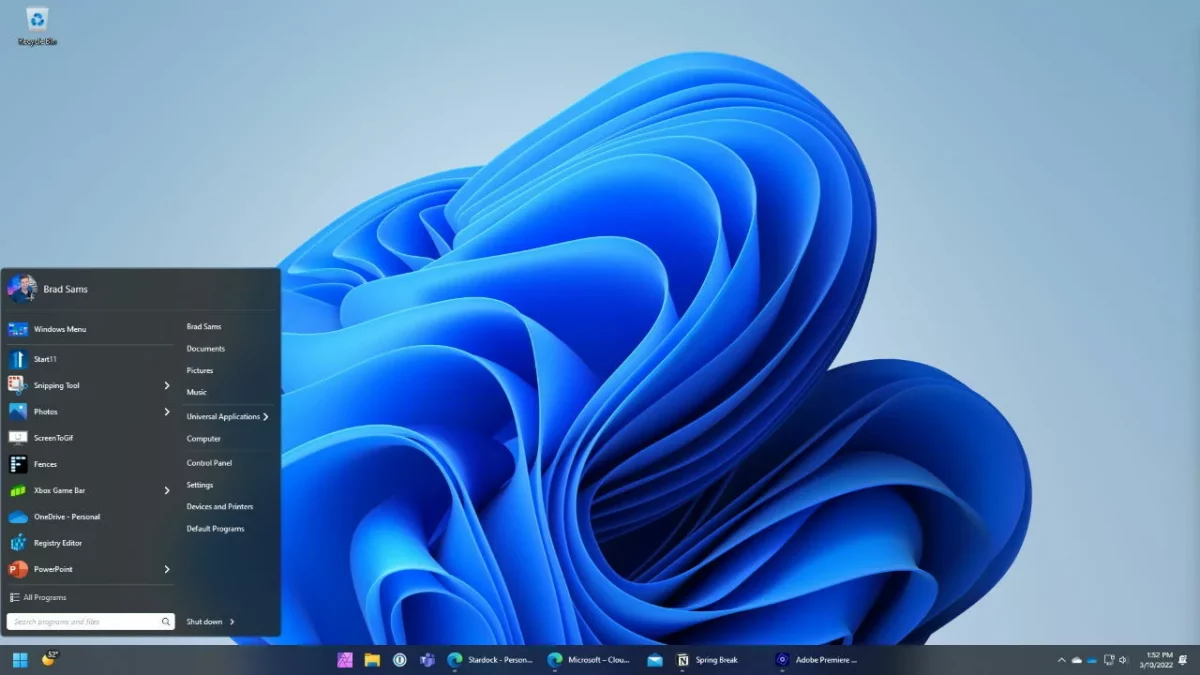
Did you know that in Windows 11, you can now move your taskbar to the left? All you need is a registry hack, and you can change the look of your screen. Whether Microsoft will bring in an update for moveable taskbars in the future is yet to be seen. This article will show you how you can move your taskbar around.
Same as Windows 10
While Windows 11 does not allow you to officially move your taskbar, a registry hack allows you to do this. The best part is your taskbar will still be functional after moving it. However, there are a few functional limitations when moving it to the screen's left or right.
Windows 11 uses the same registry key values as Windows 10. This means that this registry hack could have been performed in Windows 10 as well. It seems only a matter of time before Microsoft allows you to move your taskbar around while providing full functionality.
Still Want To Try?
If you're still eager to try moving your taskbar around, follow these simple steps. You need to first open your registry editor. This can be done by pressing Windows+R and typing "regedit" in the dialog box. You can also look for the registry editor in the start menu and click on it. Once the editor opens, navigate to the following key and paste it into the address bar:
Computer\HKEY_CURRENT_USER\Software\Microsoft\Windows\CurrentVersion\Explorer\StuckRects3
If you're moving the taskbar on a multi-monitor setup, you will need to edit the values under all keys listed under:
HKEY_CURRENT_USER\Software\Microsoft\Windows\CurrentVersion\Explorer\MMStuckRects3
Find the settings key within StuckRects3 and double-click it.
This will open the "edit binary value" window. You then need to locate the fifth value from the left. This can be found in the second two from the top. The default value for this is set as "3." This number determines which side of the screen your taskbar will show up on. Number "00" will place the taskbar on the left of the screen. Number "01" will place the taskbar on the top of the screen. Number "02" will place the taskbar on the right of the screen. Number "03" will place the taskbar at the bottom of the screen.
To edit the number, place your cursor just ahead of the number and backspace once. You can then type in the number you want. Click ok when done.
Once you close the registry editor and restart Windows Explorer, the changes will take effect. While most people think restarting the computer will help, in this case, the explorer needs to restart. You can restart the explorer by pressing CTRL+SHIFT+ESC. This will open the task manager. Click on 'more details' at the bottom of the screen. Then select the processes tab and look for Windows Explorer. When you find it, right-click on it and click on restart.
You will now see your taskbar in the position you picked for it. It will be blank except for status icons for wifi and speakers. If you click on them, the settings window will open. Apart from this, nothing else will show up on the taskbar.
Back To Normal
When you're done experimenting with the taskbar, you can set it to its original position by following the steps above and setting the setting's value to "03."
Thank you for being a Ghacks reader. The post How To Move the Taskbar to the Left Side in Windows 11? appeared first on gHacks Technology News.


0 Commentaires