Some PC users are experiencing weird freezing issues where they experience massive frame drops when playing Destiny 2. This issue is typically encountered before during matchmaking and while the player is doing something in the menu or roster. The problem is confirmed to occur on PC rigs that are more than capable of running Destiny 2 with medium to high settings.
After investigating this issue thoroughly, it turns out that there are several different scenarios that will trigger this particular issue in Destiny 2 for PC users. Here’s a shortlist of potential culprits that might be responsible for this problem:
- Overlay software interference – One of the most common scenarios that are known to cause this issue is overlay interference. As it turns out, Steam’s overlay, Discord’s overlay as well as a few other 3rd party overlay software that will show you in-game FPS information can cause this issue. In this case, the only solution (at least until Bungie decides to fix the issue) is to disable or uninstall them.
- Outdated GPU driver – Another common reason why some users are experiencing freezing issues with Destiny 2 is due to the ‘bad’ driver version that either AMD or Nvidia have already patched. Both companies (AMD and Nvidia) have all but fixed the instances where Destiny was crashing or freezing due to a driver issue, so installing the latest available driver version is one of the first things you should do.
- 3rd party antivirus interference – As it turns out, BitDefender is one 3rd party antivirus that a lot of Destiny 2 players are blaming for causing the game to freeze up before finally crashing. To fix this problem you can either disable the real-time protection, establish a whitelisting rule for the main Destiny 2 executable or uninstall the interfering tool altogether.
Now that you are informed on the most common scenarios that might cause freezing issues with Destiny 2 on your PC, here’s a list of verified methods that other users finding themselves in a similar scenario have successfully used to get to the bottom of this issue.
1. Disable Overlay Software
If you’re using Steam Overlay, Discord’s overlay, or any other 3rd party in-game overlay that shows you the current FPS and other performance information, chances are it interferes with Destiny 2.
As of now, affected users haven’t been able to fix it in a way that will allow the overlay software to coexist with the game. The only way to fix it as of now is to get rid of the overlay software.
Until now, we haven’t got an official explanation on why this stuttering issue occurs in Destiny 2 due to an overlay conflict, but Bungie has acknowledged that they’re working on a fix.
However, until that fix arrives, the only solution is to temporarily disable or get rid of the overlay software that you’re using. But depending on which overlay software you’re using, the instructions will be different.
Follow one of the sub-guide below (the one applicable) to disable the overlay software that might be conflicting with Destiny 2 and causing freezing issues:
Note: We’ve covered how to disable the overlay feature on Steam, Discord, Nvidia Experience and how to uninstall any standalone overlay software.
1.1 Disable the Overlay Feature on Steam
Steam’s overlay is probably the most popular overlay solution out there. Since you can’t uninstall it separately (without uninstalling Steam altogether), the only way to prevent the overlay from conflicting with Destiny 2 is to access the In-Game Settings menu of Steam and disable the overlay feature.
Follow the guide below for step-by-step instructions on disabling the overlay feature on Steam:
- Open the Steam app and sign in with your account.
- Once you’re inside the home screen of Steam, click on Steam from the ribbon bar at the top, then click on Settings from the context menu.
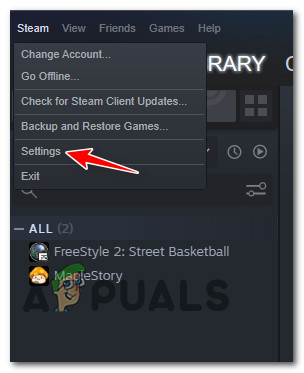
Accessing the Settings screen of Steam - Once you’re inside the dedicated Settings screen of Steam, use the vertical menu on the left to select the In-Game menu.
- Next, move over to the right-hand side menu and uncheck the box associated with Enable the Steam Overlay while in-game.
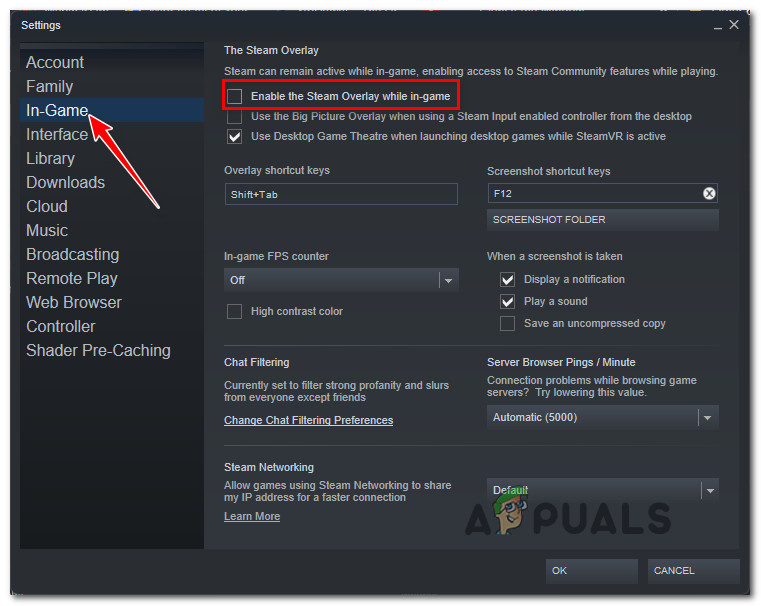
Disable the in-game Steam overlay - Click Ok to save the changes and disable the Steam overlay permanently.
- Once the Steam overlay has been disabled, launch Destiny 2 once again and see if the freezing issues have been resolved.
1.2 Disable the Overlay Feature on Discord
If you’re a fan of using Discord’s overlay, you should know that this feature is also confirmed to be causing freezing issues with Destiny 2 (as with every other overlay software).
In case you find yourself in this particular scenario, you can temporarily disable the Overlay feature by accessing the User Settings menu and turning this feature off from the Overlay tab.
Follow the instructions below for instructions on disabling the overlay feature on Discord:
- Start by opening up the Discord app and sign in with your user account.
- Once you’re signed in with your account, access the gear icon (User Settings) located right beside your name.
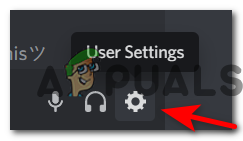
Accessing the Settings menu of Discord - After you’re inside the User Settings menu, access the Overlay (under App Settings) tab from the vertical menu on the left.
- Once you’re inside the Overlay tab, go ahead and uncheck the box associated with Enable in-game overlay.
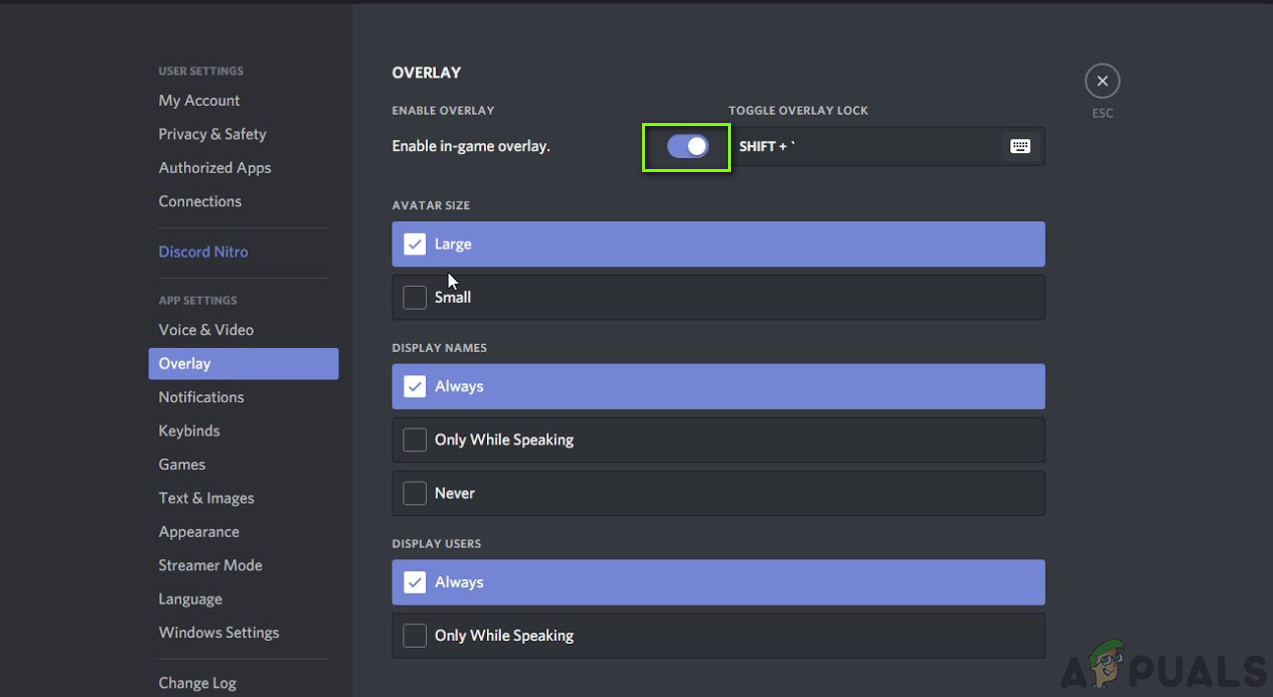
Disable the Discord overlay software - Once the overlay is disabled, click Ok to save the changes, then open up Destiny 2 and see if the problem is now fixed.
1.3 Disable the Overlay Feature on Nvidia Experience
If you have an Nvidia GPU, it makes a lot of sense to use the overlay feature that is built into Nvidia Experience.
But as we know now, doing so runs the risk of causing stuttering and freezing issues with Destiny 2. To mitigate this risk, you will need to disable the in-game overlay from Nvidia Experience.
Follow the instructions below to disable the overlay feature of Nvidia Experience:
- Open up Nvidia Experience and ensure that you’re running with the latest drivers available.
- Next, click on the gear icon (top-right corner) to access the Settings menu of Nvidia Experience.
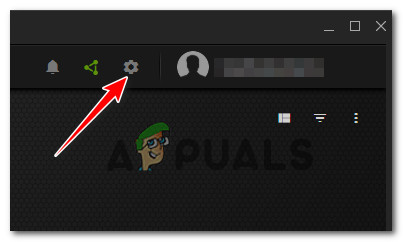
Accessing the Settings menu of Nvidia Experience - Once you’re inside the Settings menu of Nvidia Experience, click on General from the vertical menu on the left.
- Next, scroll down to the In-Game Overlay card and simply disable the toggle to turn the overlay feature off.
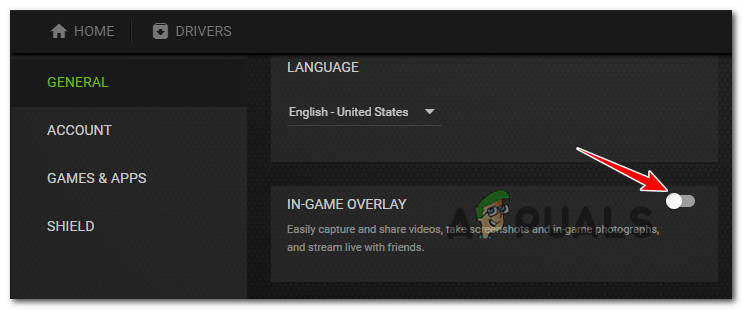
Disable the in-game overlay - Once the overlay feature is disabled, go ahead and launch Destiny 2 once again and see if the freezing issues have stopped.
1.4 Uninstall the Overlay Software via Appwiz.cpl
In case you’re using standalone overlay software that cannot just be turned off, the only viable way of fixing the freezing issues with Destiny 2 is to uninstall the overlay software completely.
Follow the instructions below to completely uninstall the conflicting 3rd party overlay feature via the Programs and Features menu:
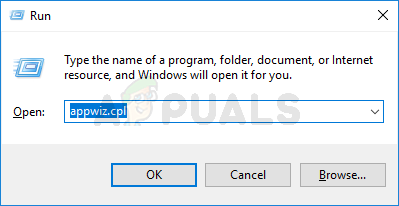
- Press Windows key + R to open up a Run dialog box. Next, type ‘appwiz.cpl’ and hit Enter to open up the Programs and Features menu.

Opening up the Programs and Features menu - Once you’re inside the Programs and Features menu, scroll down through the different program installations and locate the overlay software that you suspect might be conflicting with Destiny 2.
- After you locate the correct software, right-click on it and choose Uninstall from the context menu.
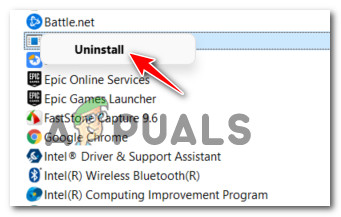
Uninstall the Overlay software - Once you’re inside the uninstallation screen, follow the on-screen prompts to complete the uninstallation operation.
- Launch Destiny 2 and see if the freezing issue has been resolved.
In case the same kind of issue is still occurring, move down to the next potential fix below.
2. Update your dedicated GPU card drivers
As it turns out, you can also expect to experience these types of stuttering and freezing issues with Destiny 2 due to an inconsistent graphics card driver for a dedicated GPU. According to a lot of affected users, a certain driver version from Nvidia (on medium and high-end GPUs) is known for causing this particular issue.
Update: Apparently, there’s a bad driver equivalent for AMD too.
Fortunately, both GPU manufacturers have since rectified the freezing issue with Destiny 2 by releasing a new driver version that prevents this sort of problem from occurring.
If you find yourself in this particular scenario, the best course of action is to use the proprietary driver updating software on AMD or Nvidia to ensure that you’re updating to the latest version available.
Follow one of the sub-guides below (depending on your GPU manufacturer) to fix the freezing & framerate issues with Destiny 2:
Note: To cover a scenario where the issue is occurring due to a partially corrupted driver, we will walk you through the process of uninstalling your current driver first and then clean installing the latest available GPU driver version.
2.1 Install the latest GPU drivers version on AMD
If you’re using an AMD GPU, we’re going to start by running the AMD Cleanup utility to first clean any remnant files from the old driver version, then use the Auto-Detect GPU page of AMD to download and use the Adrenalin software to install the latest compatible GPU driver version.
Follow the instructions below to install the latest compatible AMD GPU driver:
- Open your browser and visit the download page of the AMD Cleanup utility.
- After you download the latest version of the AMD Cleanup Utility, double-click on the executable and click Yes at the User Account Control to grant administrative privileges.
- Next, click Yes once again at the prompt to run the utility in safe mode and uninstall every AMD GPU driver.
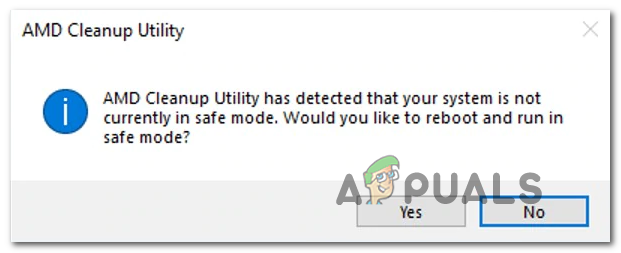
Running the AMD Cleanup Utility Note: This tool will remove any currently installed AMD drivers, registry entries, and driver store signatures. It will also remove any type of remnant applications left behind from a previous installation.
- At the second prompt, hit Ok to effectively start the AMD cleanup process. Once you do so, the utility will run in the background.
Note: Somewhere during this process, you will notice how your display starts flickering before eventually turning black – don’t worry as this is absolutely normal. - After the operation is complete, click Finish, then reboot your computer manually.
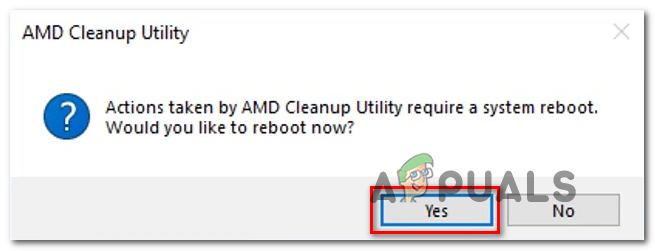
Rebooting after running AMD Cleanup Utility - Once your computer boots back up, open your browser once again and visit the download page of the Auto-Detect GPU page.
- After you’re inside, go to the Auto-Detect and Install Radeon Graphics Drivers for Windows and hit the Download Now button.
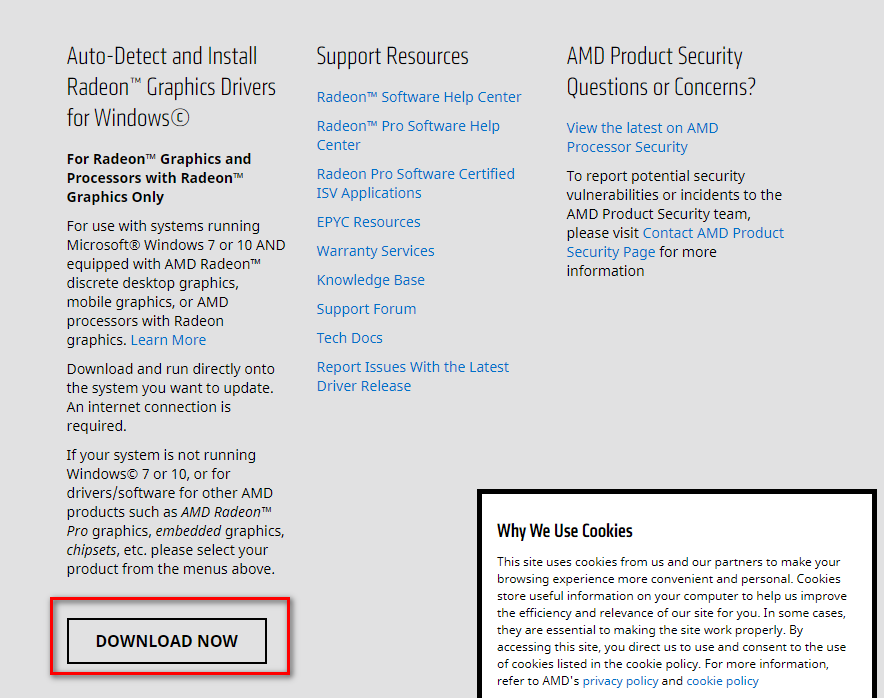
Downloading AMD Adrenalin - After the Adrenalin executable is downloaded, open it up, then follow the on-screen instructions to complete the installation of Radeon Adrenalin.
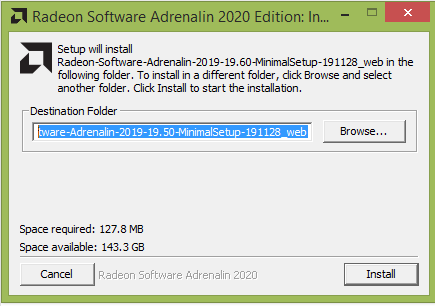
Unpacking the Adrenalin software - Once the Adrenalin files are unpacked and stored in a location on your drive, the tool will automatically launch itself and scan your system to figure out if you have the latest AMD driver product for your GPU model.
Installing the Adrenalin Software - After Adrenalin is finished with detecting your GPU model, it will recommend the latest driver compatible with it. When this happens, go ahead and install both the Recommended and Optional driver packages by selecting both and clicking on Install.
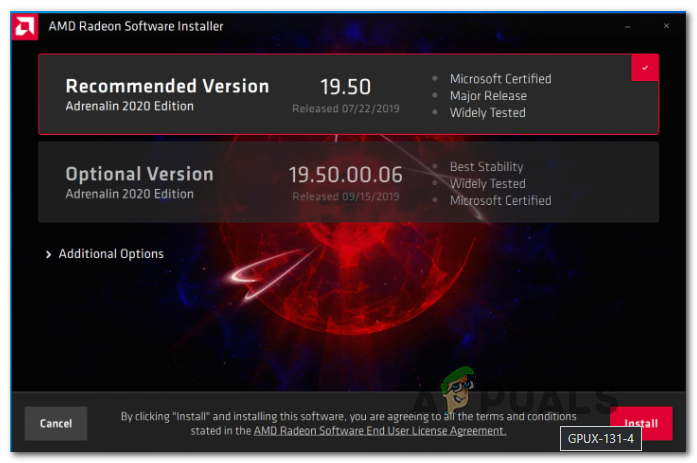
Installing the latest available AMD drivers - At the next screen, accept the EULA after reviewing the terms and conditions, then click on Install to start the installation.
- Once the installation is complete, restart your PC and see if the freezing issue with Destiny 2 is resolved.
2.2. Install the latest GPU drivers version on Nvidia
If you’re using an Nvidia GPU, you’ll need to start by getting rid of any remnant files for both the GPU driver and the physics module, and only then install the latest available driver using the Nvidia GeForce Download tool.
This operation is confirmed to help with the game freezing issues on PC that are currently plaguing Destiny 2.
Follow the guide below for step by step instructions on how to do so:
- Open up a Run dialog box by pressing Windows key + R. Next, type ‘appwiz.cpl’ inside the text box and press Enter to open up the Programs and Files menu.
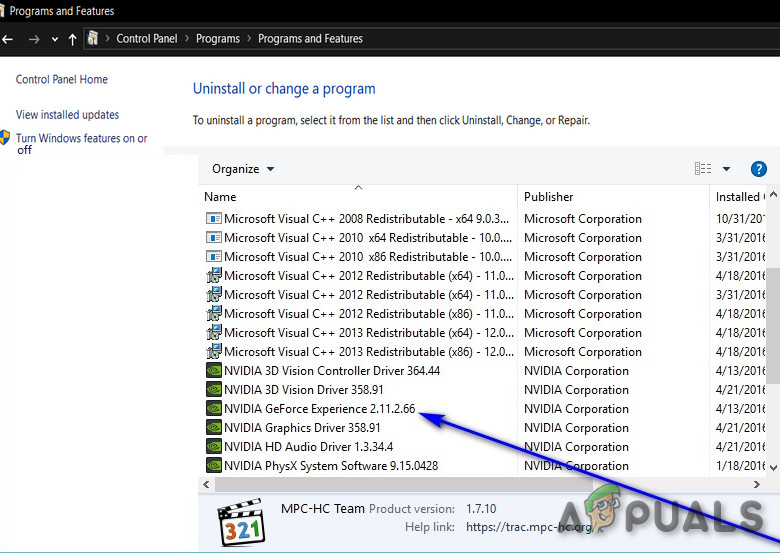
Open up the Programs and Features menu - Once you’re inside the Programs and Features menu, click on the Publisher tab at the top to order your installed programs based on their publisher.
- After you manage to order the programs based on their publisher, go ahead and uninstall every entry published by Nvidia Corporation by right-clicking and choosing Uninstall from the context menu.
Uninstalling every Nvidia supporting software - Follow the on-screen prompts to complete the installation of every Nvidia driver, then reboot your computer and wait for the next startup to complete.
- After your computer boots back up, open up your browser and visit the download page of Nvidia GeForce Experience Download page.
- Once inside, click on the Download Now and follow the on-screen instructions.
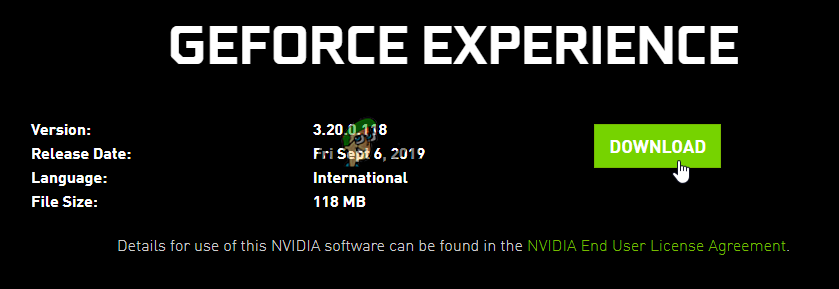
Downloading the latest version of Nvidia Experience - Once the download is complete, double-click on the installer and follow the on-screen instructions to install Nvidia Experience.
- Next, open Nvidia Experience and sign in with an account and go over to the Drivers page to install the latest available GPU drivers.
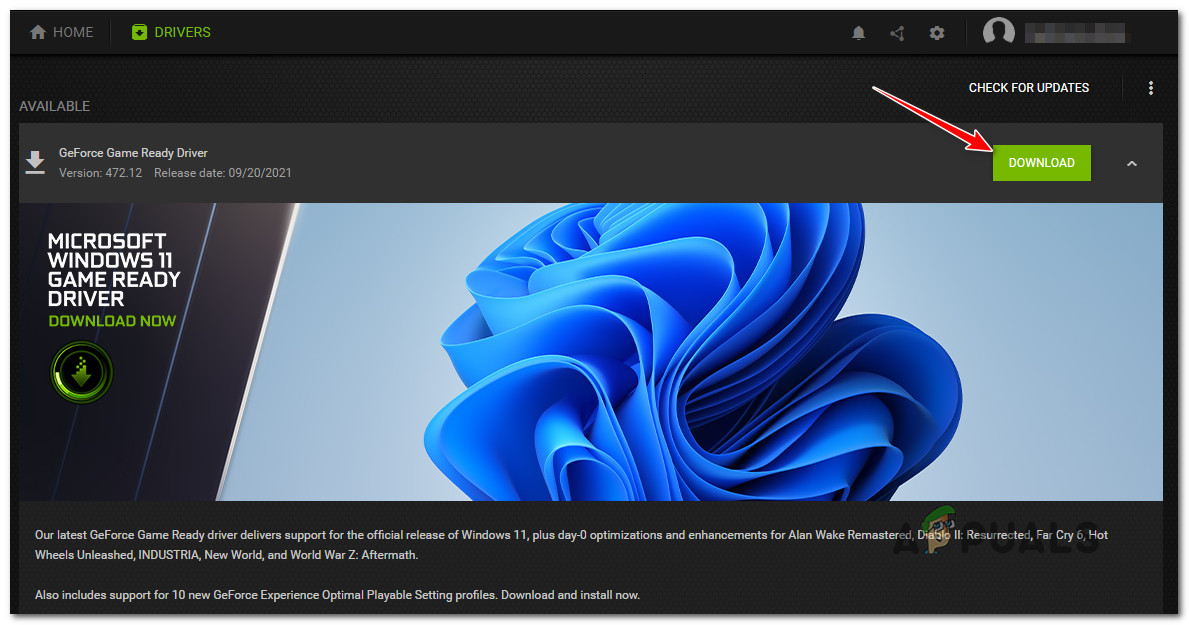
Downloading the latest GPU Nvidia driver - Once the download is complete, reboot your PC and see if the issue with Destiny 2 is now fixed.
In case you’re still dealing with the same freeze issues with Destiny 2, move down to the next potential fix below.
3. Stop the Antivirus interference
As it turns out, there are certain antivirus suites with the potential of conflicting and even affecting the stability of Destiny 2 on PC. BitDefender is often mentioned as an AV causing freezing issues with Destiny 2.
The widely accepted explanation is that some AV suites are apparently messing with the main executable of Destiny 2 which hinders the game’s ability to manage all the interconnecting memory resources.
Important: This particular issue is only reported to occur with 3rd party Antivirus suites. This problem is not ongoing with Windows Defender.
If you find yourself in this scenario and your antivirus is to blame, there are 3 main ways that you can use to fix the issue:
- Disable the Real-time protection of your antivirus
- Establish a whitelisting rule for the 3rd party antivirus that you’re using
- Uninstall the interfering 3rd party antivirus suite.
Follow the sub-guide below in order and see which one of them fixes the issue with Destiny 2 in your case:
3.1 Disable the Real-time protection of your antivirus
Perhaps the quickest fix (if your antivirus is to blame) is to simply disable the real-time protection. Unless the issue is facilitated by a firewall issue, this will ensure that the main game executable of Destiny 2 is not prevented from running.
The instructions for disabling the real-time protection of your AV antivirus will of course be different from tool to tool, but in the vast majority of cases you can turn this feature off by right-clicking on the AV icon and looking for an option to disable the real-time connection.

Note: With other AV suites like BitDefender, you will actually need to access the Advanced Settings menu and in order to be able to disable the real-time Antivirus shield.
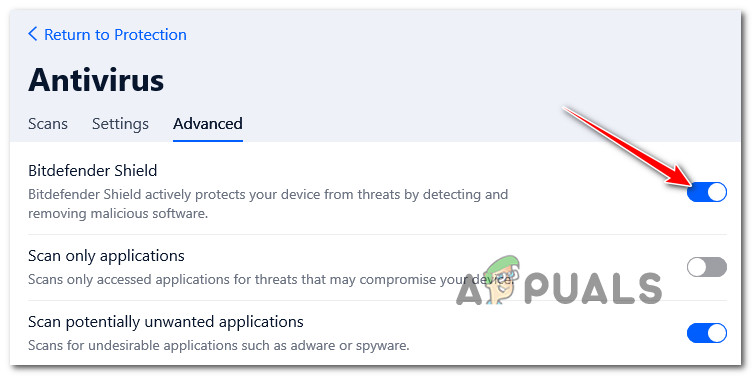
After ensuring that the real-time protection is disabled in your 3rd party antivirus, run Destiny 2 normally and see if the freezing issues have been fixed.
3.2 Whitelist Destiny’s executable inside your Antivirus
Even if disabling the real-time protection of your AV has resolved the stuttering and freezing issues with Destiny 2, you should still not consider it as a permanent solution (because it will leave your system exposed to legitimate security threats)
The ideal way to deal with a genuine 3rd party AV interference is to access your antivirus settings and establish an exception rule that excludes the main Destiny 2 executable from any scans and fine-tune optimization methods.
Of course, the exact instructions for establishing a whitelisting rule for Destiny 2 will be different from AV tool. You can search online for specific instructions on how to do this according to the AV that you’re using.
However, if you’re using BitDefender (the AV that most people point their fingers at), follow the instructions below to establish a whitelisting rule for Destiny 2:
- Open up BitDefender or bring up the main interface in case the tool is already running in the background.
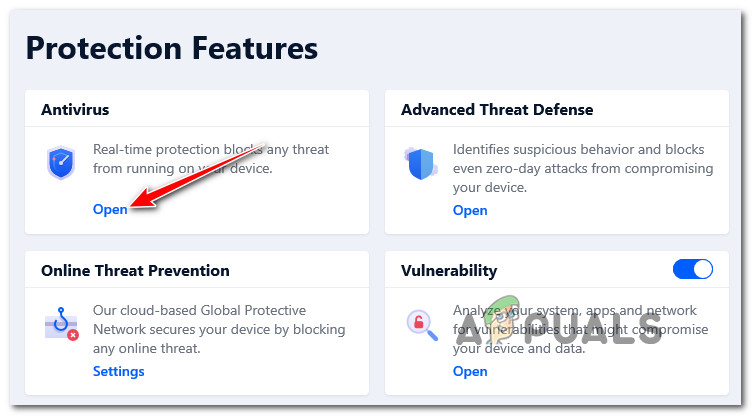
- Next, click on the Protection icon from the vertical menu on the left.
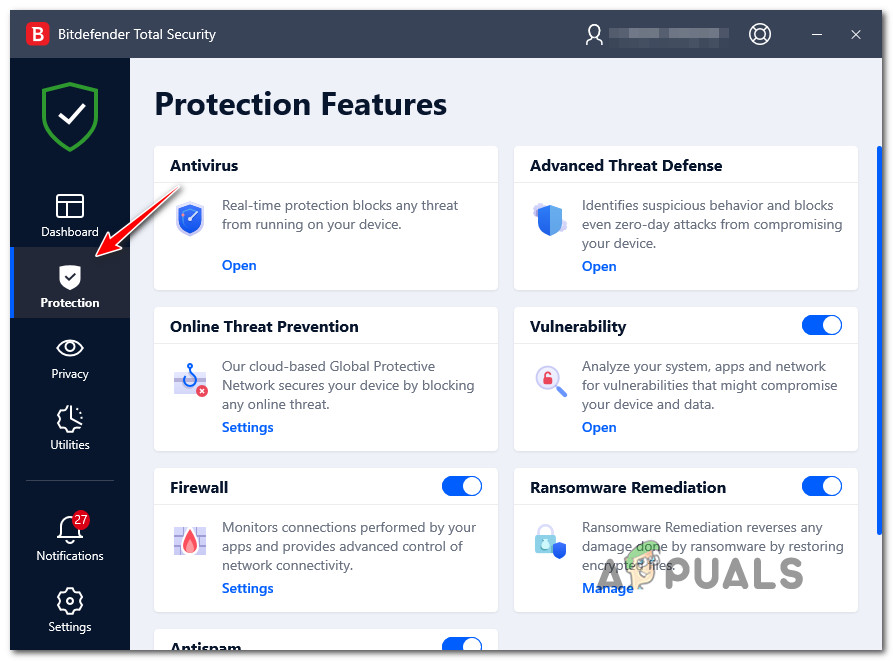
Accessing the Protection tab in BitDefender - From the dedicated Protection menu, click on the Open hyperlink under Antivirus.
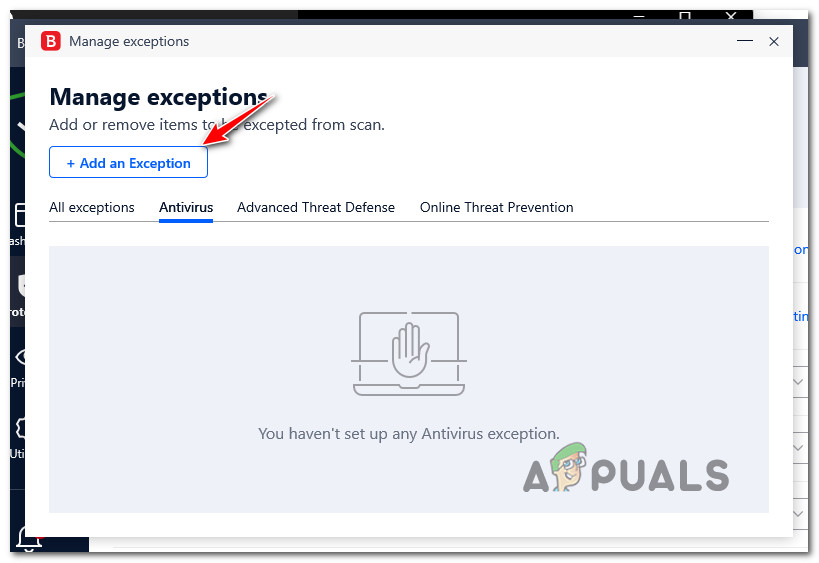
Accessing the dedicated Antivirus menu in BitDefender - Once you’re inside the Antivirus tab of BitDefender, click on the Settings menu, then click on the Manage exceptions hyperlink.

Accessing the Exceptions tab - Inside the Manage Exceptions menu, ensure that the Antivirus is selected as the main directory, then click on Add an Exception.
Adding an exception inside BitDefender - From the next menu, click on the browse icon, then browse to the location where you installed Destiny 2 and select the entire folder and click OK.
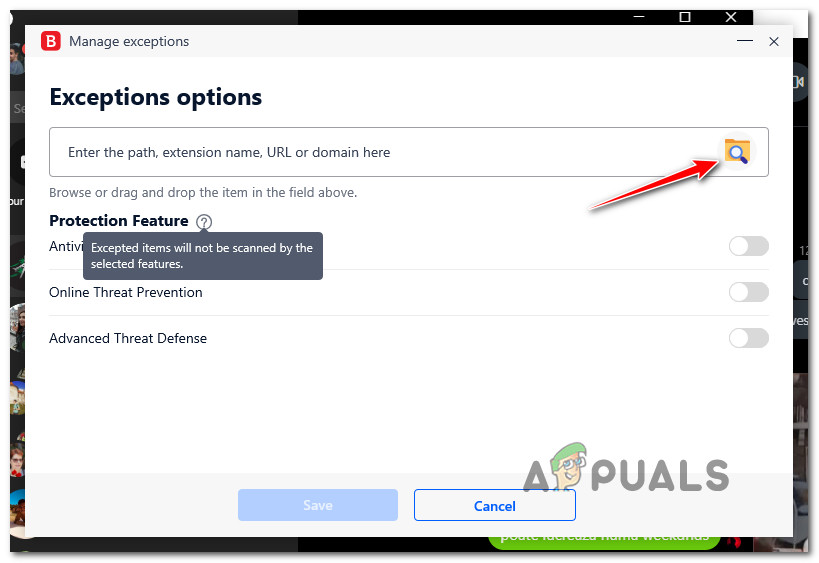
Establishing the exception in BitDefender - Next, click Save to make the exception rule permanent in BitDefender.
3.3 Uninstall the 3rd party antivirus suite
If disabling the real-time protection is not an option for you, the only course of action left at your disposal is to uninstall the interfering 3rd party antivirus completely via the Programs and Features screen.
Follow the instructions below to uninstall the interfering AV suite and fix the random freezing in Destiny 2:
Note: The instructions below are universal and will work on every recent Windows version.
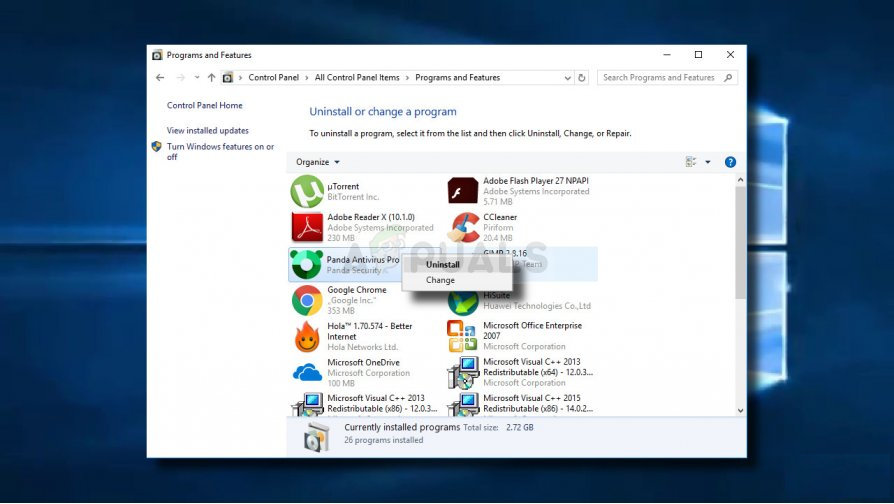
- Press Windows key + R to open up a Run dialog box. Next, type ”appwiz.cpl’ and press Enter to open up the Programs and Features screen.
Opening up the Programs and Features menu - Once you’re inside the Programs and Features screen, move over to the section on the right, scroll down through the list of installed programs and locate the 3rd party AV suite that you’re attempting to uninstall.
Uninstalling the antivirus - Inside the uninstallation screen, follow the on-screen prompts to complete the uninstallation.
- Open up Destiny 2 once again and see if the problem is now fixed.
The post How to Destiny 2 Keeps Freezing Issue on Windows? appeared first on Appuals.com.


0 Commentaires