If you are facing issues while trying to take a screenshot of your system, it can be due to a number of reasons. Multiple users have been facing this issue in the past and in most cases, it turns out the problem was being caused due to a certain feature/setting turned off. The reason snip and sketch may not work can vary which includes the notifications for the app disabled in the Windows settings or focus assist enabled on your computer. Regardless of the cause, do not worry as we will be taking you through the process of solving snip and sketch not working in quite detail in this article.

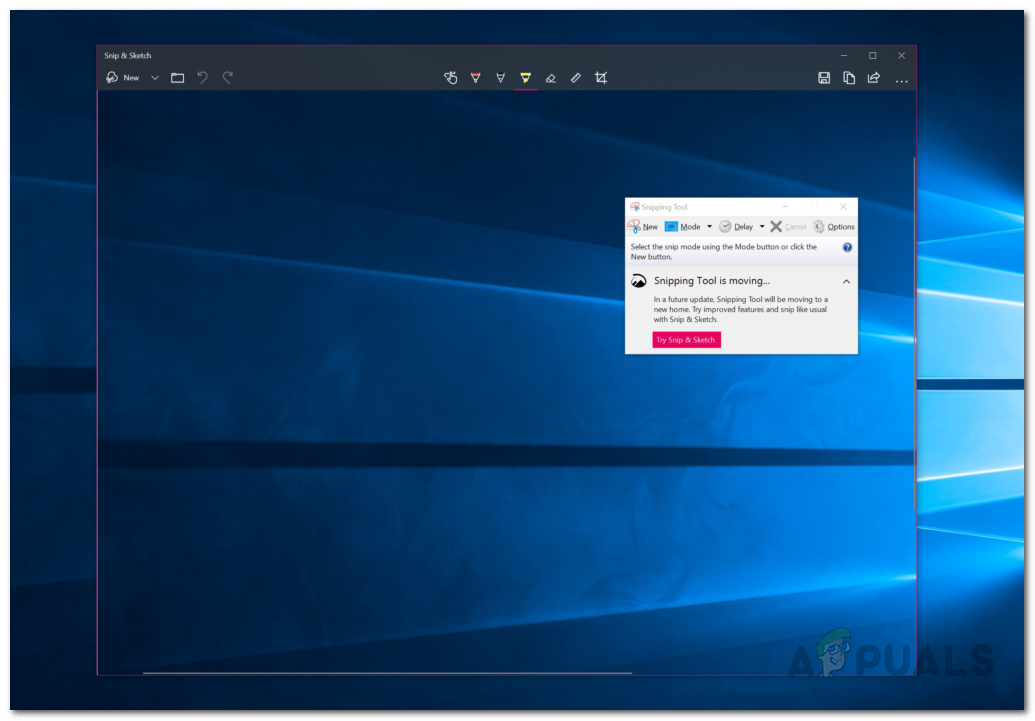
The built-in snip and sketch tool is supposed to replace the popular snipping tool which also came shipped with Windows. If you are experiencing issues with snip and sketch not being able to screenshot, it can usually be that the application is actually working but due to the functionality, many users think it isn’t working. As it turns out, when you take a screenshot with the Snip and Sketch tool, the screenshot does not appear in a new window that appears unlike the Snipping tool. Instead, a notification is shown on the bottom right corner of the screen from where you can access the screenshot. However, if you have notifications turned off for the app, then in such a case, you won’t be able to see the screenshot which leads users to believe that Snip and Sketch is not working.
In addition to that, there are other reasons which may cause the problem as well, so before we get into the different solutions available, let us first go through the possible list of causes of the said issue.
- Corrupt System Files — As it turns out, one of the reasons that you may encounter this problem is when your system files are corrupted. This is because snip and sketch is shipped with Windows which means the app is installed by default. Therefore, damaged system files can often cause this issue in which case you will have to run an SFC scan.
- Focus Assist — In some cases, you may not be able to take a screenshot using Snip and sketch when Focus Assist, aka Quiet Hours, is enabled. This can happen when you have certain rules on your system that enable quiet hours. In such a scenario, you will have to simply turn off focus assist or change quiet hours rules on your system to be able to use snip and sketch again.
- Snip Notifications — Like we have mentioned earlier, one of the main reasons you are not able to view or save your screenshots is because notifications for the app are disabled. If this case is applicable, you will simply have to enable notifications for the app and you should be good to go.
- Snip and Sketch is damaged — Finally, in some cases, the installation files of the app itself may get damaged which can prevent it from working at all. In such a scenario, you can either reset the application or simply reinstall it on your system.
Now that we have gone through the possible causes of the problem, let us get started with the different ways you can resolve the matter. With that said, let us get right into without any further delay.
Enable Snip and Sketch Notifications
As it turns out, the first thing that you should do when you come across this problem is to make sure that your system is not blocking any snip and sketch notifications. Normally, the way the said app works is when you take a screenshot, you are prompted a notification on the bottom right corner via which you can view and save the screenshot unlike Snipping tool which would instantly bring up a new window with the screenshot. Therefore, if you have notifications disabled, then you won’t be able to access your screenshots. To enable notifications for the app, follow the instructions given down below:
- First of all, open up the Windows Settings app by pressing the Windows key + I shortcut on your keyboard.
- Then, on the Settings app, make your way to the System section.

Windows Settings - On the left-hand side of the System screen, switch to the Notifications and actions tab.
- There, make sure that the Get notifications from apps and other senders slider is set to On.

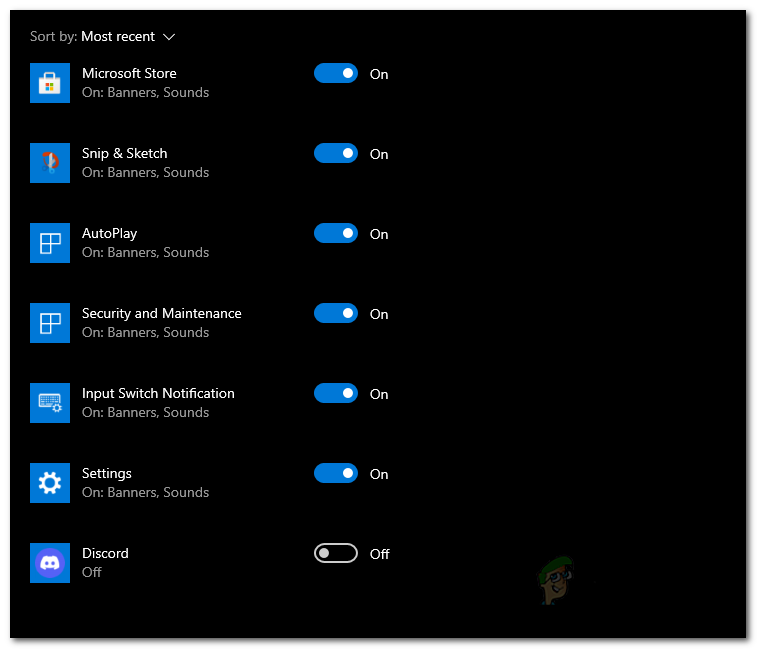
Enabling System Wide Notifications - After that, scroll down and from the list of apps shown, make sure Snip and Sketch is set to On as well.

Enabling Snip and Sketch Notifications - Once you have done that, go ahead and try using snip and sketch to see if the problem persists.
Turn off Focus Assist
If enabling the notifications did not fix the issue or in case they were already on, then the issue may be due to focus assist enabled on your computer. Focus assist is basically a Windows feature that lets you focus during a certain interval by muting or blocking notifications and other distractions on your system. To fix this, you will simply have to disable it which is quite easy to do. Follow the instructions given down below to do this:
- First of all, press the Windows key + I on your keyboard to bring up the Windows Settings app.
- There, make your way to the System section.

Windows Settings - Now, on the System settings screen, switch to the Focus assist tab on the left-hand side.
- Once there, make sure that you have the Off option chosen which will disable it.

Disabling Focus Assist - After doing that, try using snip and sketch to see if the problem is still there.
Run the SFC and DISM Scan
As we have mentioned earlier, the problem can sometimes be caused due to corrupted or damaged system files on your computer. In such a scenario, you will have to perform an SFC scan followed by the DISM scan. Both these scans will be used to look for any damaged systems and then try to repair them. Using both these built-in Windows utilities is quite easy, so just follow the instructions given down below to run them:
- First of all, you will have to open an elevated command prompt. To do this, open up the Start Menu and then search for CMD. Right-click on the result shown and choose Run as administrator from the drop-down menu.

Running Command Prompt as an Administrator - Once the command prompt window is open, type in the following command and then hit the Enter key:
sfc /scannow

Scanning for Corrupt Files using SFC - Wait for it to complete as it starts to scan your system for any corrupted or missing files.
- After the scan is finished, if you see a message that says the Windows Resource Protection found corrupt files, enter the following command in the command prompt window and then hit the Enter key to repair the corrupt components of your system:
Dism /Online /Cleanup-Image /RestoreHealth

Restoring System Health using DISM Utility - Wait for this to finish and once done, go ahead and restart your computer.
- Once your PC boots up, go ahead and use Snip and Sketch to see if it works now.
Reset Snip and Sketch
In some cases, when the snip and sketch app does not work, the issue can be related to the app’s data on your system. In such a scenario, you will have to simply reset the application on your system which will delete the app’s data on your system. Doing this can potentially fix the issue for you as it has for other users. To do this, follow the instructions down below:
- First of all, open up the Windows Settings app by pressing Windows key + I.
- On the Settings window, go to the Apps section.

Windows Settings - From the list of apps, search for Snip and Sketch and then click on it.

Searching for Snip and Sketch - Once you highlight the option, a new option called Advanced options should appear. Click on it.

Snip and Sketch Additional Options - On the Advanced options screen, scroll down and under Reset, click the Reset button.

Snip and Sketch Advanced Options - Once you have done that, go ahead and restart your system. After your PC boots, see if the application is working.
Reinstall Snip and Sketch
Finally, if none of the above solutions have fixed the problem on your system, then the issue is probably due to the installation files of the application in which case you will have to reinstall it. To do this, you will have to uninstall the application via the Windows Settings app and then install it again through the Microsoft Store. Follow the instructions down below to do all of this:
- First of all, press Windows key + I to open up Windows Settings.
- On the Settings window, go to the Apps section.

Windows Settings - From the list of apps, go ahead and search for Snip and Sketch.

Searching for Snip and Sketch - Click on the result shown and then click on the Uninstall button shown.

Snip and Sketch Additional Options - After you have uninstalled the application, open up the Microsoft Store.
- Search for Snip and Sketch, open it up and then click the Get button to install the application on your system
- Once you have installed it again, go ahead and restart your system.
- After your PC boots up, open it up again and try using it to see if it works properly now.
The post Snip and Sketch not working? Here’s how to fix appeared first on Appuals.com.


0 Commentaires