
You can improve sleep quality and reduce eye strain with Night light on Windows 11, and here's how.
On Windows 11, Night light is a feature that reduces eye strain and helps you to fall asleep after long hours working on your computer.
Screens can produce a quiet amount of blue light (similar to the natural light your eyes receive every day), which might be fine during the day. However, it can interfere with your body clock at night and negatively affect the melatonin creation that can reduce sleep quality and cause discomfort in your eyes.
When the Night light feature is enabled, it reduces the amount of blue light and shows warmer colors that help reduce eye strain and fall asleep. Your mobile device has had this feature for a long time. On Windows, it's been available since the Creators Update and later releases, including Windows 11.
In this Windows 11 guide, we will show you the steps to enable and configure Night light to minimize the chances of getting your eyes fatigued due to long hours in front of the computer.
How to enable Night light on Windows 11
To enable Windows 11's Night light feature, use these steps:
- Open Settings.
- Click on System.
-
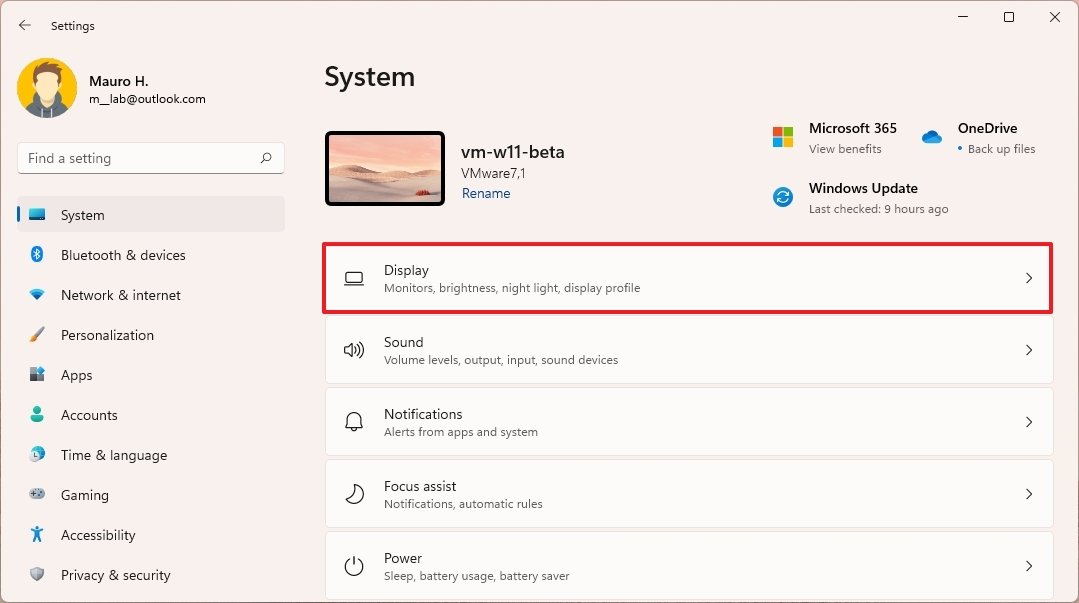
Click the Display page on the right side.
-
Under the "Brightness & color" section, turn on the Night light toggle switch to enable the feature.

- (Optional) Turn off the Night light toggle switch to disable the feature.
Once you complete the steps, the feature will show warm colors on the screen to help minimize eye strain while working at night.
Quick Settings
Alternatively, you can also enable the feature from the Quick Settings flyout. You can use the click the network and volume icon or use the Windows key + A keyboard shortcut and click the Night light button.

If you don't see the button, click the Edit quick settings button, click the Add button, select the Night light option, and click the Done button.
How to change Night light settings on Windows 11
Night light is a straightforward feature, but you can also customize a few settings, including the default color temperature and schedule.
Change color temperature
To change the color temperature of Night light, use these steps:
- Open Settings.
- Click on System.
-
Click the Display page on the right side.
-
Under the "Brightness & color" section, select the Night light setting.
-
Use the "Strength" slider to specify the correct color temperature of the display when the feature is turned on.
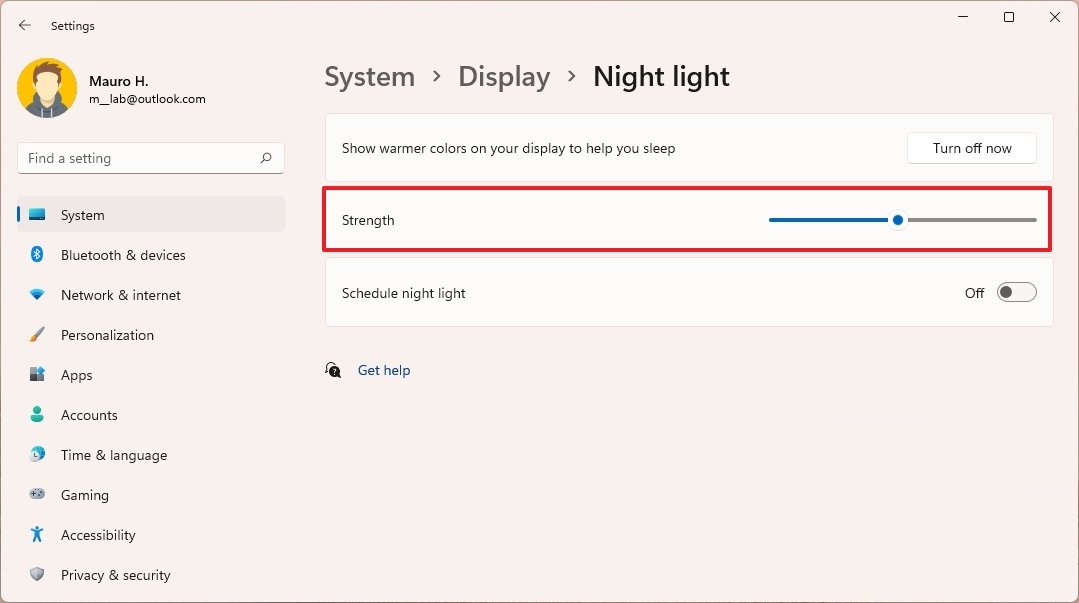
- (Optional) Click the Turn on now button to enable the feature immediately.
After you complete the steps, the display will show the color temperature you specified when enabling Night light. The correct warm temperature is your decision. However, the only rule of thumb is to avoid extremely high temperatures. Only set it to the color you feel most comfortable with.
Custom schedule
Windows 11 comes with Night light disabled by default, and you have to turn it on manually. However, you can always schedule when the feature should turn on and off automatically.
To configure the Night light schedule, use these steps:
- Open Settings.
- Click on System.
-
Click the Display page on the right side.
-
Under the "Brightness & color" section, select the Night light setting.
-
Turn on the Schedule night light toggle switch.
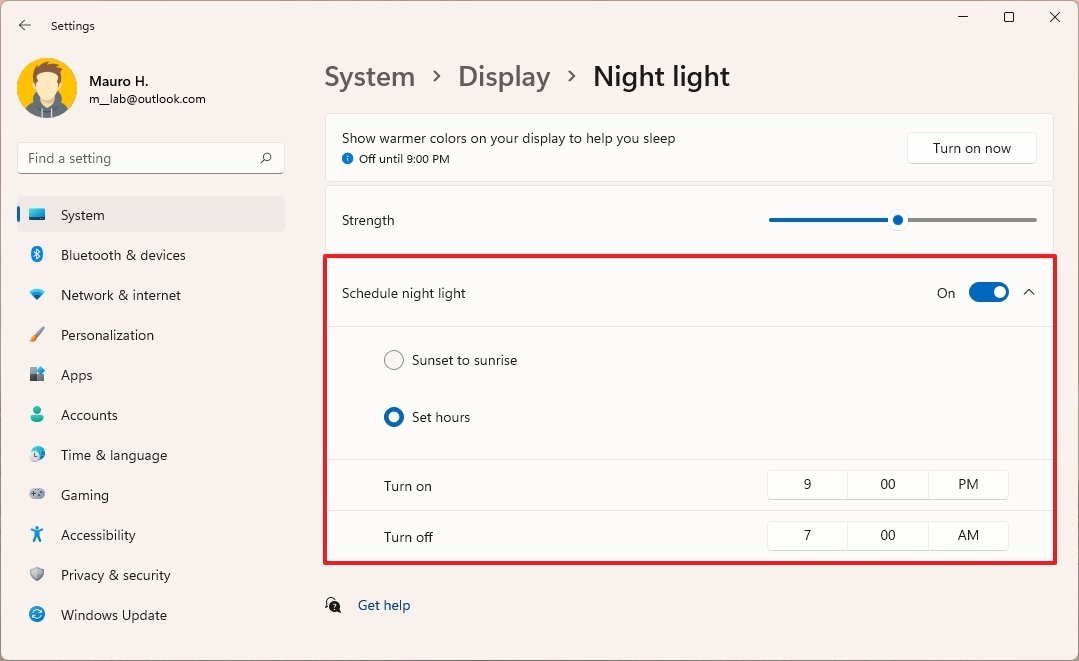
- Select the Sunset to sunrise option to allow Windows 11 to configure Night light automatically based on the sunset and sunrise hours in your location.
- (Optional) Select the Set hours option.
- Specify the hours when Night light should turn on and off.
Once you complete the steps, Windows 11 will turn on and off Night light during the specified schedule on the settings page.
More Windows resources
For more helpful articles, coverage, and answers to common questions about Windows 10 and Windows 11, visit the following resources:


0 Commentaires