Recently there have been complaints from Windows users that their Task manager does not display the startup apps, and presents them with an error stating “There are no startup items to display”. On top of that, when they explore the startup folders, they find that they are empty. In this guide, we will walk you through the methods of fixing this issue in detail. Let’s begin!
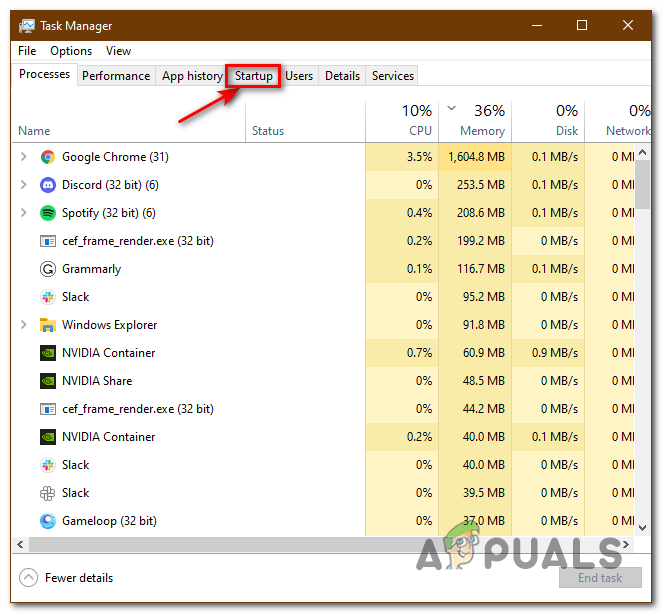
Restart Windows Explorer
If you cannot find the startup apps in the Task Manager, then the first thing that you need to do is restart the Explorer application. Oftentimes, Windows programs get infected with temporary bugs and corruption errors, which prevents them from working properly.
Fortunately, the solution to this is easy, as all that you need to do is restart the application. Here is how you can do that:
- Launch File Explorer by pressing Ctrl + Shift + Esc keys together.
- Head over to the Processes tab.
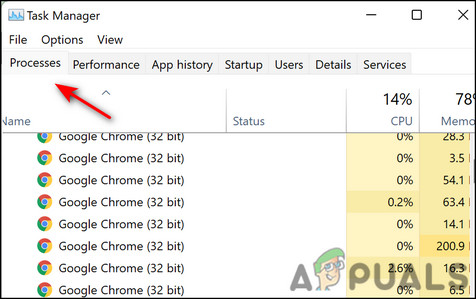
Go to processes tab - Scroll down and select Windows Explorer.
- Right-click on it and select Restart.
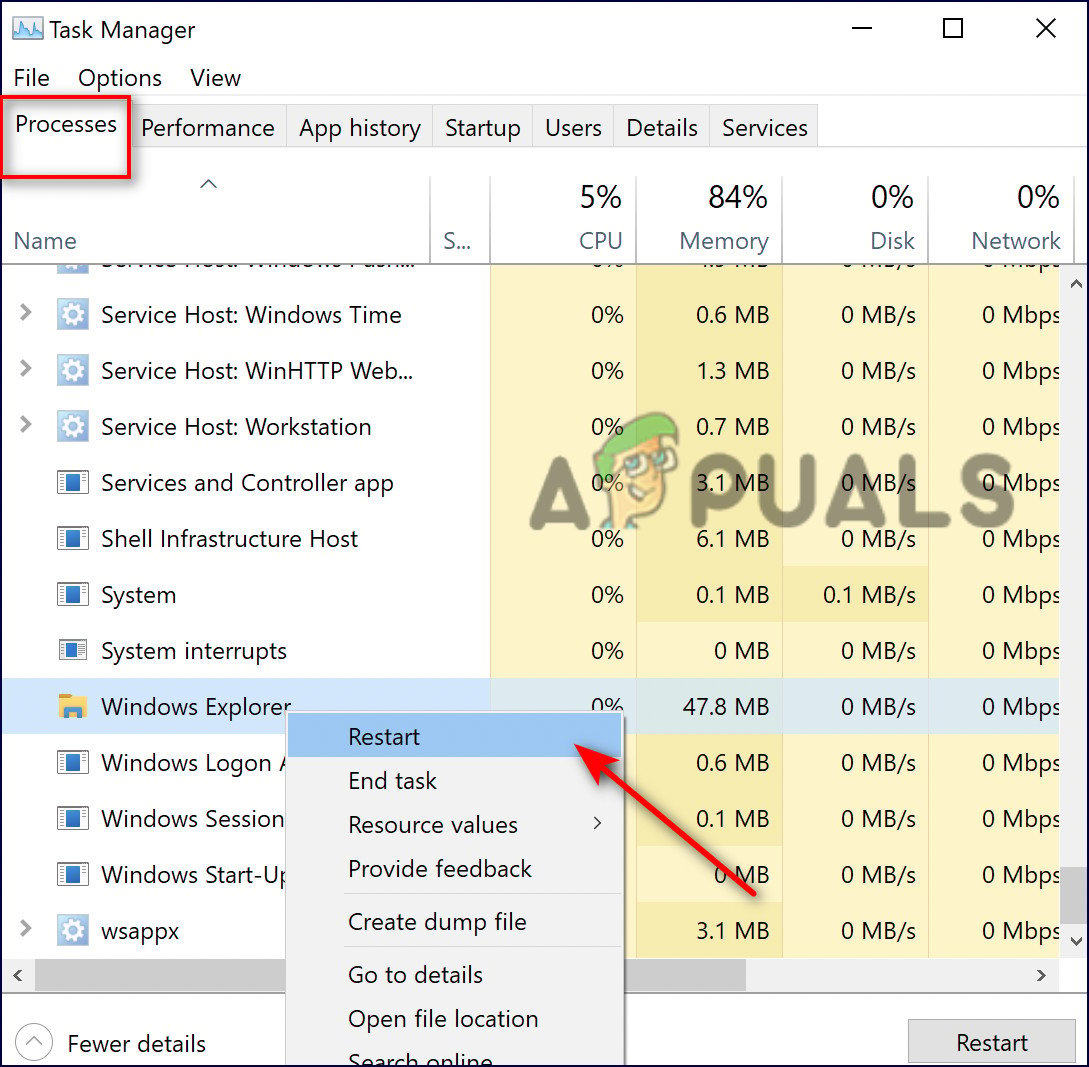
Restart Windows Explorer
Run SFC and DISM Scans
As mentioned earlier, corruption errors within the operating system can cause the startup apps to disappear from the Task Manager. The good news is that Windows comes with several built-in troubleshooting utilities that can check the system and files for errors, as well as fix them.
Two such utilities are SFC (System File Checker)and DISM (Deployment Image Servicing and Management), which can replace corrupted system files with healthy counterparts and replace failing storage sectors with unused equivalents.
You do not need to connect to the internet to use System File Checker. By using a locally cached archive with backup system files, this tool replaces the corrupted file with its healthy counterpart. You will need Internet access in order to use DISM. Due to the fact that DISM replaces corrupt files with equivalent healthy ones, it is necessary.
- Type cmd in the search area of your taskbar and click on Run as administrator to launch Command Prompt with administrative privileges.
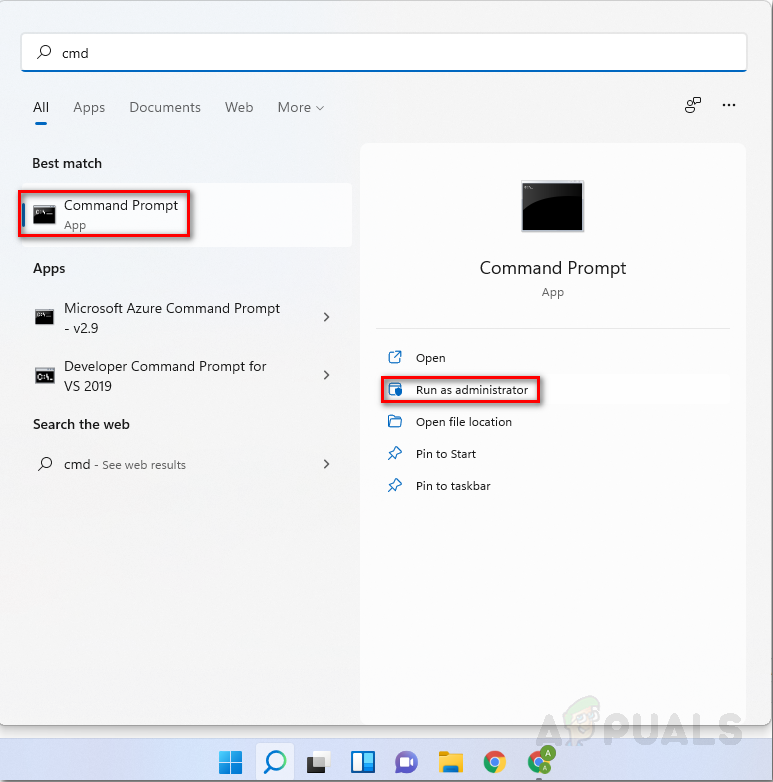
Run as admin cmd - Inside the Command Prompt window, type the command mentioned below and hit Enter.
sfc /scannow
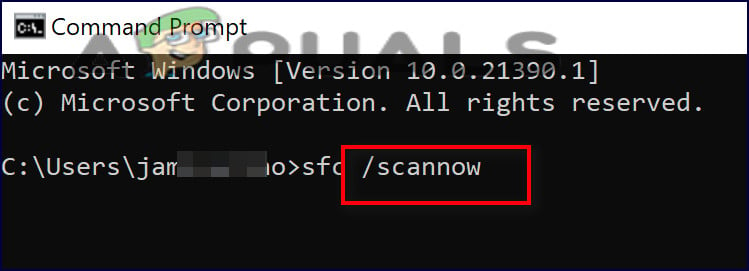
CMD scan now - Once you execute the SFC command, execute the DISM command mentioned below.
DISM /Online /Cleanup-Image /RestoreHealth
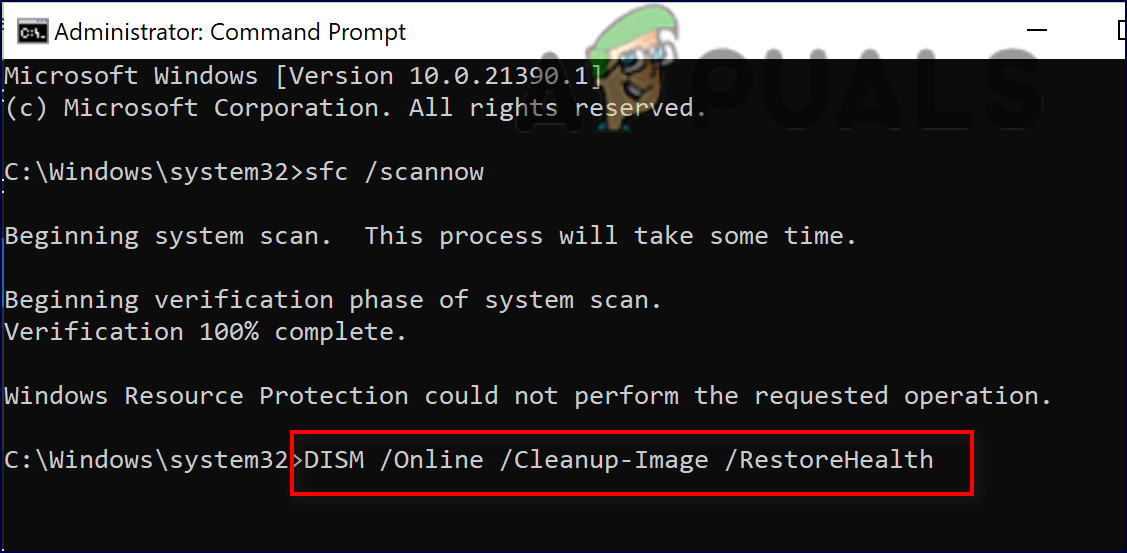
Clean up command - Finally, restart your PC and upon reboot, check if you can install the required update.
Create a Startup Folder
You might also be facing the issue if the Startup folder is not present in the File Explorer of your Windows operating system. If this folder is missing, your operating will not be able to identify any of the startup apps, and hence the error.
Here is how you can check if the Startup folder is present in File Explorer and create it if it’s not:
- Launch File Explorer and head over to the location mentioned below.
%AppData%\Microsoft\Windows\Start Menu\Programs
- Now check if the Startup folder is present in the Programs folder.
- If there is no Startup folder, try creating a new folder and renaming it Startup.
- Restart your computer and check if the issue is resolved.
Use System Restore
A restore point is essentially a snapshot of your PC’s software, registry, and driver configuration at a particular point in time. This will allow you to return your PC to a previous point in time when no errors were present as the one at hand.
Here is how to revert the system back to a previous state when the error didn’t exist:
- Type Control Panel in the search bar and click Open.
- Inside the Control Panel window, select System and Security.
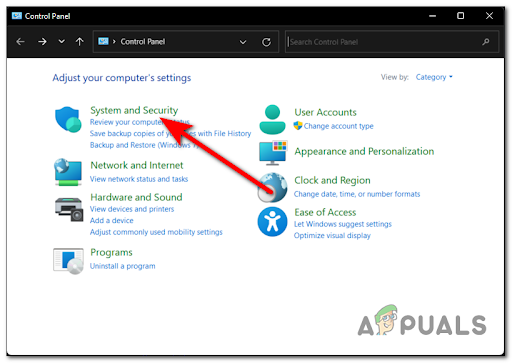
Accessing the System and Security tab - Then, choose System from the list of options available.
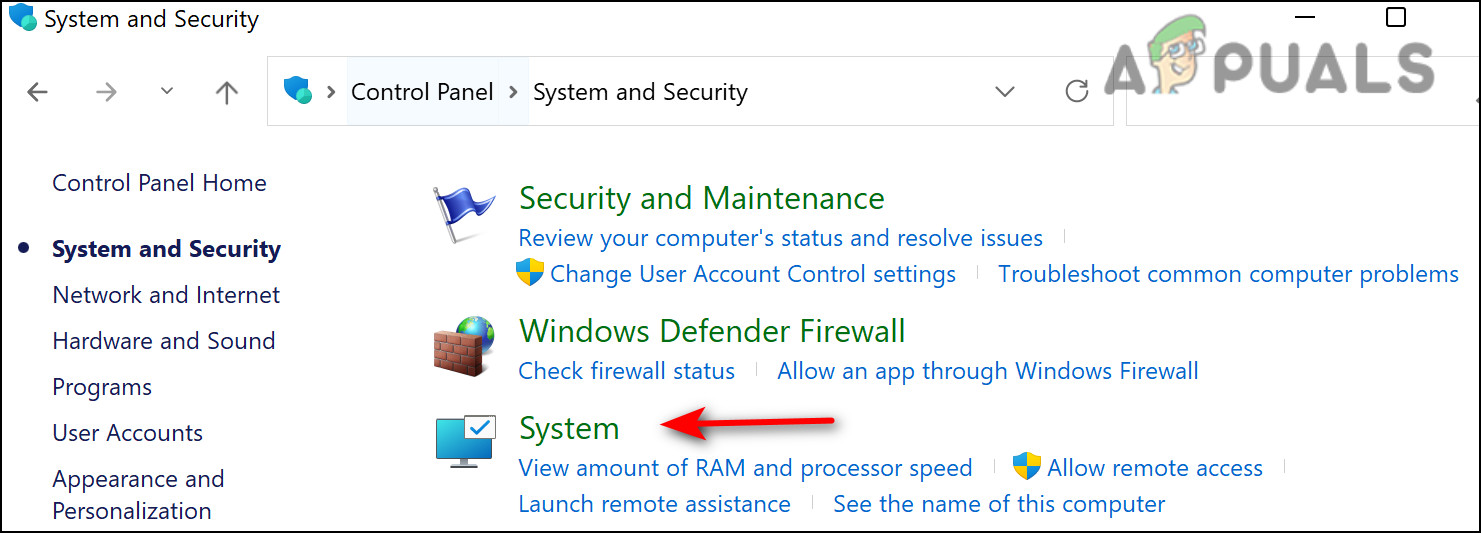
Open security - Choose System Protection.
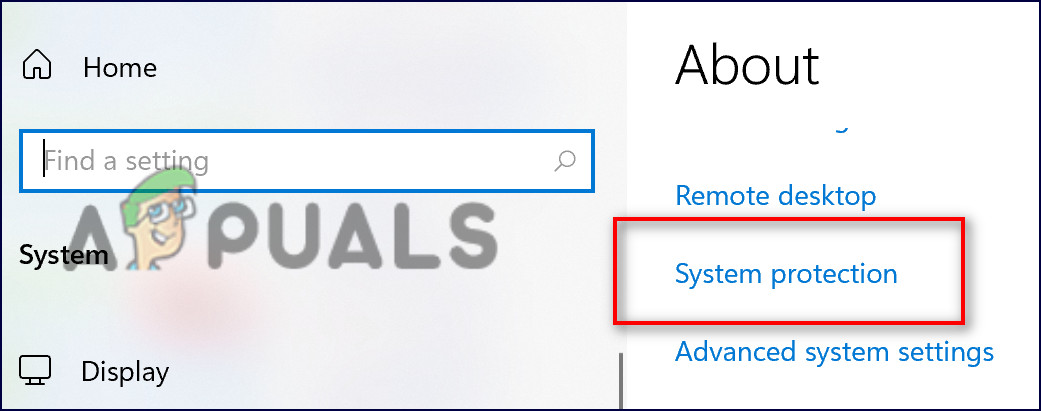
Open system protection - Click System Restore from the System Protection tab.

System restore - Next, follow the instructions to restore the system. When prompted, choose Recommended Restore.
- Once you follow the instructions, the system should be restored to a previous state. The system will restart afterward.
- After logging in again you should see a window saying ‘System Restore Completed Successfully’. Check if you can view the startup apps now.
Reset PC
You can also try resetting your PC to resolve the issue at hand.
Upon resetting a Windows 10 computer, the operating system returns to the state it was in before it was started. A third-party application that was not installed by default is uninstalled, and all changes to the computer’s preferences and settings are wiped out.
Besides giving your computer a fresh start, resetting your Windows 10 computer can help if you are experiencing software problems. In a significant number of cases, problems with Windows 10 are only resolved by completely resetting the computer.
Here is what you need to do:
- Launch Windows Settings and click on Update & security from the list of options available.
-
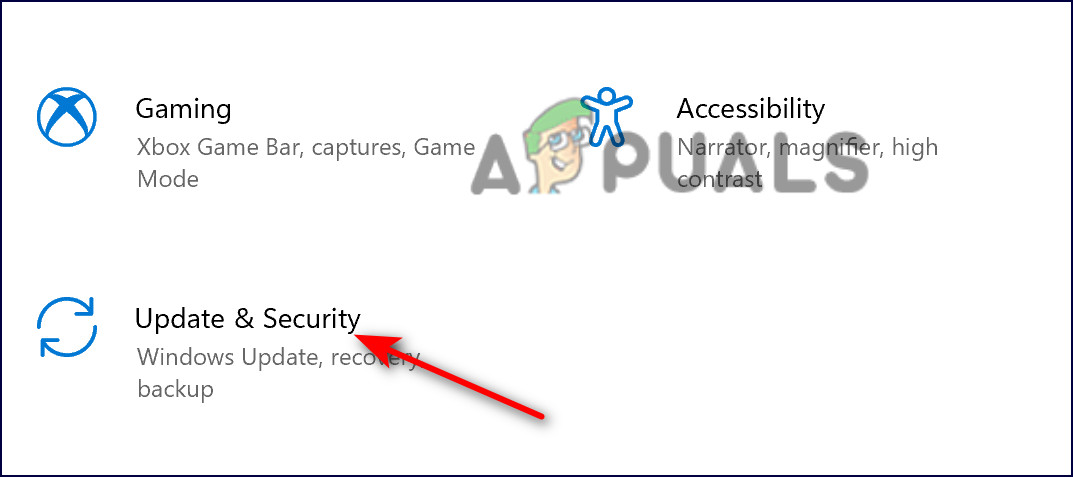
Choose update & security - Select Recovery from the left pane.
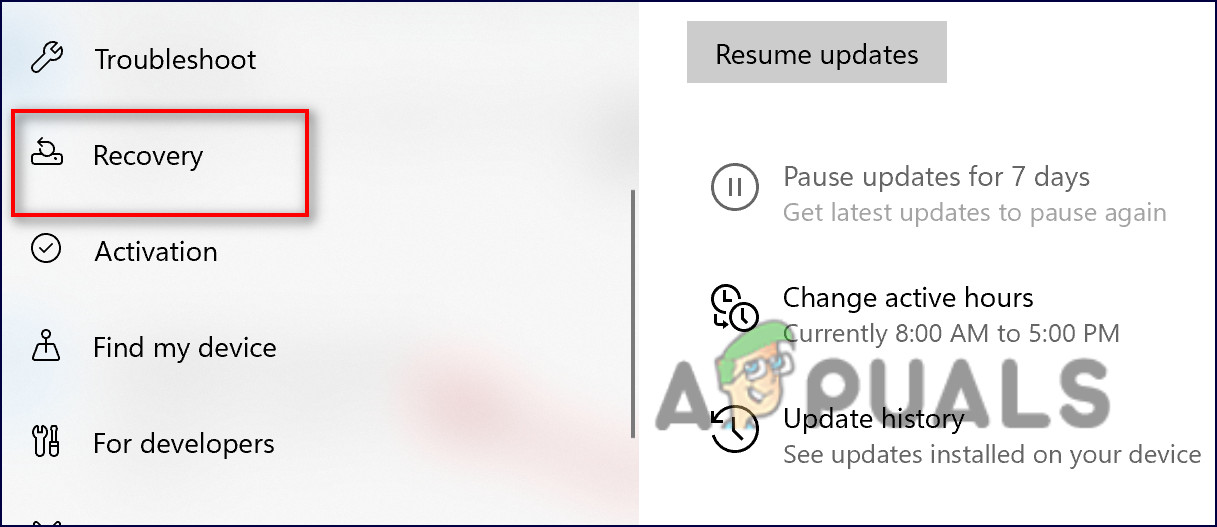
Recovery settings - In the right pane, click on Get Started under Reset this PC.
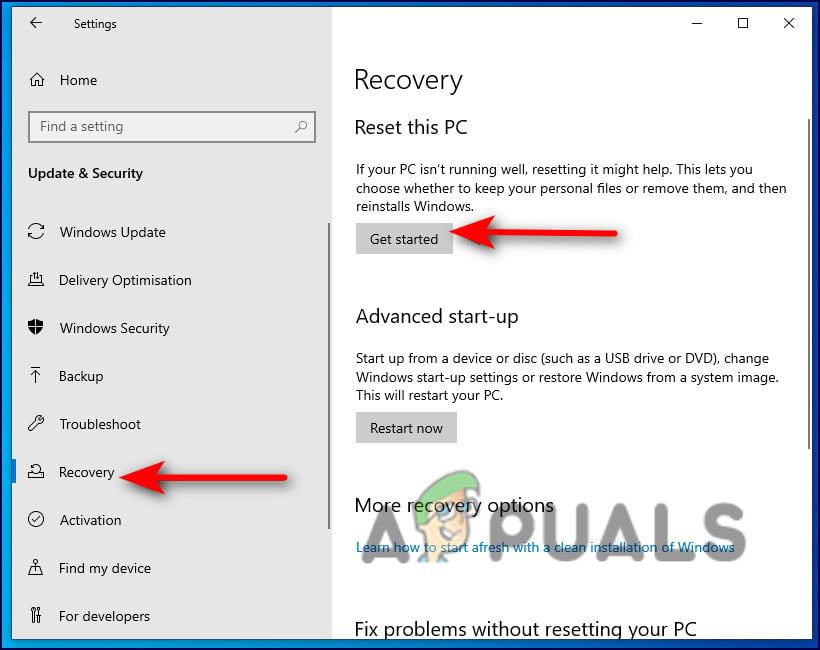
- To reset the computer without losing any of the data on it, select Keep my files; to reset the computer and remove all data stored on it, select Remove everything.
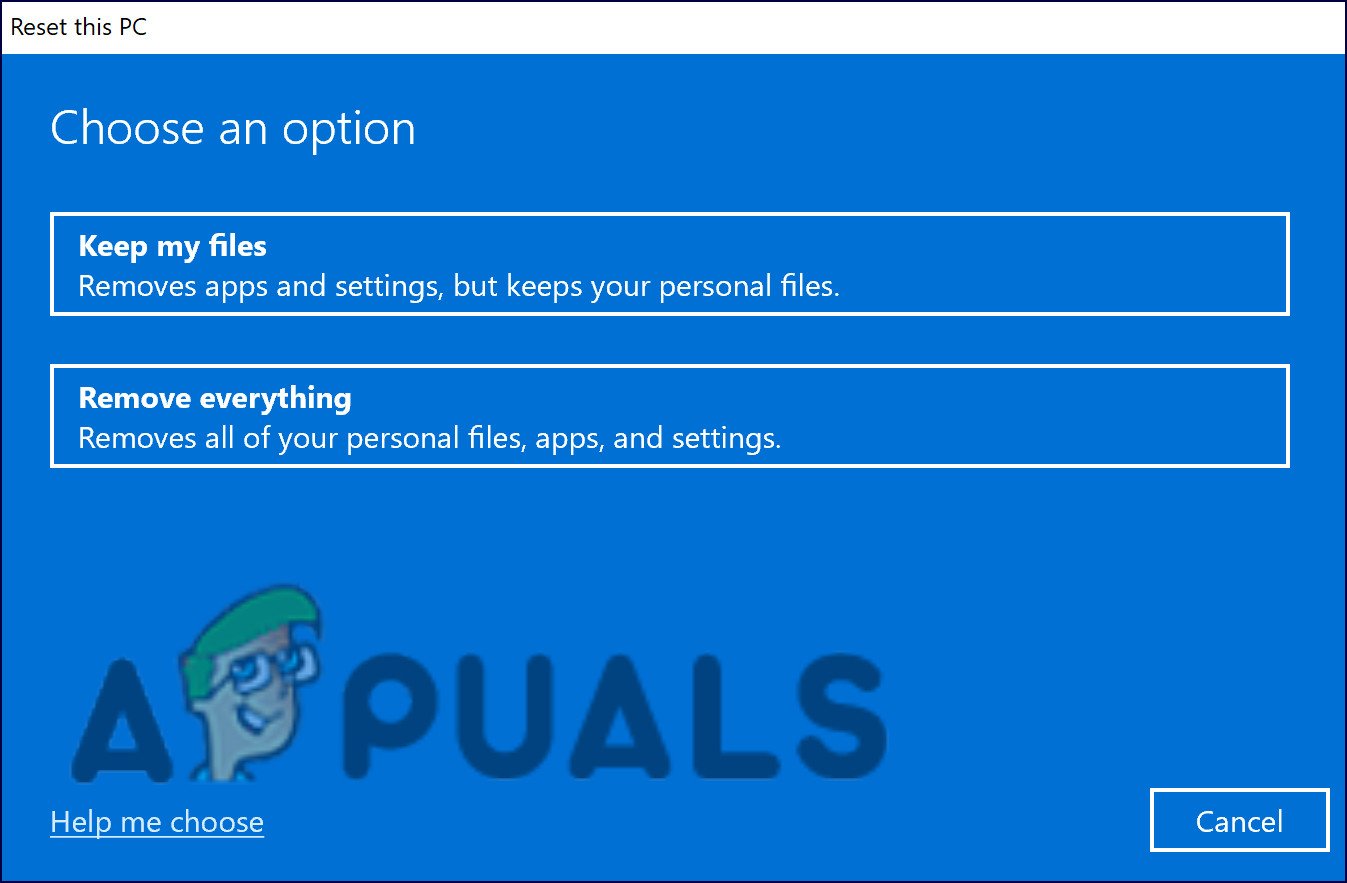
Keep or remove files - In the last step, if you clicked on Remove everything, click either Just remove my files (if you only wish to delete your files), or Remove my files and clean the drive (if you desire to delete your files and clean your Hard Disk, which may take longer). Skip this step if you clicked Keep my files in the previous step.
- In the next screen, review the specifics of the reset and click on Reset to begin.
You’ll need to wait a few minutes for the computer to restart after clicking Reset. In the event that you are presented with a screen that contains three options and asks you to choose one, click Continue. Hopefully, you will be able to identify the startup apps after resetting your PC.
The post Startup Apps Not Appearing On Task Manager? Here’s the Fix! appeared first on Appuals.com.


0 Commentaires