iTunes has a user base of around 98 million and nearly 37.3 million Chromebooks were shipped in 2021. There is no question about the popularity of both and there are users who own both (i.e., an Apple device like iPhone and a Chromebook). These users might be interested to use iTunes on their Chromebooks. But unfortunately, iTunes is not natively supported on Chromebook. iTunes is mainly supported on the Apple ecosystem (iPhone, Mac, iPod, etc.) but is also available for Windows and Linux distros.
Although iTunes is not natively supported on Chromebooks, there are ways to run iTunes on Chromebook. These methods are:
- By Using Wine
- By Using the iTunes website
- By Exporting Music from iTunes to YouTube Music
- By Using Virtual Machine Applications Like Parallels or VirtualBox
Use Wine to Install iTunes on a Chromebook
ChromeOS is basically based on Linux OS and its Linux capabilities can be used to install Wine, which supports the installation of Windows Apps in Linux (like iTunes). This process is a multi-phase process (as discussed below) but before doing that, make sure to create an iTunes account (if already not present).
Enable the Linux Feature on Chromebook and Update it
- Launch the Chromebook Settings and in the left pane, head to the Linux Beta tab. Some users may find the Linux tab in the Advanced option.
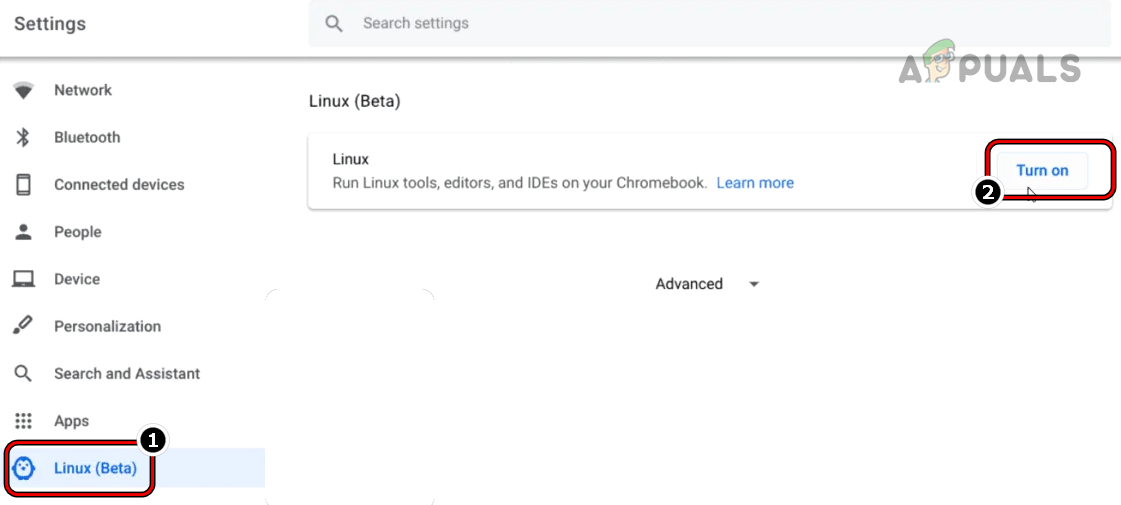
Turn on Linux (Beta) in the Chromebook Settings - Now, in the right pane, click on Turn on and follow the prompts on the screen to set up Linux on Chromebook.
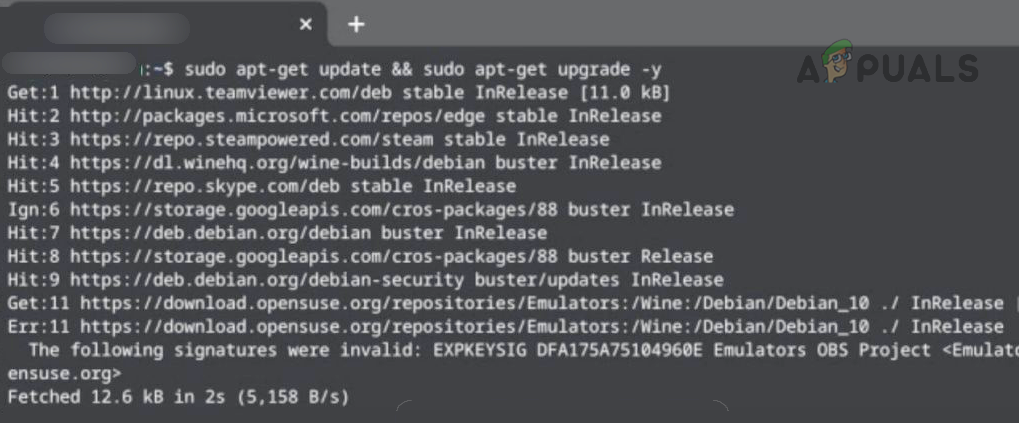
- Once the Linux setup is completed, the Linux Terminal is shown or you may launch it from the Applications menu, then execute the following in the Terminal:
sudo apt-get update && sudo apt-get upgrade -y
Install Wine on Chromebook and Enable Support for 32-Bit Applications
- Now execute the following in the Linux Terminal to install Wine:
sudo apt-get install Wine

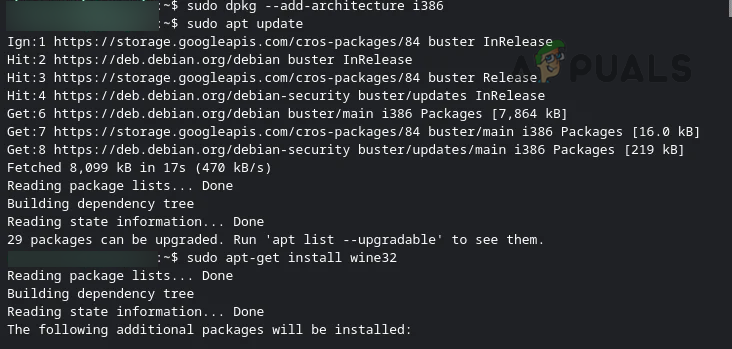
Install Wine on the Chromebook - Then wait till the operation completes and afterward, execute the following (one by one) in the Terminal to enable support for 32-bit applications:
sudo dpkg --add-architecture i386

sudo apt update

sudo apt-get install wine32
Enable 32-bit Support on the Chromebook
Download the iTunes 32-bit Version
- Launch a browser on Chromebook (like Chrome) and head to the iTunes page of the Apple website.
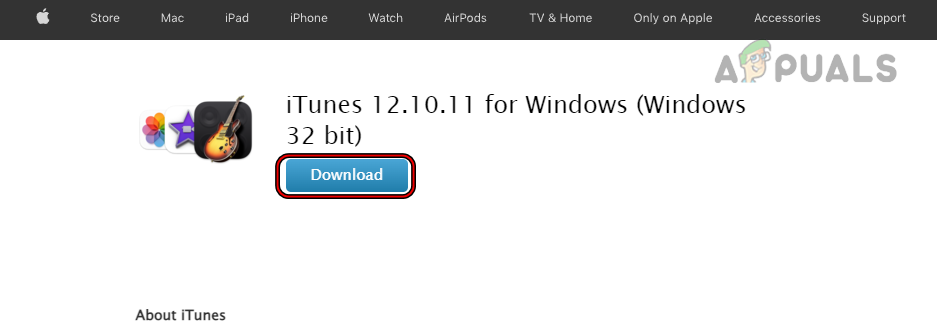
Download iTunes 32-bit Version of Windows - Now click on Download and save the file on the Chromebook. Make sure to rename the file as something like iTunes.exe.
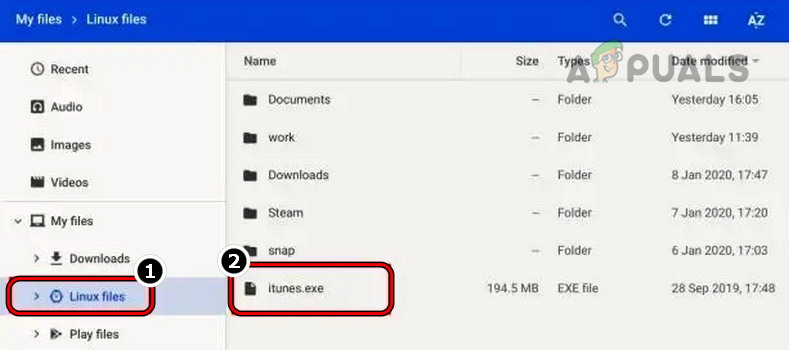
Move iTunes.exe to Linux Files - Then move the file to Linux Files or share the location where the file is downloaded to Linux.
Install Wine 32-bit Version
- Open the Linux Terminal and execute the following:
WINEARCH=win32 WINEPREFIX=/home/username/.wine32/ wine iTunesSetup.exe
- Now, in the iTunes installation window, click Next and then click on Install.
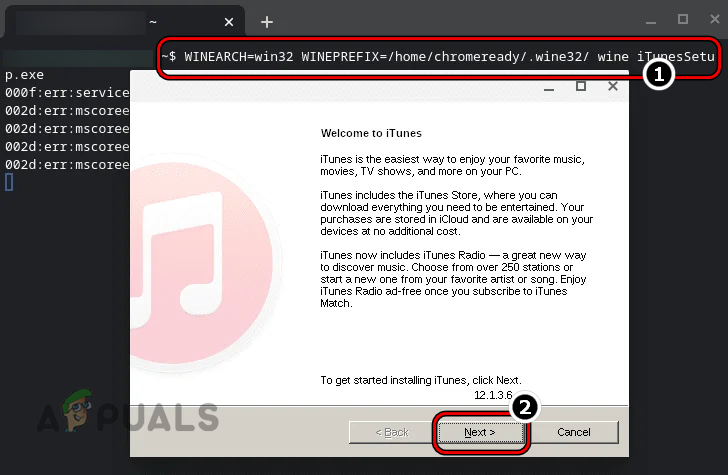
Install iTunes on Chromebook - Then follow the prompts on the screen to install iTunes.
- Now, open Applications on Chromebook and launch iTunes there to use it.
Create iTunes Shortcut
Some users might not like launching iTunes from Applications and may want to create a shortcut for it.
- Launch the File Manager of the Chromebook and go to the Linux Files.
- Now, click on the three vertical ellipses in the top right and select Show Hidden Files.
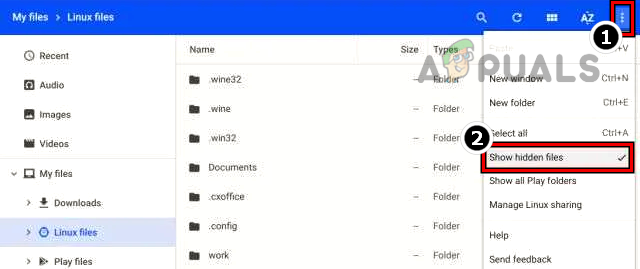
Show Hidden Files in Chromebook - Then navigate to the following path:
.local >> share >> applications >> wine >> Program Files >> iTunes

Open iTunes.desktop with Text - Now, right-click on iTunes.desktop and select Open With.
- Then, select Open With Text and enter the following after “Exec=” but make sure to replace <yourusername> with the actual username. Some users may have to install a Text app.
env WINEPREFIX="/home/yourusername/.wine32" wine "/home/<yourusername>/.wine32/drive_c/Program Files/iTunes/iTunes.exe"

Add Path of iTunes in iTunes.desktop - Now save the file and close the Text app.
- Then, launch iTunes from the App Drawer and ta-da, iTunes successfully, installed and running on the Chromebook. A user may also pin iTunes to the Chrome Shelf.
Use the iTunes Website
If the above method is too complicated for a user or does not work and the user is interested in Music from iTunes, then he may use the iTunes website but it will be better to create a shortcut to the website. For illustration, we will discuss the process of adding a shortcut for the Music page of the Apple website in the Chrome browser.
- Launch Chrome and head to the Music page of the Apple website.
- Now click on the three vertical ellipses in the top right corner of the window and in the Chrome menu, expand More Tools.
- Then, in the sub-menu shown, select Create Shortcut, and afterward, enter the shortcut name as iTunes.
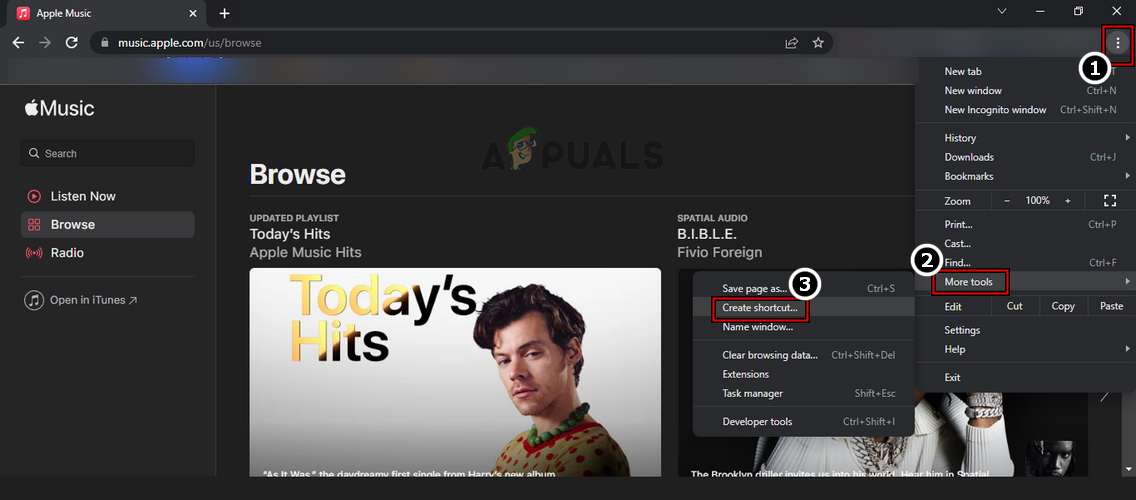
Create a Shortcut for the Apple Music Website in Chrome - Now a shortcut on the Chromebook’s desktop is available and can be used to listen to music from iTunes.
Import the iTunes Music to the YouTube Music
Many of the users may prefer to import iTunes music to YouTube music to take advantage of the Google ecosystem. A user is required to perform these steps on a PC.
- Launch a web browser and head to the YouTube music website.
- Now, drag and drop the iTunes music files to the YouTube music website.
- Then accept the YouTube TOS (if asked to) and wait till the process completes.

Drag & Drop the iTunes Music to the YouTube Music Website and Accept its TOS - Once done, iTunes music is available and can be played through YouTube music. The best part is YouTube music is supported on the Apple ecosystem (iPhone, iPad, etc.) through the YouTube music app and users can sync their files easily.
Use a Virtual Machine Application
There may be users who may be interested to take full advantage of iTunes on a Chromebook (but the Wine method did not work). For such users, using a virtual machine application is an ideal step. There are plenty of applications like Parallel Desktop for ChromeOS (it is a better option but paid one) but we will discuss the process for VirtualBox. There is a caveat to look for i.e., many of the Chromebooks with an ARM processor may fail to run a virtual machine and only Intel-based Chromebook may smoothly run a virtual machine.
Before proceeding, make sure to download a Windows ISO (if a high-end Chromebook is in use) or a lightweight Linux distro and the Chromebook does have space required for the guest OS of the Virtual machine.
- Launch a web browser on the Chromebook and head to the Linux downloads page of the VirtualBox website.
- Now click on Debian 10 and save the download (around 80 MB).
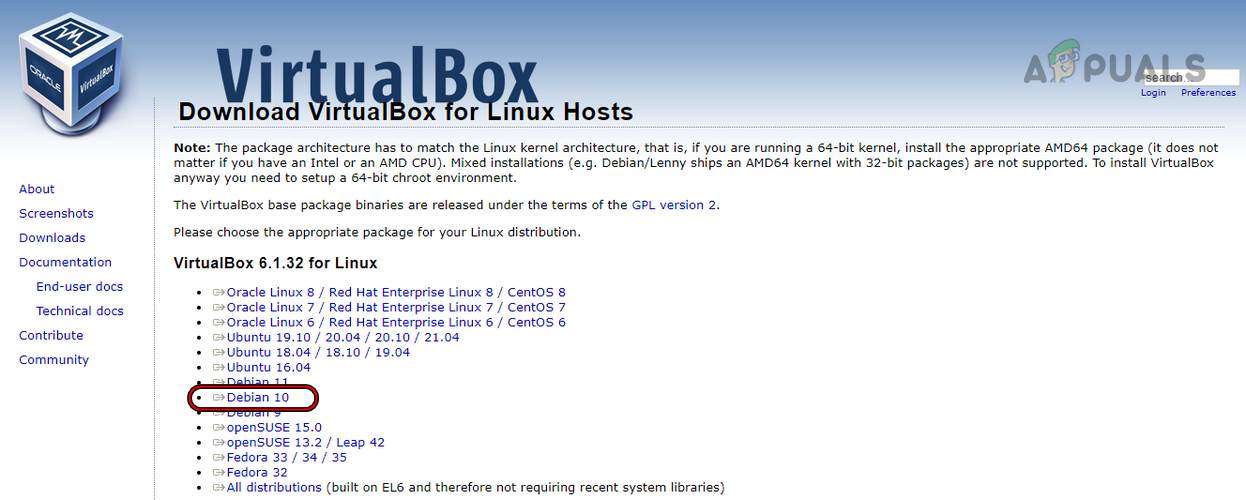
Download Debian 10 Version of VirtualBox - Once downloaded, head to the downloaded location on the Chromebook and double-click the downloaded file.
- Then select Install with Linux and follow the prompts on the screen to install VirtualBox.
- Once installed, launch it from the Linux Apps Folder, and in the VirtualBox window, click on New.
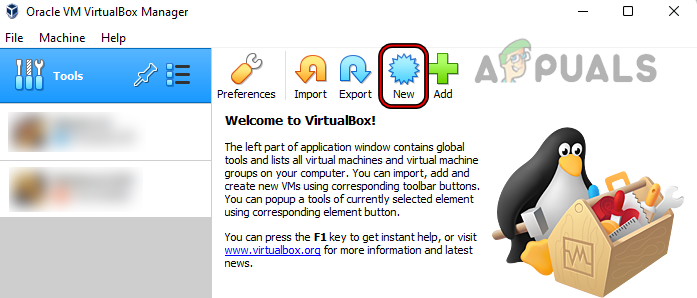
Create a New Virtual Machine in VirtualBox - Now follow the prompts on the screen to install a guest OS in VirtualBox like Windows (if the Chromebook is a high-end device) or a lightweight Linux distro.
- Once installed, launch the virtual machine and install iTunes on the guest OS.
- Once done, launch iTunes and ta-da, iTunes will be fully functional on the Chromebook.
Keep in mind Virtual machines are the heaviest way to run iTunes on a Chromebook.
The post How to Install iTunes on Chromebook Easily? appeared first on Appuals.com.


0 Commentaires