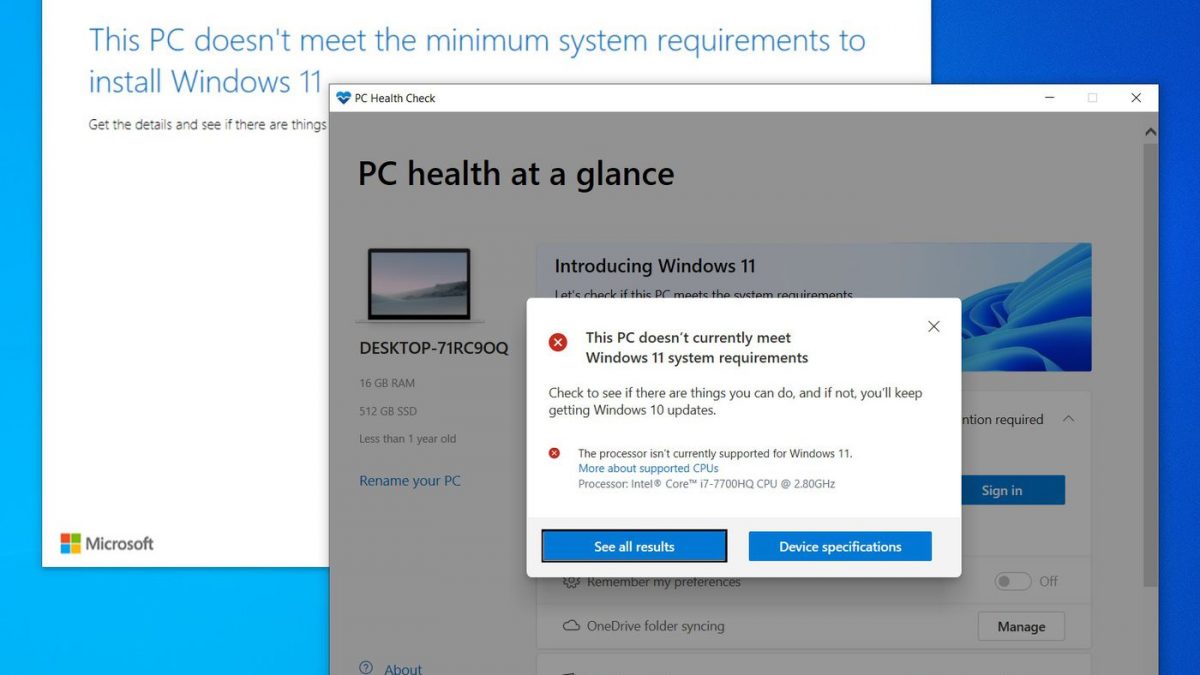
Windows 11 is here and almost everyone is excited to try the new operating system. Apart from new features and a new look, users were also surprised to see the minimum system requirements that came with Windows 11. The requirements were quite stringent and quite a lot of old systems were not eligible for an upgrade. Luckily, we are here to change that. This article will show you four ways you can still get Windows 11 if you don't meet the system requirements.
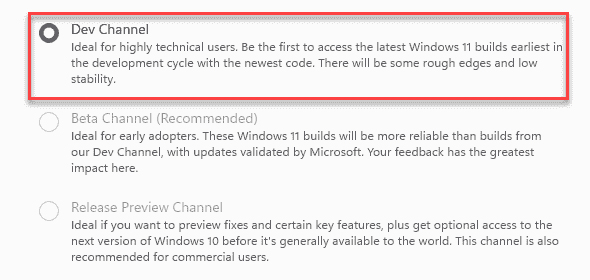
1. Manually Enroll in Dev Channel
June 24th was the cut-off date to enroll in the Dev channel. Now, unsupported systems can only enroll in the release preview channel. However, there is a way to still get Windows 11. Go to settings and click on update & security. Next, click on the Windows insider program and let it load. Click on get started when it loads. You may be prompted to link to your Microsoft account. Once you do so, select release preview channel and then click confirm. Restart your system once confirmed.
Once your system has rebooted click on the start menu and type regedit. Once the registry editor shows up, click on it. Type the below address in the address bar.
HKEY_LOCAL_MACHINE\SOFTWARE\Microsoft\WindowsSelfHost\Applicability
This will bring up many things on the right side of the screen. Open BranchName by double-clicking and inputting Dev in the value. Similarly, open ContentType and input Mainline in the value field, and after opening Ring, input External. If these values don't exist, try enrolling in the insider program again. Restart your computer and you will be part of the Dev Preview ring.

2. Enroll in Dev Channel With a Script
If the above method did not work for you, you can enroll in the Dev program using a script. First, download the OfflineInsiderEnroll script from the official page. Once, downloaded, right-click and run as administrator. A command prompt window will open. Choose option 1 and hit enter. The script will run and let you know when it's done. Once done, go to settings and then click on update & security and then click on windows insider program. You will see that you're part of the Dev channel. Check for updates and see if you have a Windows 11 update available.

3. Install Windows 11 After Creating a Hybrid Installer
This method should work if the above two didn't. By now you know that the system requirements of Windows 11 do not allow you to go ahead with the installation on ineligible PCs. What if we told you that you can use the Windows 10 installer and install Windows 11? You can do so by creating a hybrid setup.
Checking the Boot Mode
Open your start menu and type in the words msinfo. You will see system information in the search results. Open the system information and choose system summary from the left pane. On the right side, you will see BIOS mode. Note down what is written next to it.
Creating a USB
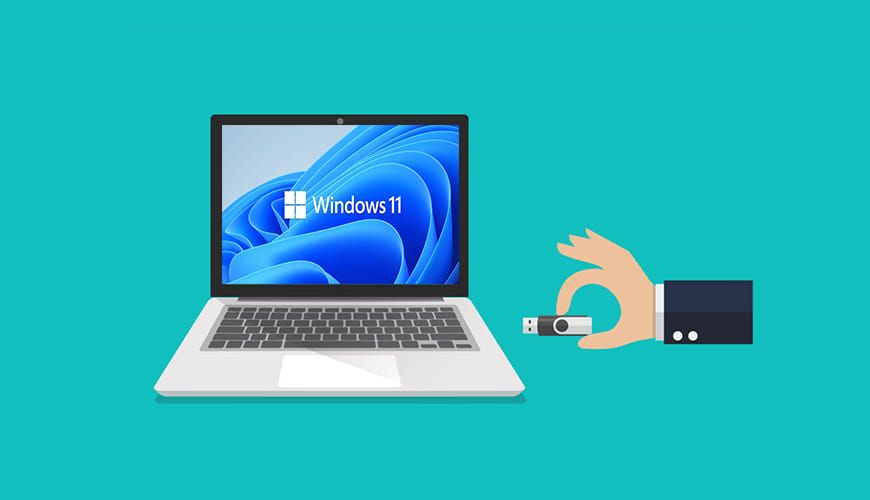
Next, download the latest Windows 10 ISO files. Burn the ISO files to a USB. If your BIOS mode was Legacy, you must use the MBR partition scheme. If the mode was UEFI, use GPT. This will create a Windows 11 USB installer.
Creating a Hybrid Installer
Download the latest ISO files for Windows 11. You will find these files from various sites online. Once it is downloaded, open the USB where you have saved the Windows 10 files. Look for the source folder and scroll till you see install.esd or install.wim. Rename it as install1.esd or install1.wim. Go to the Windows 11 ISO file, right-click it and then click on Mount. In a few seconds, you will see a DVD drive popping up in File Explorer. Click that drive and go to the sources folder. Look for install.esd or install.wim. If this extension matches the Windows 10 extension, copy the Windows 11 file and paste it into the Windows 10 folder. If the extensions don't match, you need to convert the Windows 11 install file first. You can then use the installer to upgrade to Windows 11.

4. Upgrade Using Compatibility Check File
This method is an addition to the first and second methods. If you get compatibility issues during these steps, you will be told where your system is incompatible. Every Windows setup would have an appraiser service. This will check to see if your computer meets the requirements. You can replace the Windows 11 file with a Windows 10 file.
For this, you must first download the Windows 10 ISO files. Double-click it and mount it. It will now show as a DVD drive. Look for the appraiserres.dll file in the sources folder. Copy that file on your desktop. Now go to your current Window setup and look for the appraisers file. Rename that file as appraiserres1.dll. Now copy the file from your desktop and paste it here. Next, double-click on the setup.exe file. Now, burn your Windows 11 ISO files to a USB drive. Go to the USB drive and open the sources folder. Look for the appraisers DLL file and rename it as appraiserres1.dll. Replace it with the file copied earlier and run the setup file again.

Windows 11 Is Within Reach
Now that you know how to install Windows 11 on incompatible systems, you should have the new operating system on your PC in no time. Make sure you follow these steps correctly to get your system upgraded without any errors.
Thank you for being a Ghacks reader. The post 4 Tested Ways to Install Windows 11 on Unsupported CPU appeared first on gHacks Technology News.


0 Commentaires