“The computer has rebooted from a bugcheck” is an error message that appears when your PC recovers from a BSOD error after a restart. There are variations of bugcheck error, just like a BSOD error. When this error appears, it often indicates there is a problem with a driver, whether it is the anti-cheat kernel level driver or a system driver.
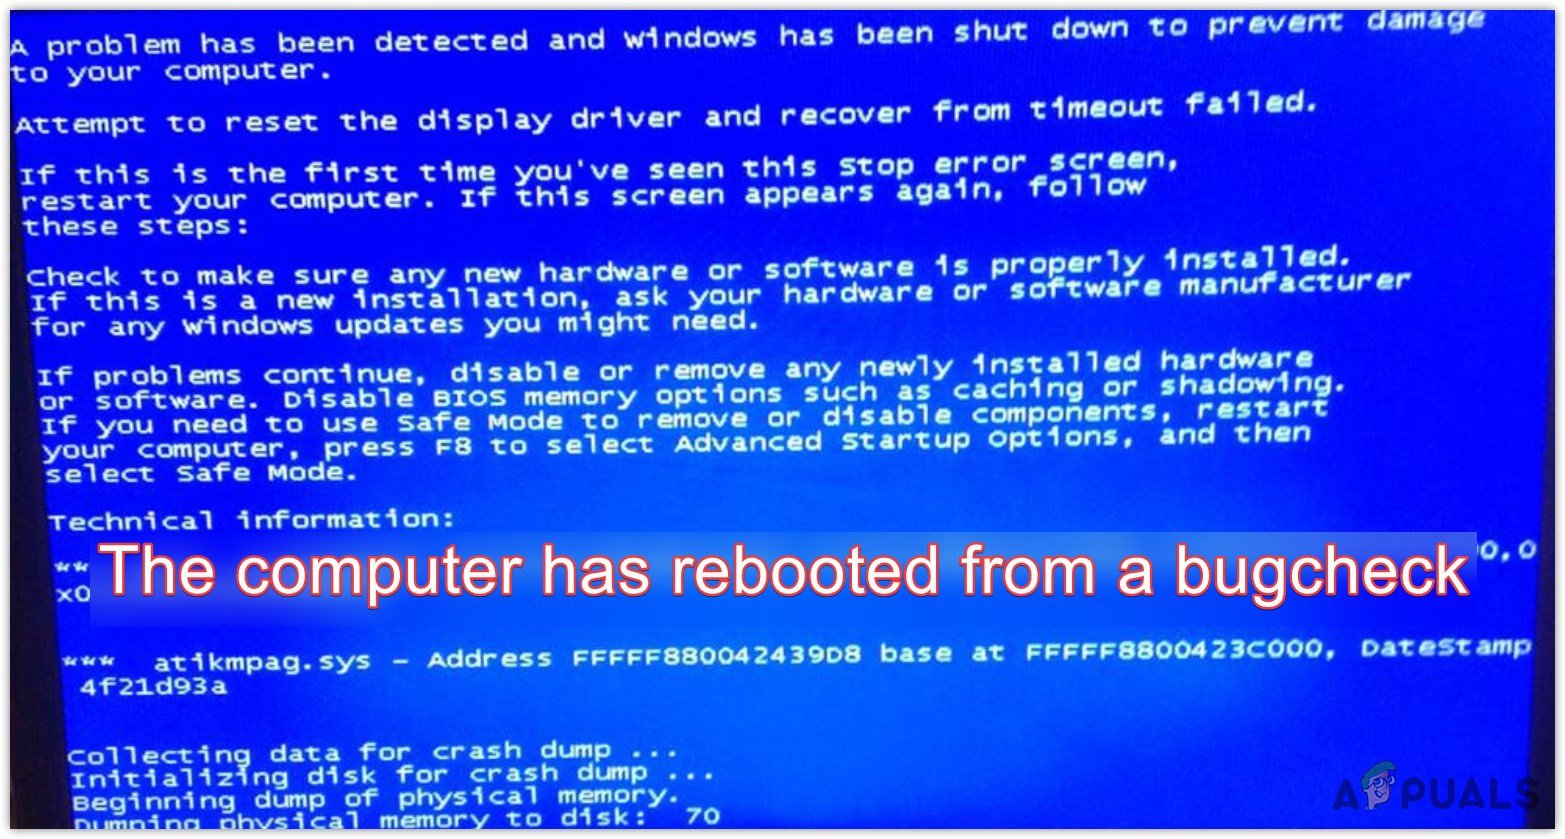
The bug check error also means there is some critical process that has stopped working. As a result, your Windows keeps restarting from BSOD with the bugcheck error. To fix this error, you will have to identify the problematic driver on your PC or even a problematic hardware component causing this error.
If you are receiving this error while playing a specific game such as MW2 and VALORANT, then you should also consider reinstalling its anti-cheat software, which can fix this error. Before you move on to the methods, it is important to keep in mind that every bug check error is different, so you should follow all the methods to fix your bugchek error.
1. Remove GPU, CPU, and RAM Overclocking
If you have overclocked your GPU, CPU, or even RAM, the first thing you should do is reset the overclock settings to default, as incorrect overclock settings can cause your components to overheat, which can result in different BSOD errors and also cause “The computer has rebooted from a bug check.” Hence, try removing overclock settings.
Below we have listed the steps for resetting the GPU overclock settings. If you overclocked your RAM from bios, just navigate to the bios settings and disable the XMP feature. Same with CPU overclocking, access the bios settings and reset the CPU overclocking to default.
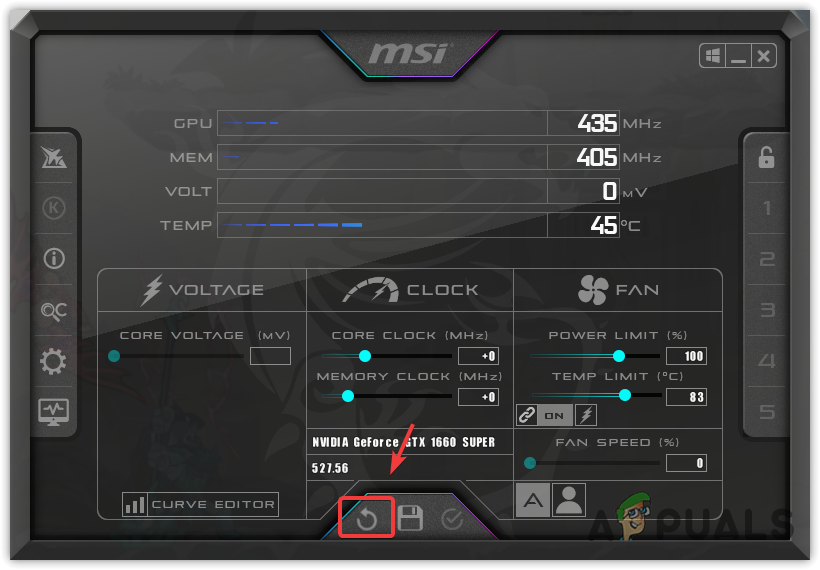
- To reset the GPU overclock settings, open the overclock application.
- Now simply click the reset button to remove the overclock settings.
- You can also uninstall the overclock application to remove the overclock settings.
2. Run Driver Verifier
In most cases, The computer has rebooted from a bugcheck occurs when there is a problem with one of the system drivers. So to identify which driver has a problem, we use Driver Verifier, which is a troubleshooting utility that checks for drivers installed on your Windows.
Once you run this utility, your drivers will be tested after the restart. If Driver Verifier detects any violation, it will show the BSOD error with the causing driver name. To do so, follow the steps.
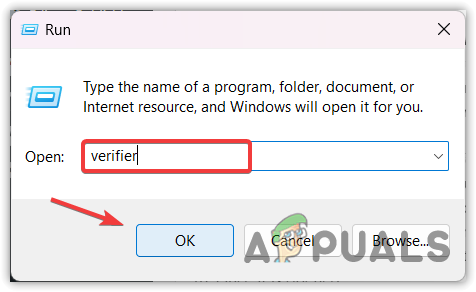
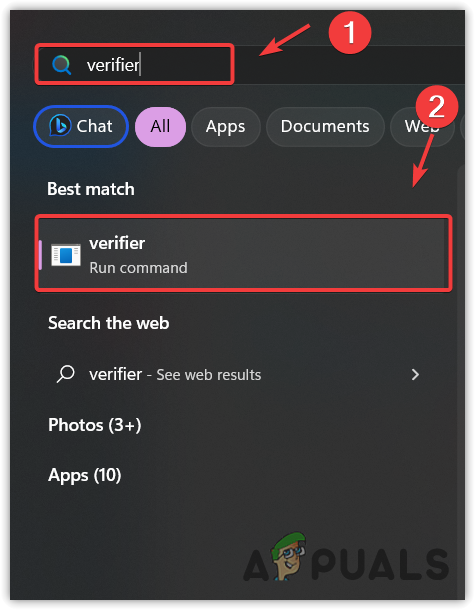
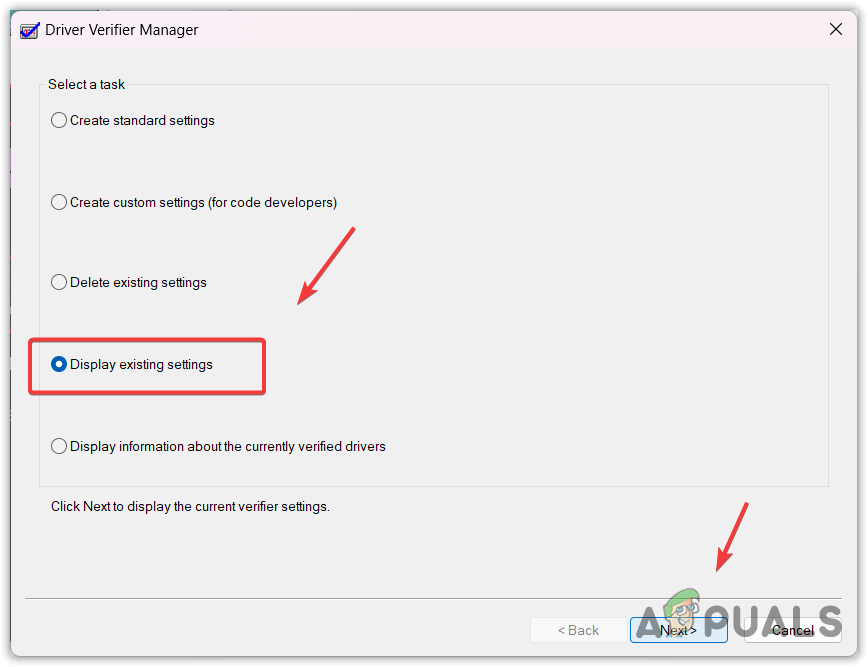
- To run the driver verifier, press the Win + R keys simultaneously.
- Here type verifier and click OK to run the utility.
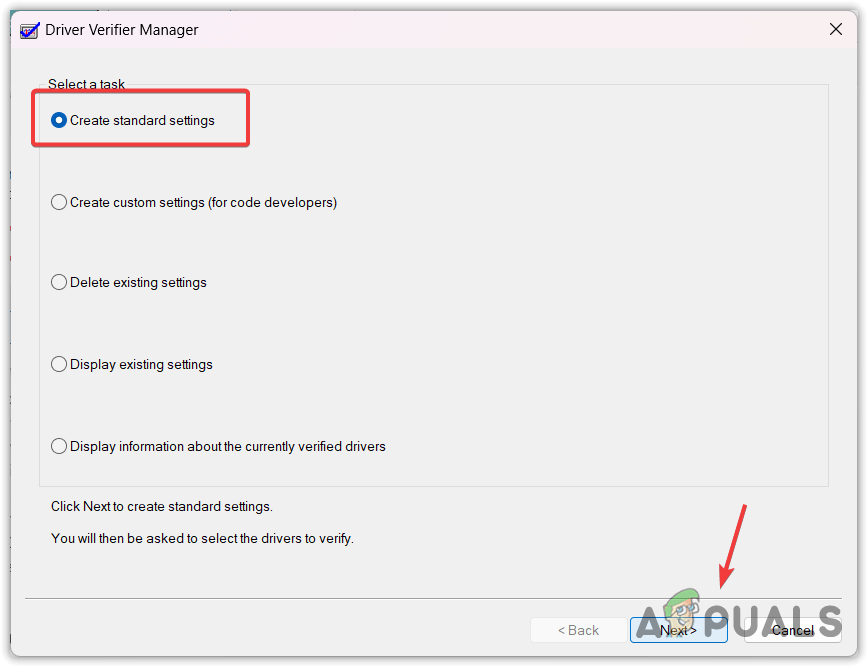
- Now choose Create standard settings and click Next.
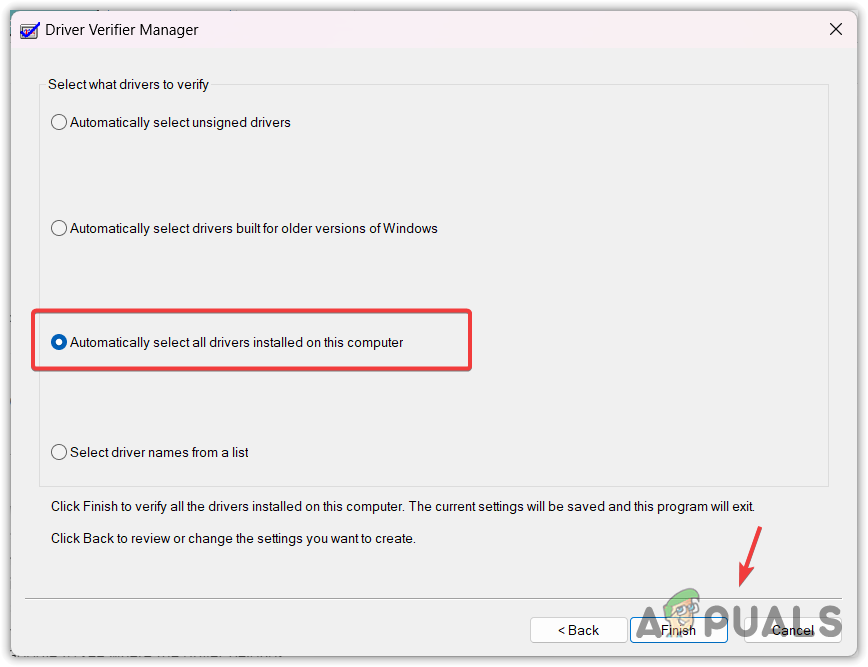
- Choose Automatically select all drivers installed on this computer and click Next.
- Once done, click Finish, and restart your computer to begin the test.
- Once your PC is restated, just wait for the driver verifier to detect the problematic driver.
- If it detects any problem, it will crash your system by showing a BSOD error. Don’t forget to note the driver’s name, which should be mentioned on the bottom left as a stop code.
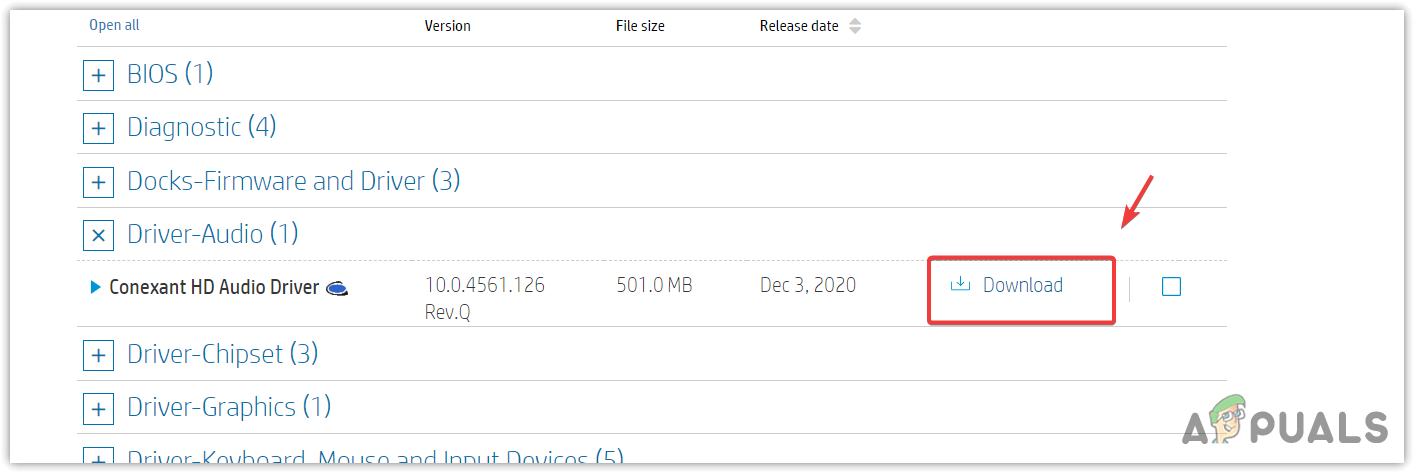
- Once you noted the stop code, search it on Google to determine which device it belongs to. For example, it the driver belongs to the audio driver, reinstalling it will fix this issue.
- Once done, right-click the Start Menu and select Device Manager to open it.
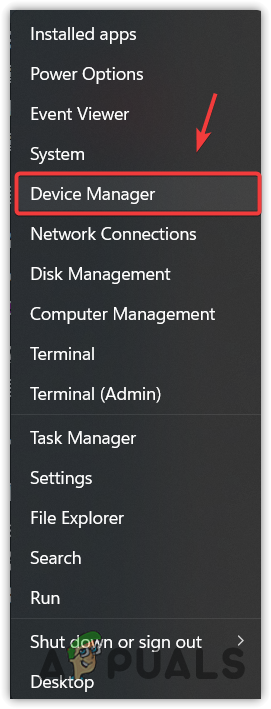
- Once it is opened, right-click the problematic driver and select Uninstall device.
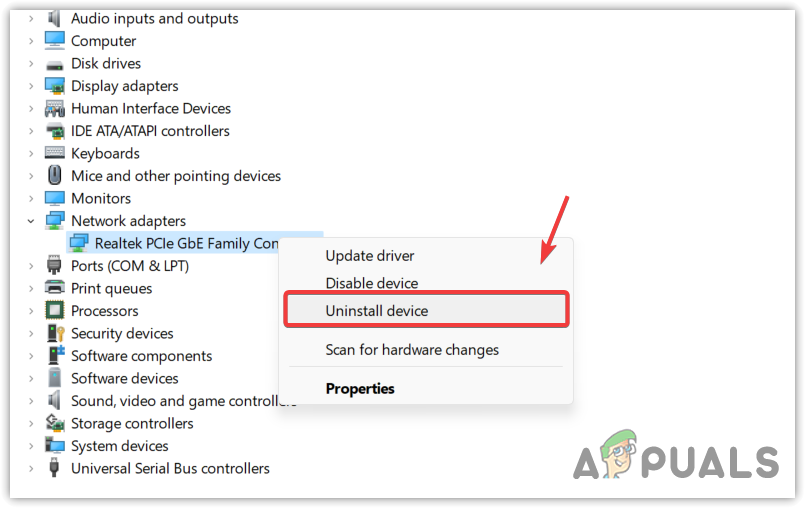
- Once again, click Uninstall to confirm.
- Click the Start Menu and type Verifier.
- Run the utility and select Delete existing settings.
- Click Next and click Finish.
- Restart your computer, and your problem should now be resolved.
3. Use DDU to reinstall the GPU driver
Before we move on to analyze a dump file, which might become lengthy for you, it is recommended to first reinstall the graphics driver, as this error mostly appears when there is a problem with the graphics driver.
To uninstall the graphics driver, we recommend DDU over uninstalling the driver from the device manager. DDU, or Display Driver Uninstaller, is an application that allows users to remove drivers completely from the system along with registry files. To do so, follow the steps:
- Download Display Driver Uninstaller from the link.
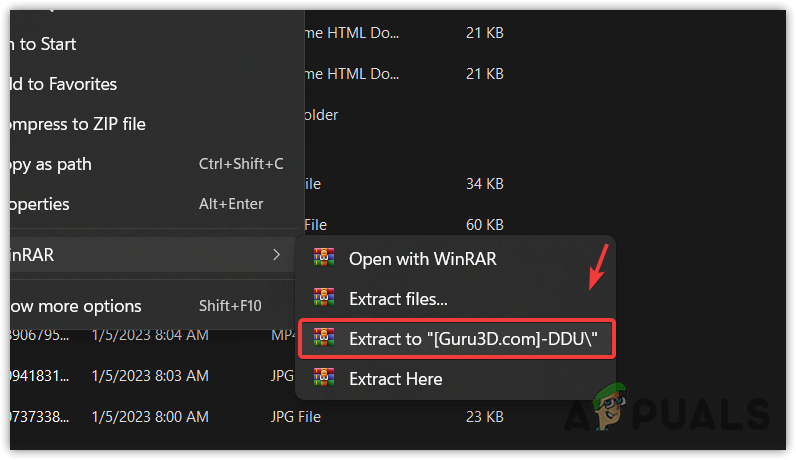
- Once you have downloaded it, extract the DDU folder using WinRAR or 7zip.
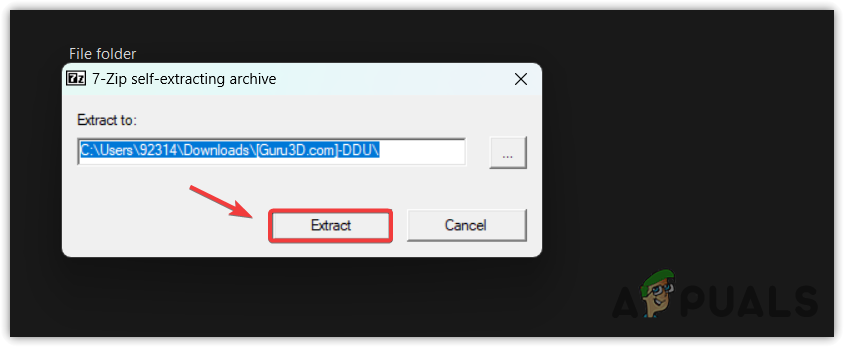
- Then, navigate to the folder and run the 7Zip extractor.
- Click Extract and go to the extracted folder.
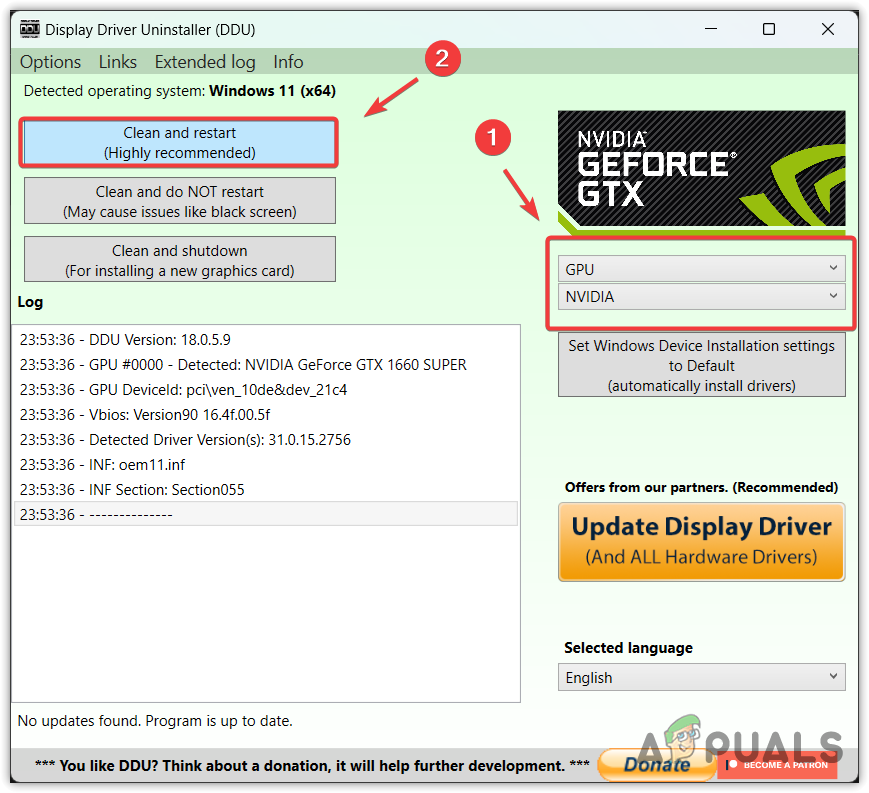
- Here run the Display Driver Uninstaller.
- Select the Device and Device type from the right.
- Then, click Clean and Restart to uninstall the drivers.
- Once done, head to your GPU manufacturer’s site and download the GPU from there.

- Once it is downloaded, run the driver installer and follow the simple installation instructions to install the driver.
4. Analyze a Minidump file
A minidump file contains important data about system crashes. When a BSOD error occurs, or the system crashes, the minidump file automatically generates on a system drive. A minidump file automatically generates by default; you don’t need to tell the Windows to generate it. However, if your Windows is not configured to generate a minidump file, you can follow the steps. Otherwise, proceed to read or analyze a minidump file.
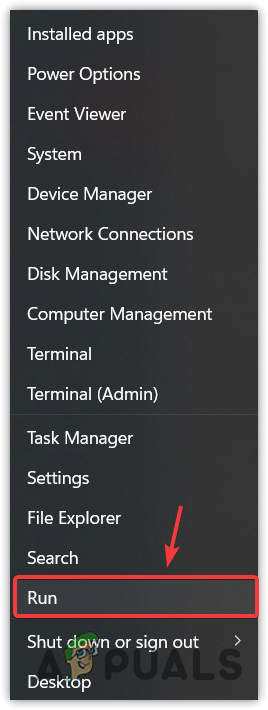
- Right-click the Start Menu and click Run to open Run Window.
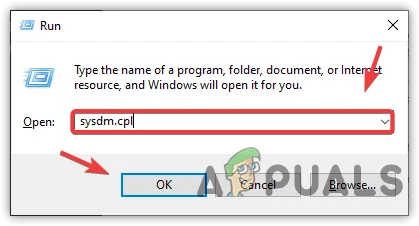
- Type sysdm.cpl in the search box and click OK to navigate.
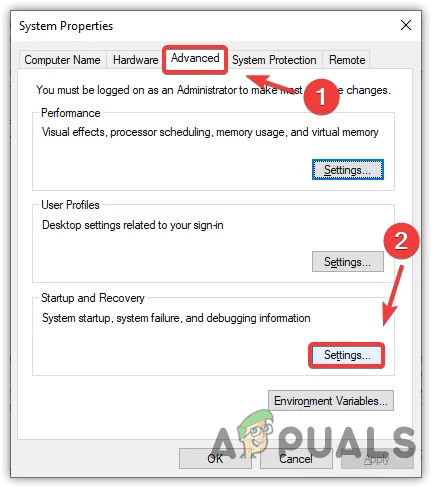
- Now go to Advanced, and click Settings under Startup and Recovery.
- Here make sure that the Small memory dump (256 KB) option is selected under Write debugging information.
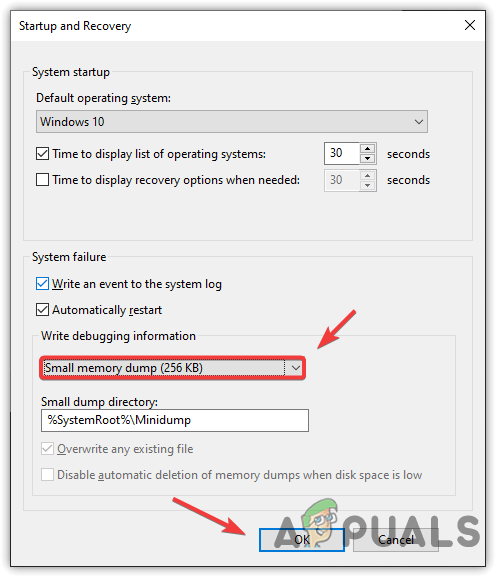
- Once done, click OK, and again, click OK to close the Window.
- Wait for the BSOD error to occur, then follow the steps to read a minidump file.
5.1 Read a Minidump file
Now your next step is to read a minidump file. For that, you will have to download a Software Development tool, which is a package of debugging tools that you can use to read a minidump file. To do so, follow the steps:
- Download a Software Development Kit using the link.
- Once it is downloaded, run the installer and click Continue and click Next.
- Here unselect all the tools except Debugging Tools for Windows.
- Then, click Download and wait for it to complete the downloading process.

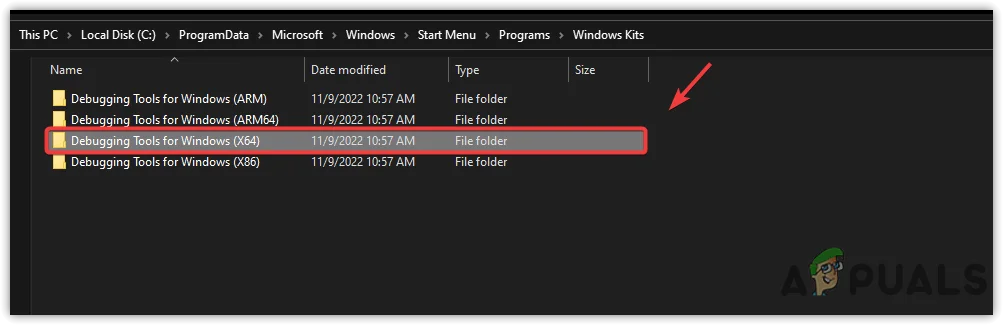
- Once done, click Close. Then navigate to the following directory.
C:\ProgramData\Microsoft\Windows\Start Menu\Programs\Windows Kits
- Here open the folder Debugging Tools for Windows (x64) or (x86), depending on your Windows architecture.
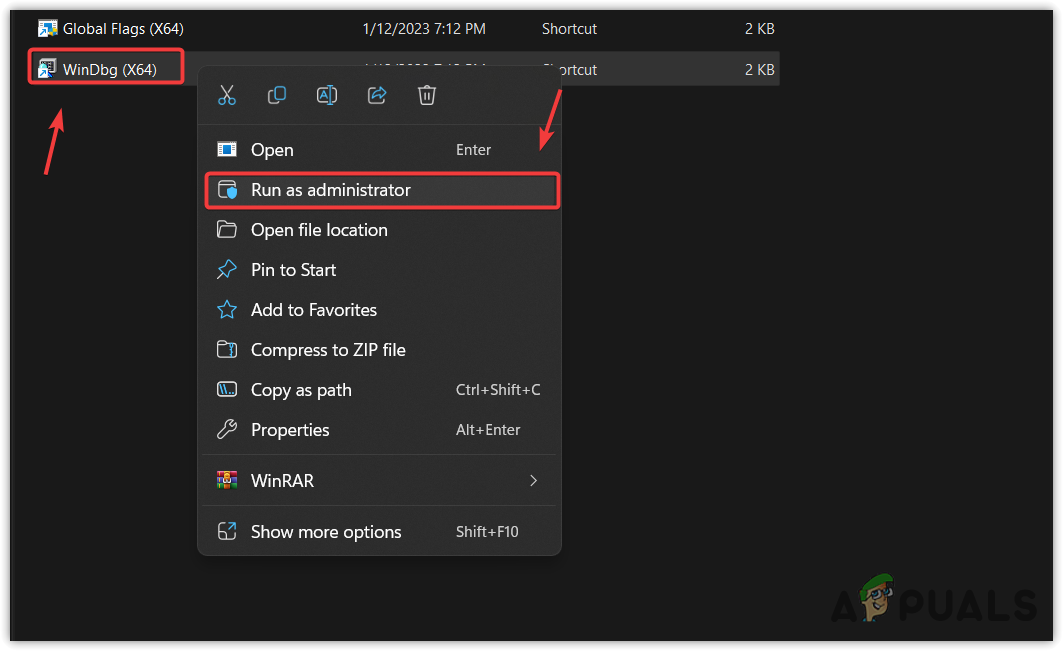
- Run the WinDbg (x64) application as an administrator by right-clicking on it.
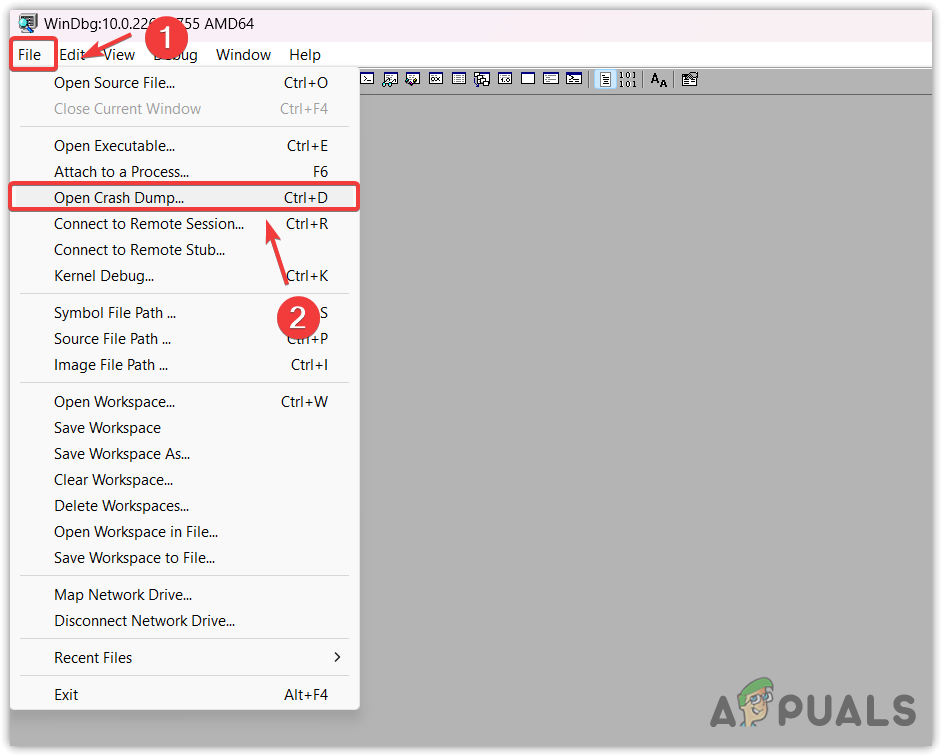
- Click File and select Open Crash Dump from the listed options.
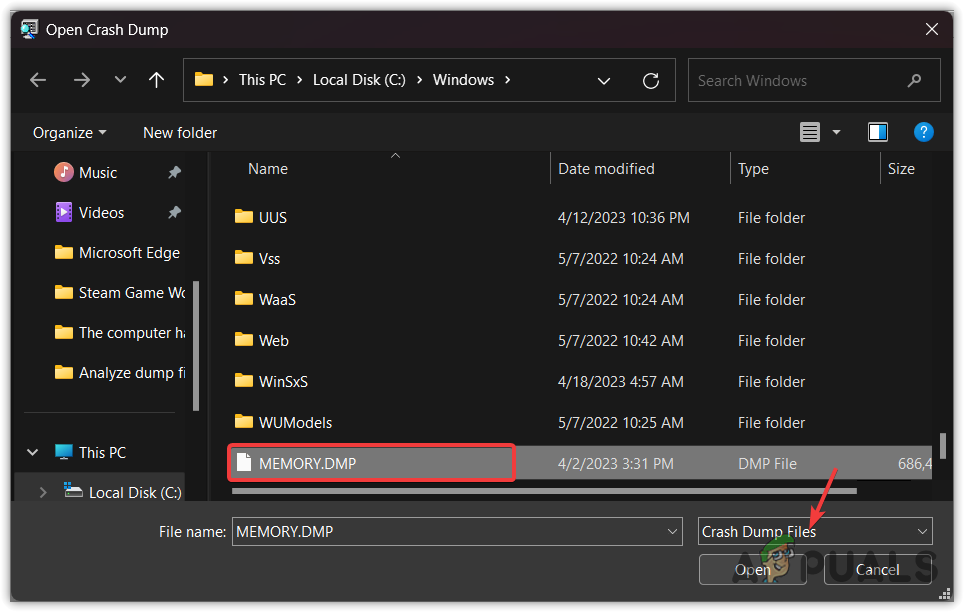
- Navigate to Windows > System32.
- Here select MEMORY.DMP and click Open.
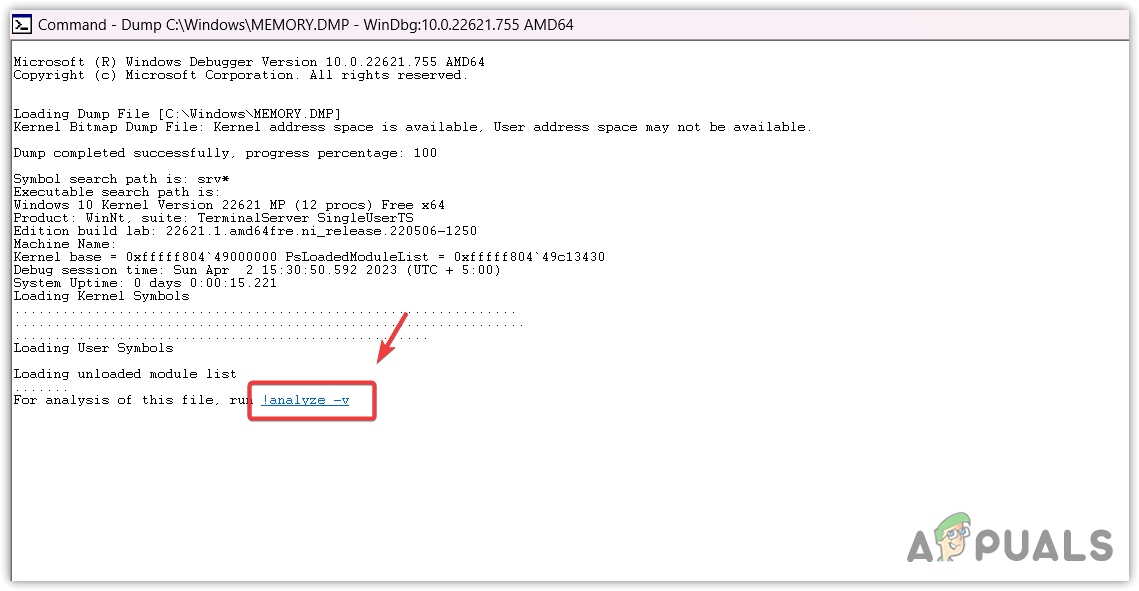
- Wait for the Minidump file to load properly.
- Once it is loaded, click !analyze -v to view more information.
- In my case, you can clearly see that my computer crashes due to vgk.sys, which is a Vanguard anti-cheat file of VALORANT.
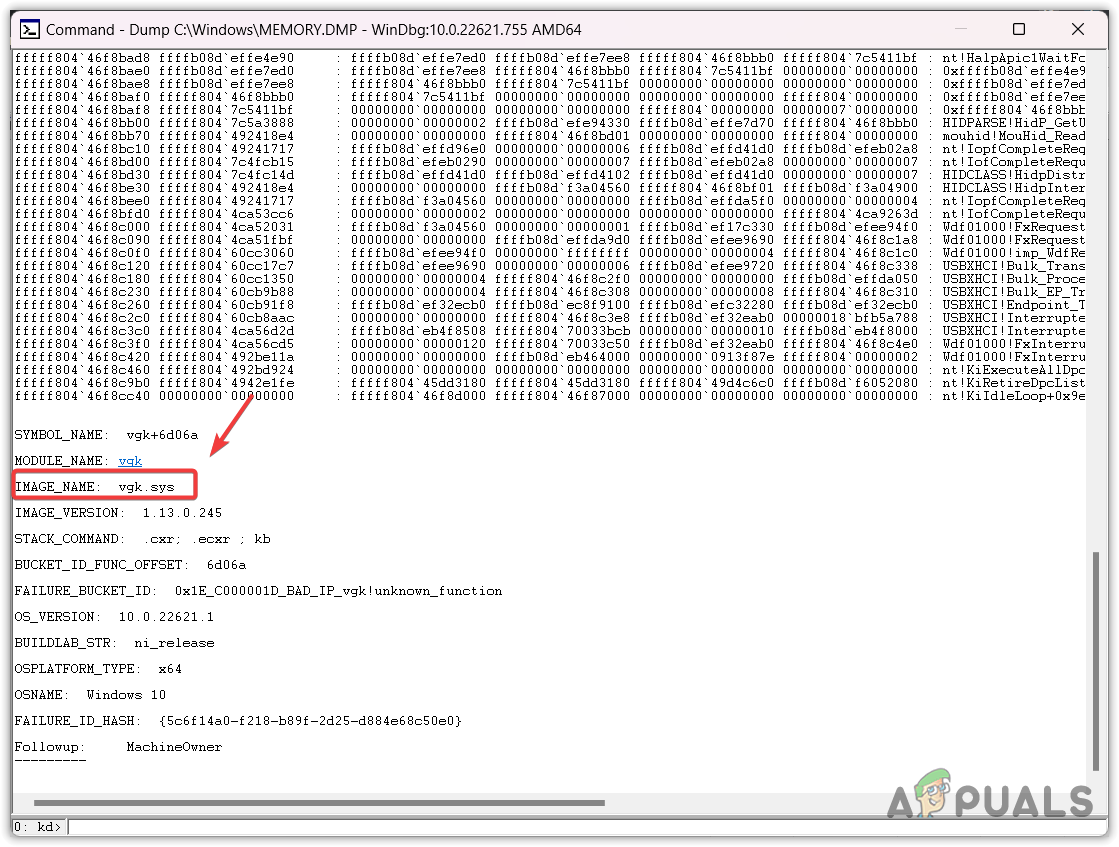
Your computer can also crash due to a corrupted driver, so to confirm this, search the Image Name as shown in the screenshot above on Google to determine which device it belongs to.
If it belongs to a network driver or any device driver connected to the computer, reinstalling it will fix the BSOD and bug check error. However, if it belongs to the game’s anti-cheat system, reinstalling it will also fix your error.
5.2 Reinstall the corrupted driver
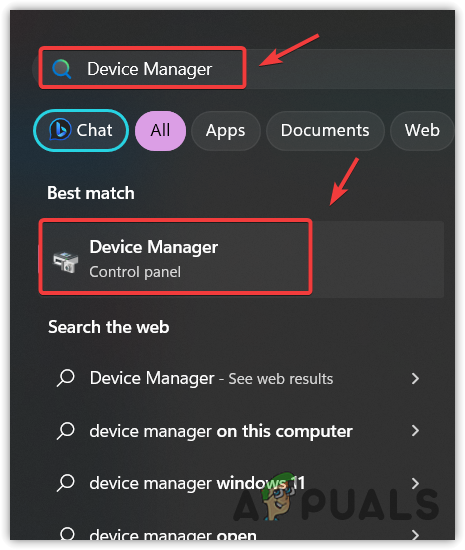
- To reinstall the corrupted driver, click Start Menu and search for Device Manager to open it.
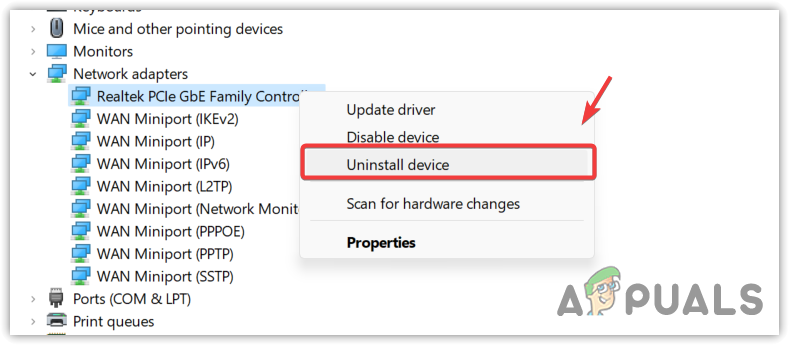
- Once the device manager is opened, right-click the corrupted device driver.
- Select Uninstall device. Again click Uninstall to confirm.
- Once done, now, if it is a network driver, GPU driver, or even Realtek driver, go to the official website and download the driver installer from there. If you have a laptop, go to your laptop manufacturer’s site to download a driver.
- But if it is a keyboard, mouse, or any other device driver installed by Windows. You can simply restart your computer to install the driver.
- Once done, now BSOD issue should be fixed.
6. Run System File Checker
This error can also occur due to corrupted system files because some BSOD errors can be caused by corrupted system files. Hence, we will try running the System File Checker (SFC) command, which will verify the corrupted files and restores them from the cache folder located at %WinDir%\System32\dllcache.
To run the SFC command, follow the instructions:
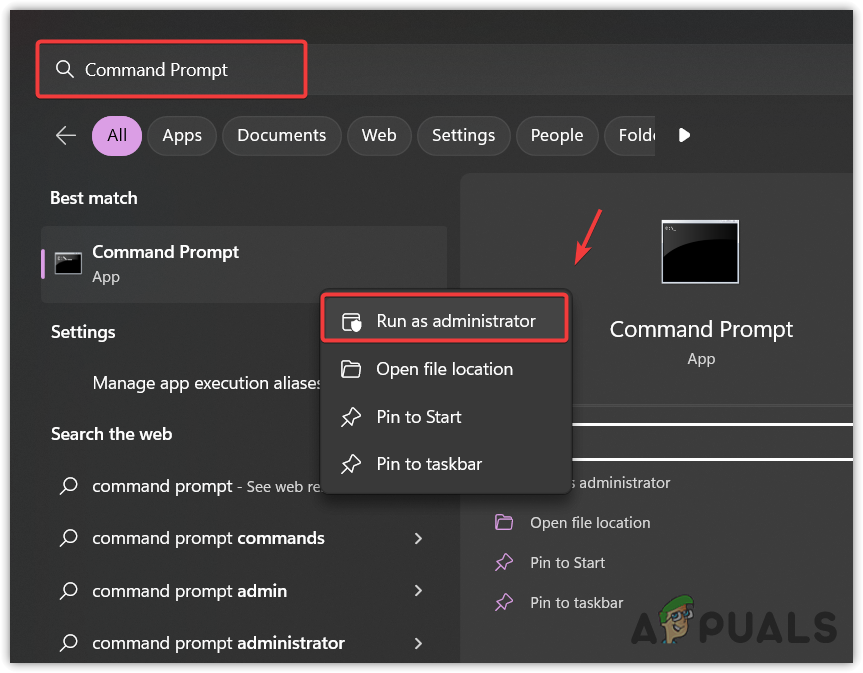
- Press the Windows key and type Command Prompt.
- Right-click on the Command Prompt and select Run as administrator.
- Then, type the following command and hit Enter.
sfc /scannow
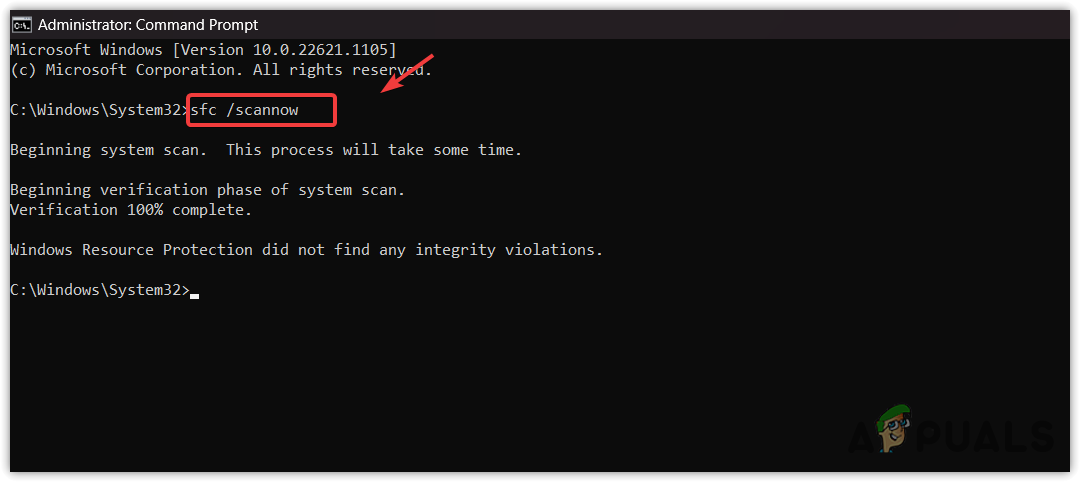
- Once done, wait for the verification to be finished, then check if this bug check error is fixed or not.
7. Reinstall the Game Anti-cheat
If you are facing this error on a specific game such as MW2 or VALORANT, you should try reinstalling the game’s anti-cheat program.
You might wonder why reinstalling the anti-cheat program. Most of anti-cheat system runs with a kernel driver to prevent the cheaters from taking unfair advantage. Hence, it is possible that the anti-cheat driver is causing BSOD issues, which is why you keep getting this bugceck error whenever you play that specific game. To prevent this, try reinstalling the anti-cheat system.
8. Use a System Restore utility
If you have created a restore point in the past, then this can be very helpful for you to fix this error. If you don’t know about a restore point, it is a troubleshooting utility that allows users to restore a previous state, or you can say the previous version of Windows when everything was working properly.
Since it requires a restore point, you might not have that if you have learned about a System Restore utility in this article. In this case, you can reset your Windows, which basically will uninstall all the drivers, including the corrupted ones.
We recommend you first check the restore point even if you have not created it because Windows redistributables, driver installation, and even optimization applications often create a restore point, so if something bad happens, the user can restore to the previous version.
To use a system restore utility, follow the steps:
- Press the Windows key, and enter the System Restore utility, which is rstrui.

- Run the command and click Next.
- Now select a restore point and click Next.
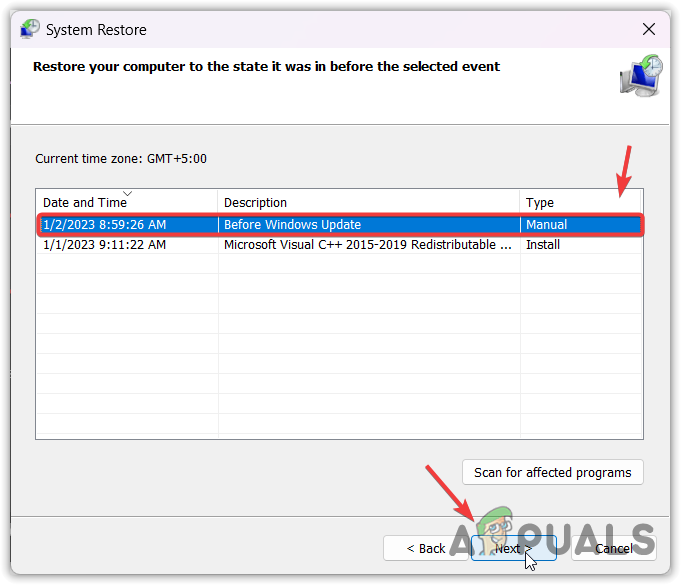
- Click Finish to start the restore process.
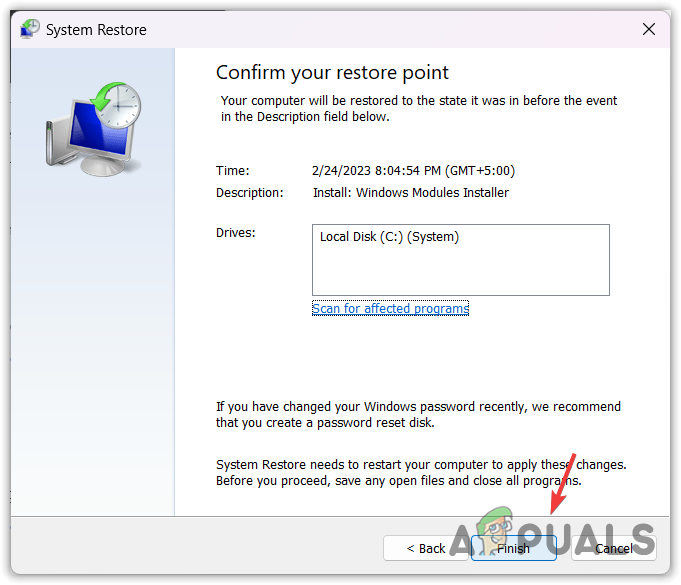
- Once done, see the result.
-The computer has rebooted from a bugcheck FAQs
The bugcheck error can be caused by several reasons, as there are several variations of this error. But one of the common reasons that you see in many bugcheck errors is corrupted system drivers, especially graphics drivers.
To fix this bugcheck error, you will have to diagnose your system properly. For that, you can analyze a minidump file which will tell you the exact driver name that crashes your system.
The post Fix: The computer has rebooted from a bugcheck appeared first on Appuals.com.


![Fix: An Error [-5005 : 0x80070002] Has Occurred While Running the Setup](https://lh3.googleusercontent.com/blogger_img_proxy/AEn0k_uIvilt_P9zIXlAgRfKoBYY46mjpyk61pE011ItDpYC-h5EF8eXlCCseqlGJBe6bbGaYrhg7hGi68DcnfY43d83tpXCgs9soQSygnpnpOp-zg4pJqLoXSn99UuPGtLozfhq6Qc=w680)


0 Commentaires