When using Microsoft Teams, the best way to show that you are currently active is by changing your status to green. The status stays the same until it detects any activity. However, sometimes Microsoft Teams automatically changes your status to “Away” despite you being active. This common issue is mostly caused when your system is inactive. This changes your team’s status automatically and as a result, makes you appear inactive.
This guide will walk you through all easy the methods to keep your Microsoft Teams Green.
1. Use an App to Simulate Mouse Movements
When you leave your system at an idle state, Microsoft Teams automatically assumes that you are inactive and as a result it alters your active status. To prevent this from happening, you must keep moving your mouse time to time to keep your system active. An easy way to do this is by using the Wiggler Mouse app that allows you to move your mouse without interacting with it. Below are the steps to downloading and using the app:
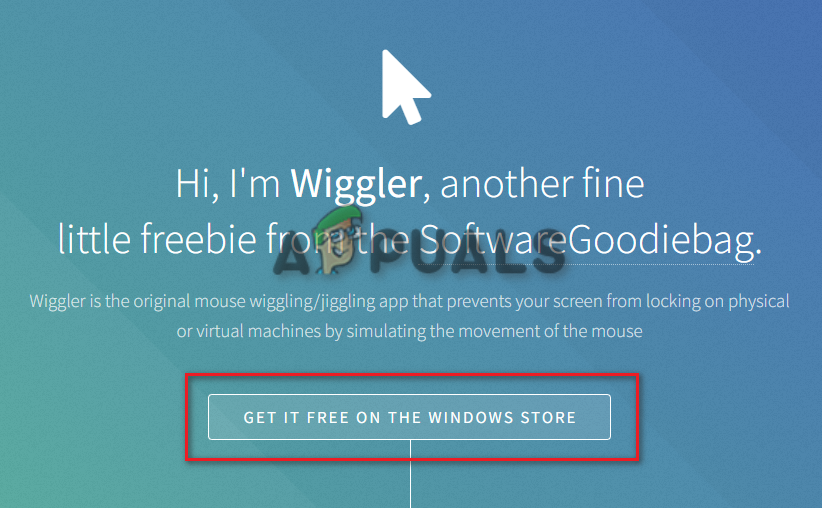
- Open the Official Wiggler Website.
- Click on the “Get free on the Windows Store‘ option.
get free on the Windows Store - Get the app by clicking on the “Get in Store app” option.

Get in App store - Once the Microsoft Store is open, select “Get” and let the app download and instal on your system.
Downloading app on MS store - After downloading the app, simply click on “Open”
Opening the app - Now, click on the “Start” option under “Basic”
Starting Wiggler app - You can now use this app to keep your mouse in an active state.
2. Set the duration for your active status
Being able to change your active status and setting a duration to it is another key feature of using Microsoft Teams. You can use this feature to set a particular time period to your status before it expires and resets. You can do that by following the steps we have mentioned below:
- Open your Microsoft Teams app on the system.
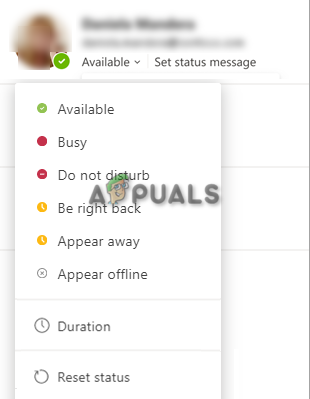
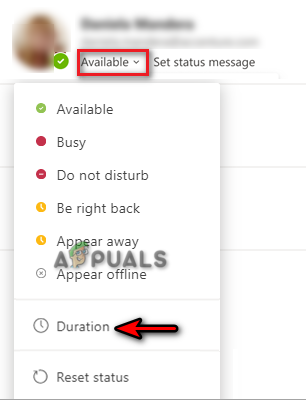
- Click on the status option under your name.
- Select the “Duration” option above “Reset Status.”
Setting status duration - Under “Status” click on the drop menu and select “Available” as your primary status.
- Now, select the duration till you want your status to be “Available.” We would recommend going for a custom reset duration.
- Click “Done” to confirm the actions.
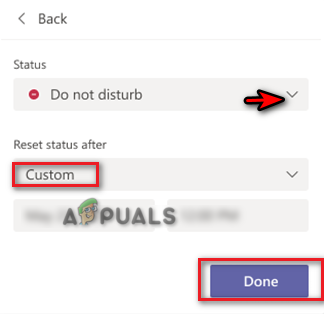
Resetting status to custom time
2. Create a meeting with yourself
Microsoft Teams Meeting is another known way to keep your Teams status top Available at all times. All you have to do is create a random meeting with yourself and let the app think that you are currently active. Below are the instructions you must follow to perform this method:
- Open your Microsoft Teams account (you can open it from the tray)
- Select “Calendar” on the left side of the team’s window.
- Click on the “Meet now” option in the top right corner and select “Start Meeting.”
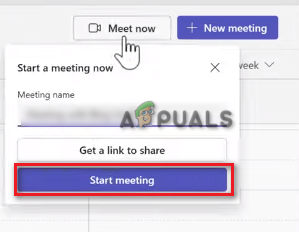
Starting Microsoft Teams meeting - Minimize the Meeting Window and click on your profile
- Select “Available” as your current active status.

Setting status as Available
3. Set a status message
Although Status messages are a great way to communicate with others on Teams, they are also used for keeping you active regardless if you are working or not. You can set a status message every now and then to keep your availability status active. Below we have given the steps to set a status message on Teams to keep your status active.
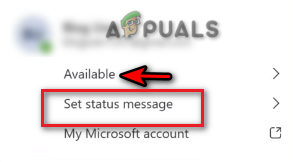
- Click on your profile and select the status “Available”
- Start writing a status message by clicking on the “Set status message” option.
Setting a status message - Select the box and type a message to notify everyone about your availability. Make sure to not write a generic message.
- Click on the drop menu under “Clear status message after” and select “Never.”
- After typing a status message, click “Done” to confirm the actions.
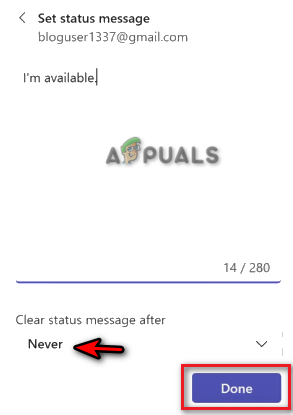
Typing a status message
4. Disconnect current profile from teams
Your current account is known to clash with your Microsoft Teams and as a result, prevents the correct status from being shown or prevents you from being available all the time. You can resolve this issue by removing and re-adding your current profile from your Microsoft Teams. You can do that with the steps below:
- Press the Win + I keys together to open the Windows Settings page.
- Navigate to Accounts > Access work and school.
- Select your work account and click on the “Disconnect” option.
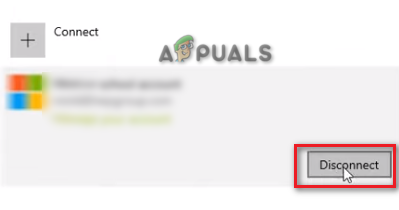
Disconnecting account - Now, you can go back and add-in the account after a few minutes.
- This will reconnect you to your MS Teams account and resolve the active status issue.
5. Use the deactivation script to stay active
This is a trick method that allows you to stay active on Microsoft Teams for as many minutes as you want. You can perform this method by using the script provided below to disable sleep mode on your system for as many minutes as you want:
- Open the Run Command by pressing the Win +R keys together.
- Type “Notepad” and open the Windows Notepad.
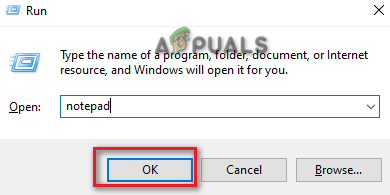
Opening the notepad - Copy and paste the following script into the notepad.
Dim objShell, lngMinutes, boolValid Set objShell = CreateObject("WScript.Shell") lngMinutes = InputBox("How long you want to keep your system awake?" & Replace(Space(5), " ", vbNewLine) & "Enter minutes:", "Awake Duration") 'we are replacing 5 spaces with new lines If lngMinutes = vbEmpty Then 'If the user opts to cancel the process 'Do nothing Else On Error Resume Next Err.Clear boolValid = False lngMinutes = CLng(lngMinutes) If Err.Number = 0 Then 'input is numeric If lngMinutes > 0 Then 'input is greater than zero For i = 1 To lngMinutes WScript.Sleep 60000 '60 seconds objShell.SendKeys "{SCROLLLOCK 2}" Next boolValid = True MsgBox "Forced awake time over. Back to normal routine.", vbOKOnly+vbInformation, "Task Completed" End If End If On Error Goto 0 If boolValid = False Then MsgBox "Incorrect input, script won't run" & vbNewLine & "You can only enter a numeric value greater than zero", vbOKOnly+vbCritical, "Task Failed" End If End If Set objShell = Nothing Wscript.Quit 0 - Click on the file option and select “Save As.”
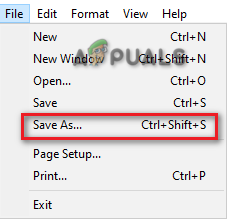
Saving the file - Select the .txt format of the file and save it as .vbs file on your desktop. (for example Disable sleep mode.vbs)
- Right-Click on the newly created .vbs file and open it.
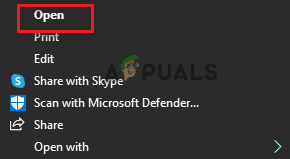
Opening the txt file - Type in the duration you want to stay available for.
- Click OK to confirm the actions.
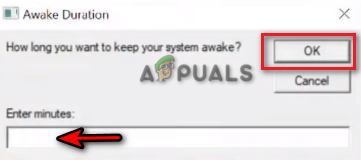
Setting the awake duration - Now, you can stay active on Microsoft Teams as long as you want.
The post How to Keep Your Teams Status Green All the Time (2023) appeared first on Appuals.com.


![Fix: An Error [-5005 : 0x80070002] Has Occurred While Running the Setup](https://lh3.googleusercontent.com/blogger_img_proxy/AEn0k_vyCGs95oq5oVD9SPVQbk67UtE-HkVtpzB-3HgZwmSAz_LyD5QucZGLSxk_d1e3v9fJnPaH5XZpd18DRgwjIy_9HQeNGLUM1r2aPlfNkRPiJ390jmzIplF1HgpXd3tQKqjClEk=w680)


0 Commentaires