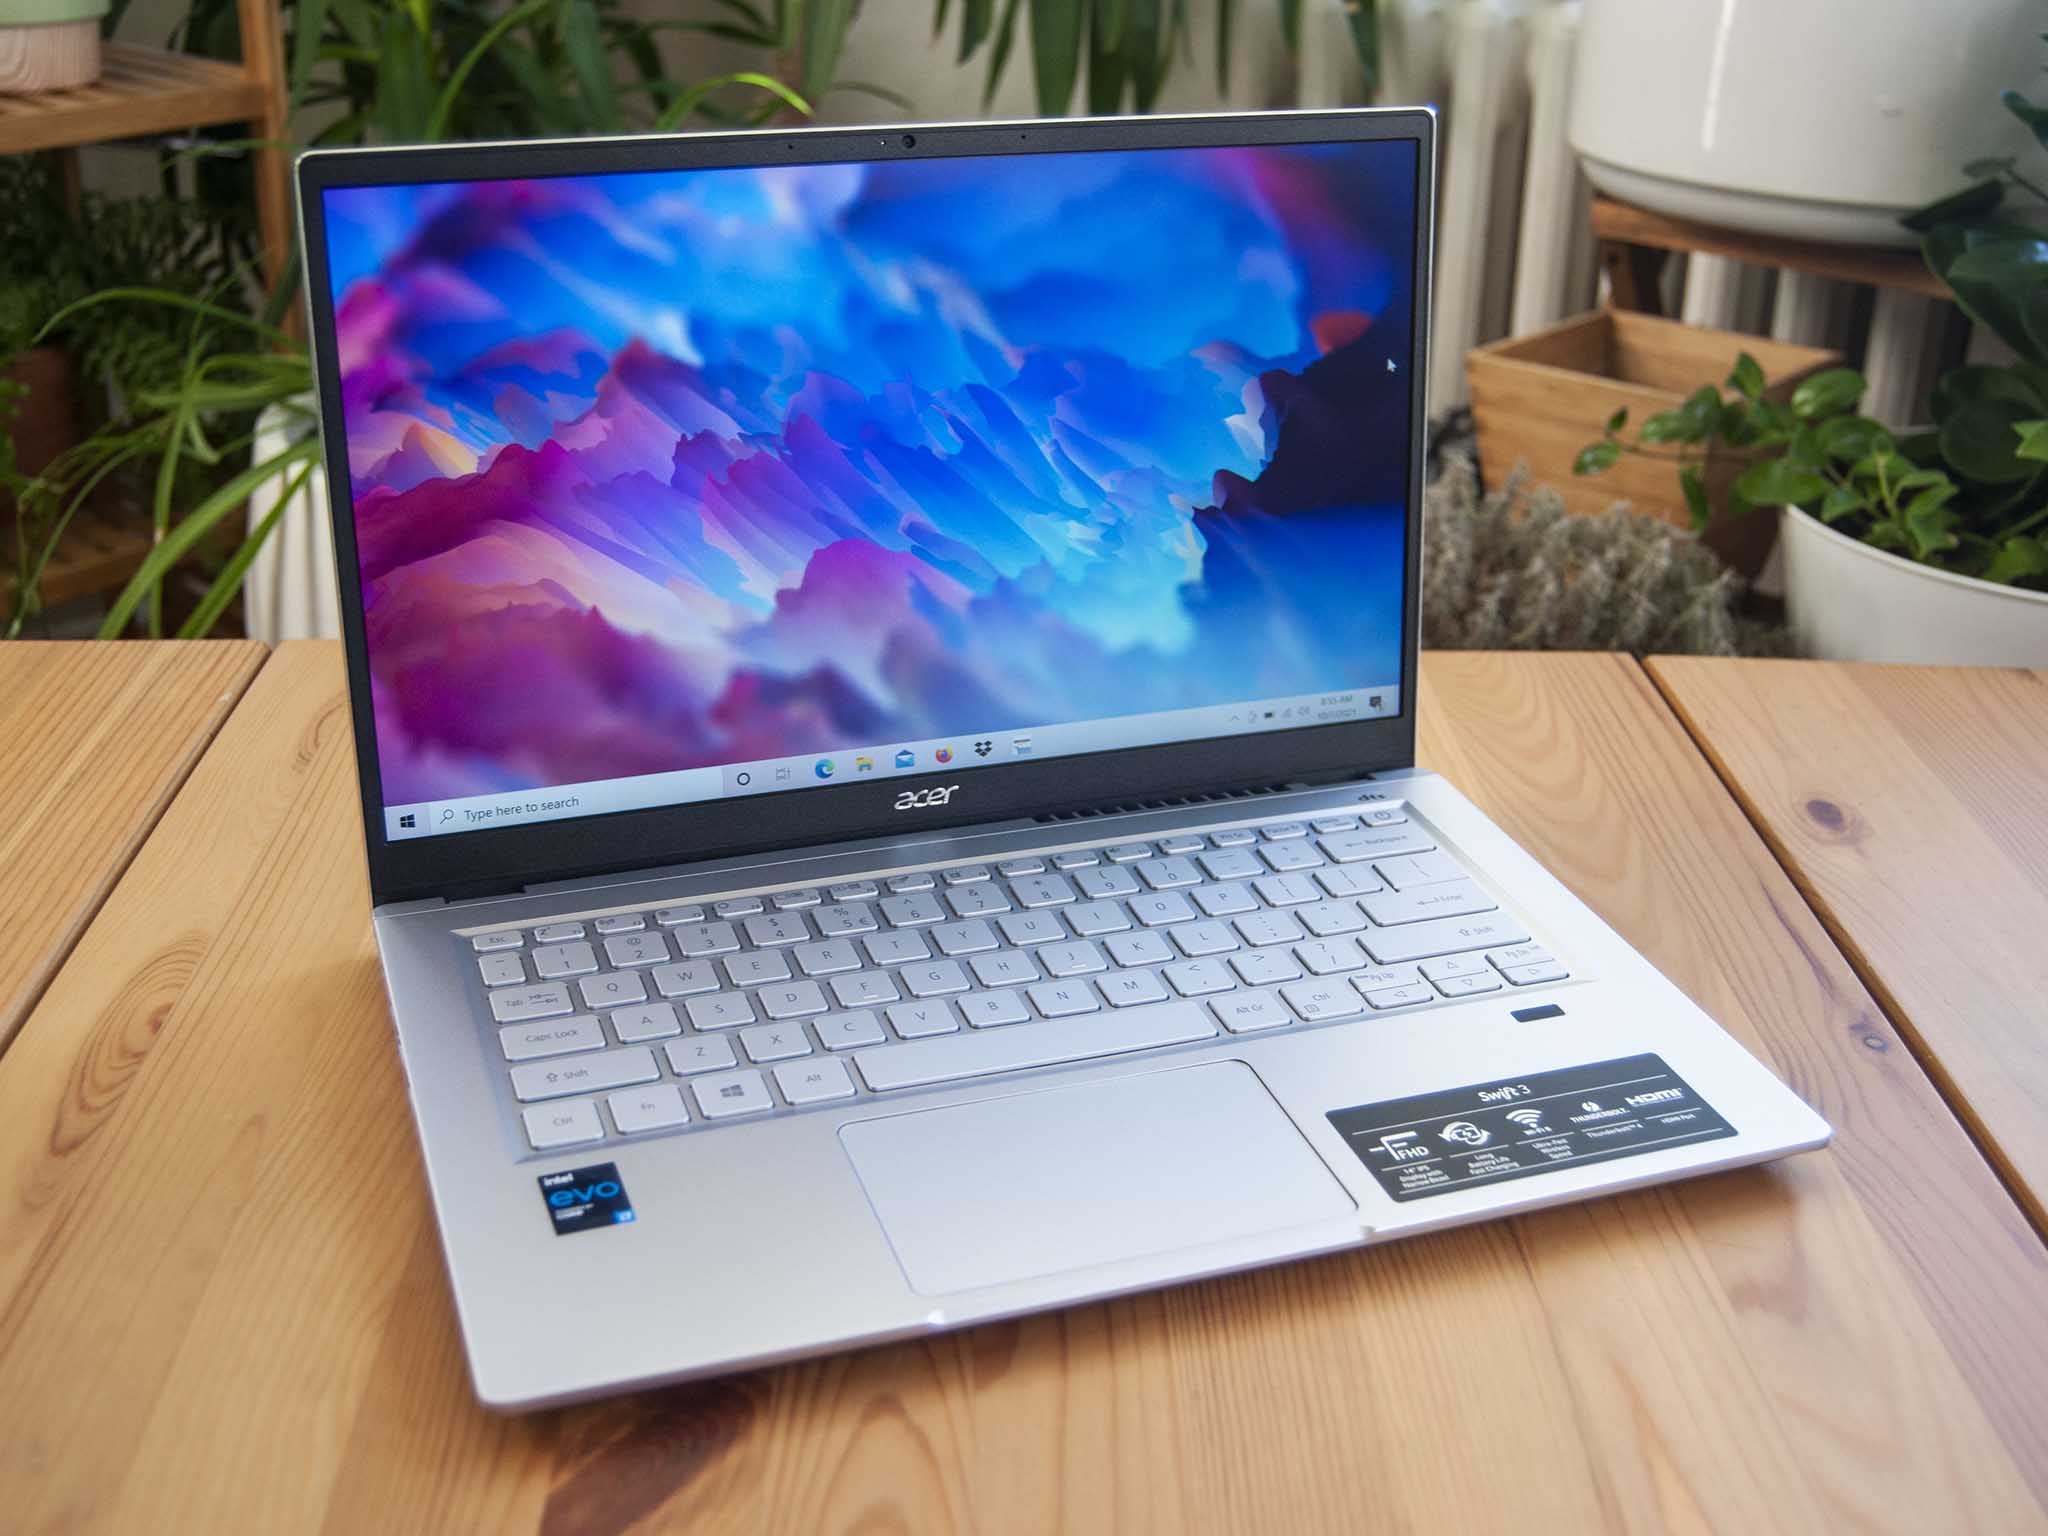
Upgrading the solid-state drive (SSD) in the Acer Swift 3 (SF314-511-70TU) is a fairly simple process that can add storage space for not a whole lot of money. The factory SSD — at least in our review unit — wasn't particularly fast compared to other modern Ultrabooks, so this upgrade could also improve performance depending on which SSD you use. This guide will walk you through all the required steps, and I also make some hardware recommendations to be sure you get exactly what you need.
How to upgrade the SSD in the Acer Swift 3
Note: Before beginning any upgrades on a PC, it's a good idea to back up your data in the unlikely event something should go wrong. You'll also want to ensure you're not working in a static-filled environment since it can cause damage to a PC's internal hardware. Consider investing in an anti-static wristband to avoid unnecessary damage.
This guide covers the SSD upgrade process for the Acer Swift 3 with model number SF314-511-70TU. We also have an SSD upgrade guide for the Swift 3 (SF314-42-R9YN), which covers that model's internal hardware setup.
The Swift 3 (SF314-511-70TU) brings excellent performance and battery life, but one of its weak spots is SSD speed. It's certainly fast compared to storage from just a couple of years ago, but in comparison to other modern Ultrabooks it is a bit lacking. And since there doesn't seem to be an option for a 1TB drive (it comes standard with 512GB), you might be looking for more storage space.
I recommend checking out the SK hynix Gold P31 or Samsung 970 EVO Plus SSDs as upgrade options. Both are high-performance drives with excellent durability and a modest price. Our collection of the best SSDs has many more options.
The Swift 3 has just one M.2 slot for an SSD, so you will have to decide whether you want to keep your current data or start over new with a fresh install. If you want to keep everything the exact same, investing in an external SSD enclosure will allow you to clone the old drive to the new drive. This will keep the OS, apps, and data the same. I've written a guide to SSD cloning to get you through the process.
If you'd rather start over completely new, a fresh Windows install will work well. You need to take care of a few things before upgrading the SSD, so be sure to check out our guide to a clean Windows 10 install before beginning. Our guide to a clean install of Windows 11 is also available if you'd like to move to the new OS.
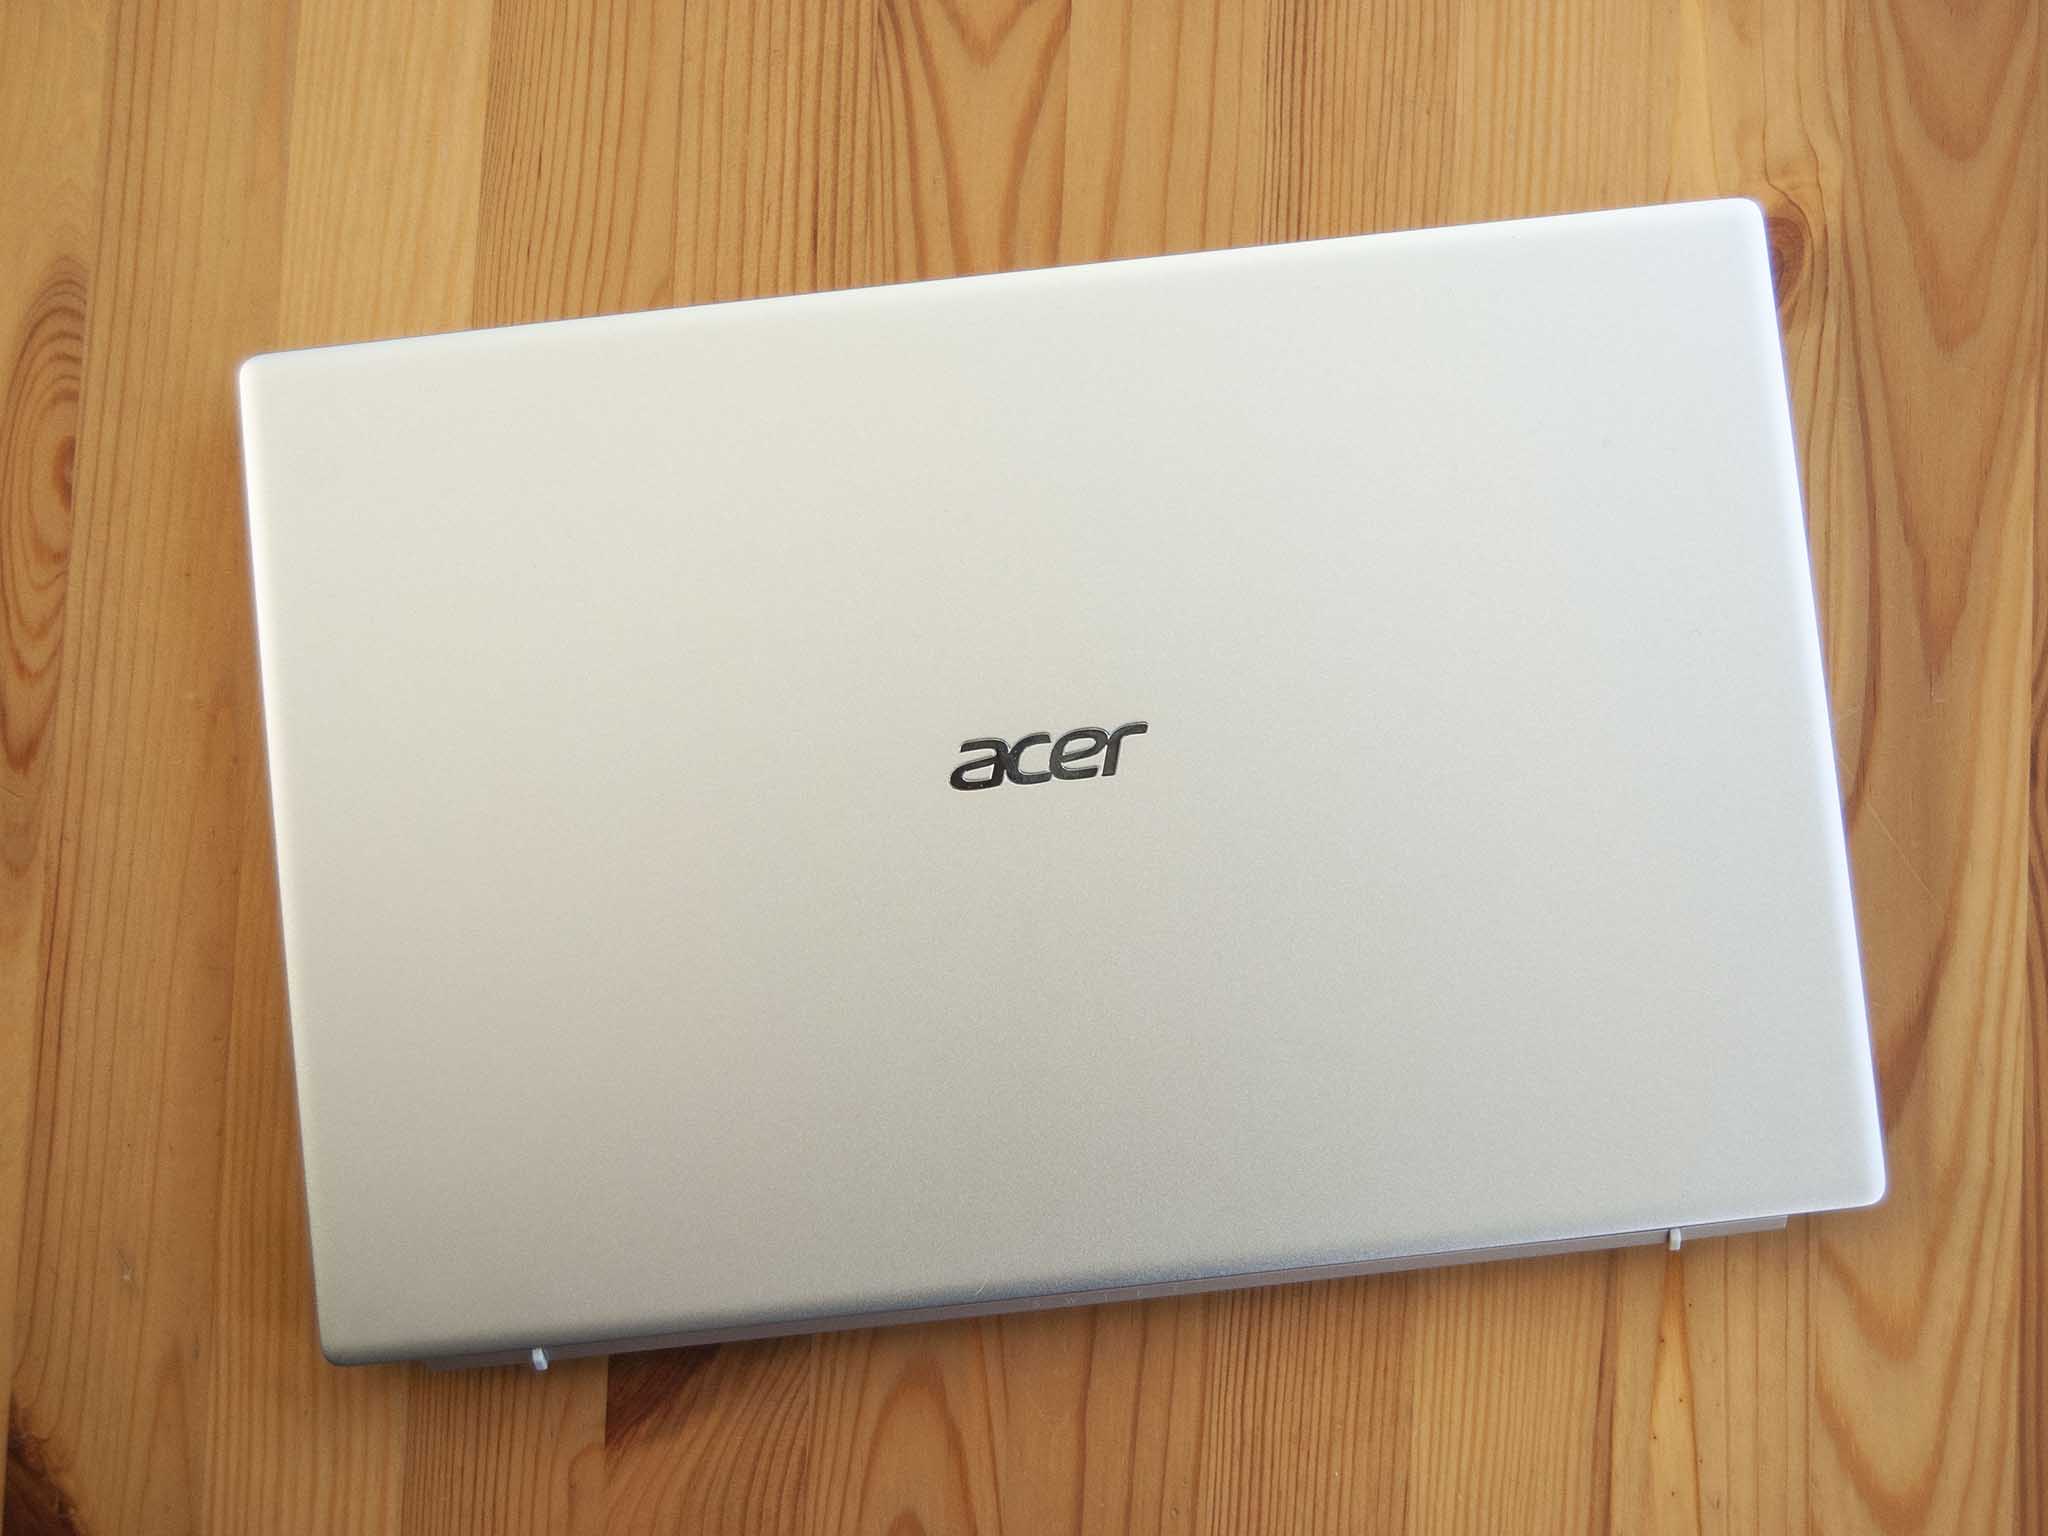
Once you've cloned the hard drive or have prepared for a fresh Windows install, clear out a well-lit workspace and power down your Swift 3. You can now continue with the steps below.
-
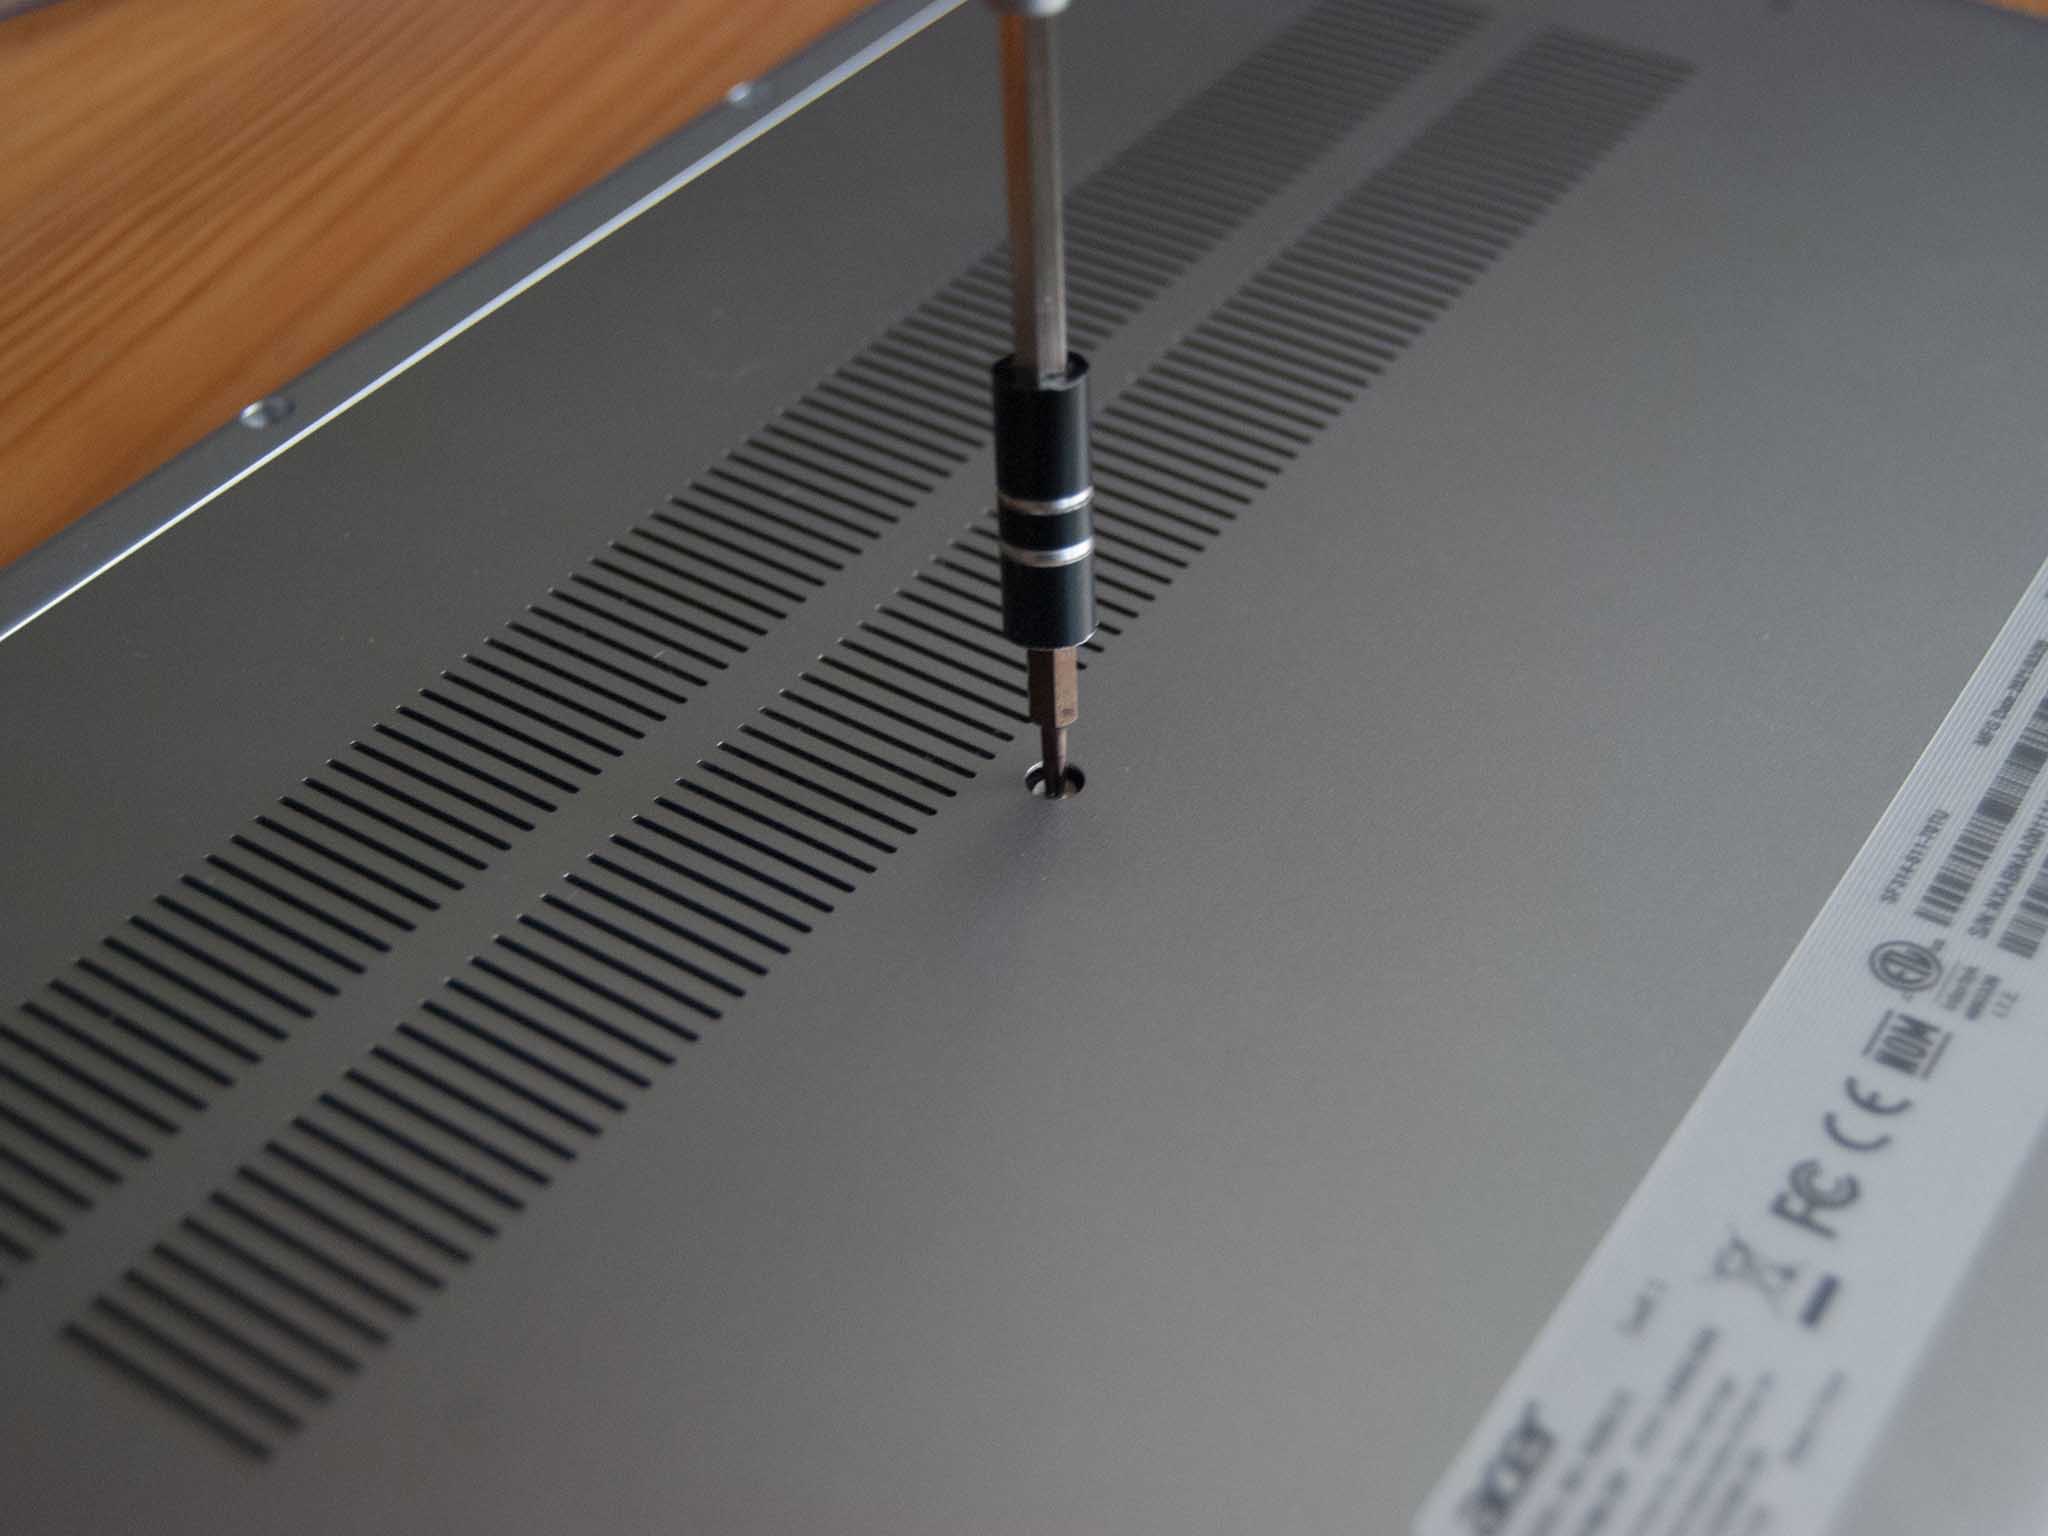
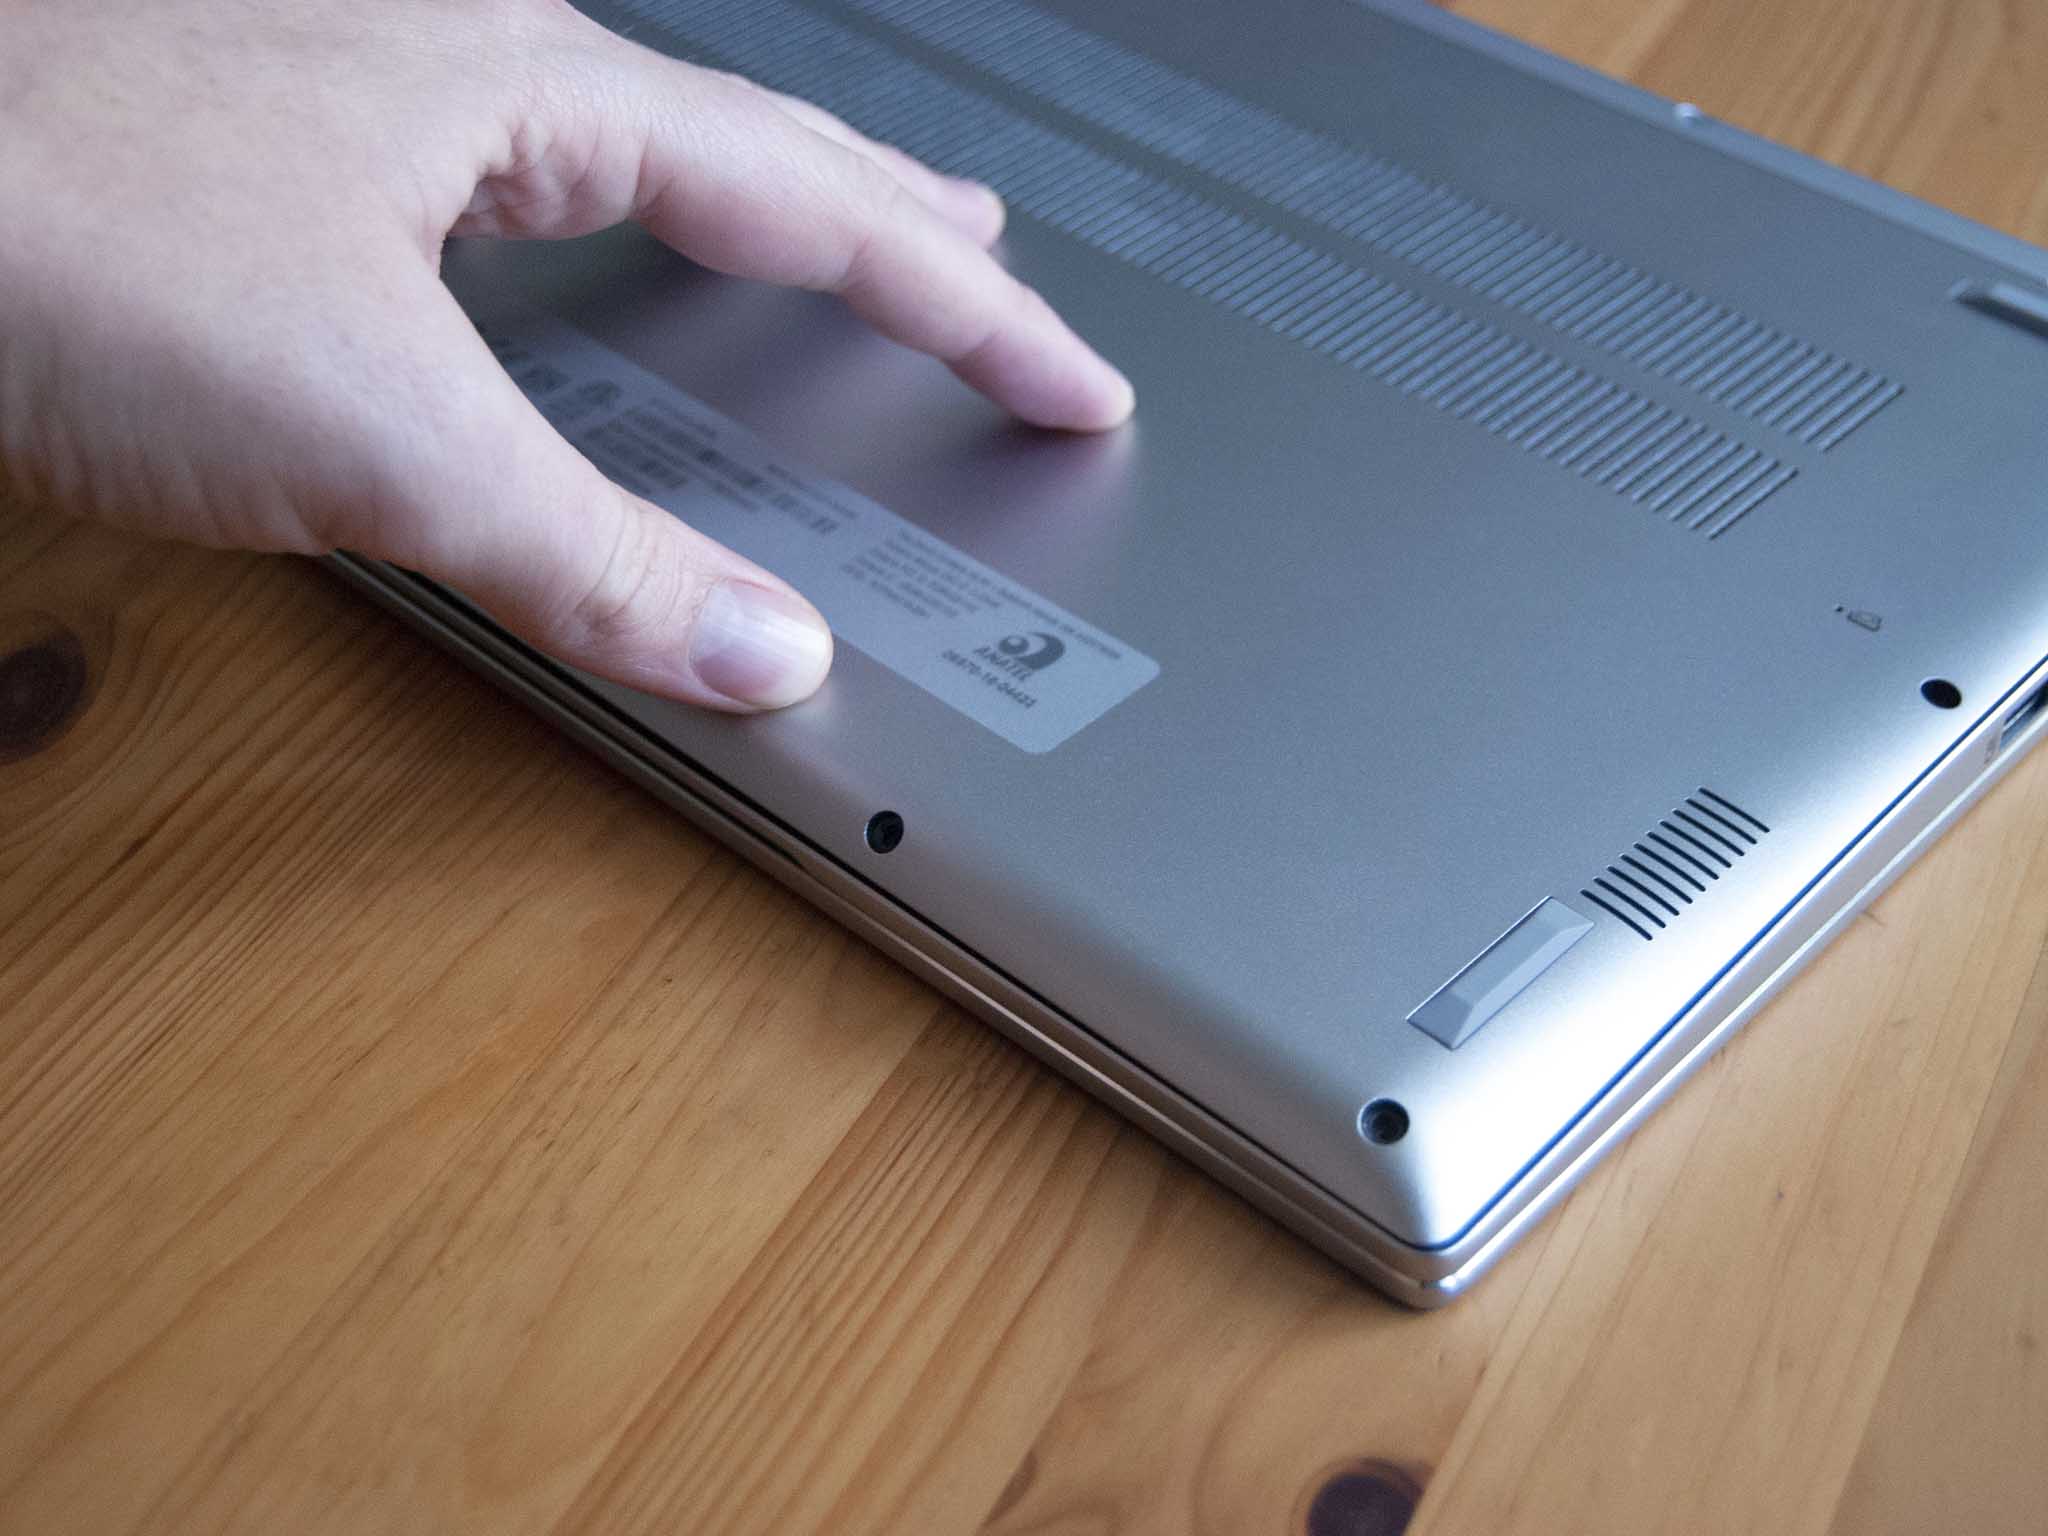
Unscrew the 11 fasteners on the bottom of the Swift 3 using a T6 screwdriver.
-
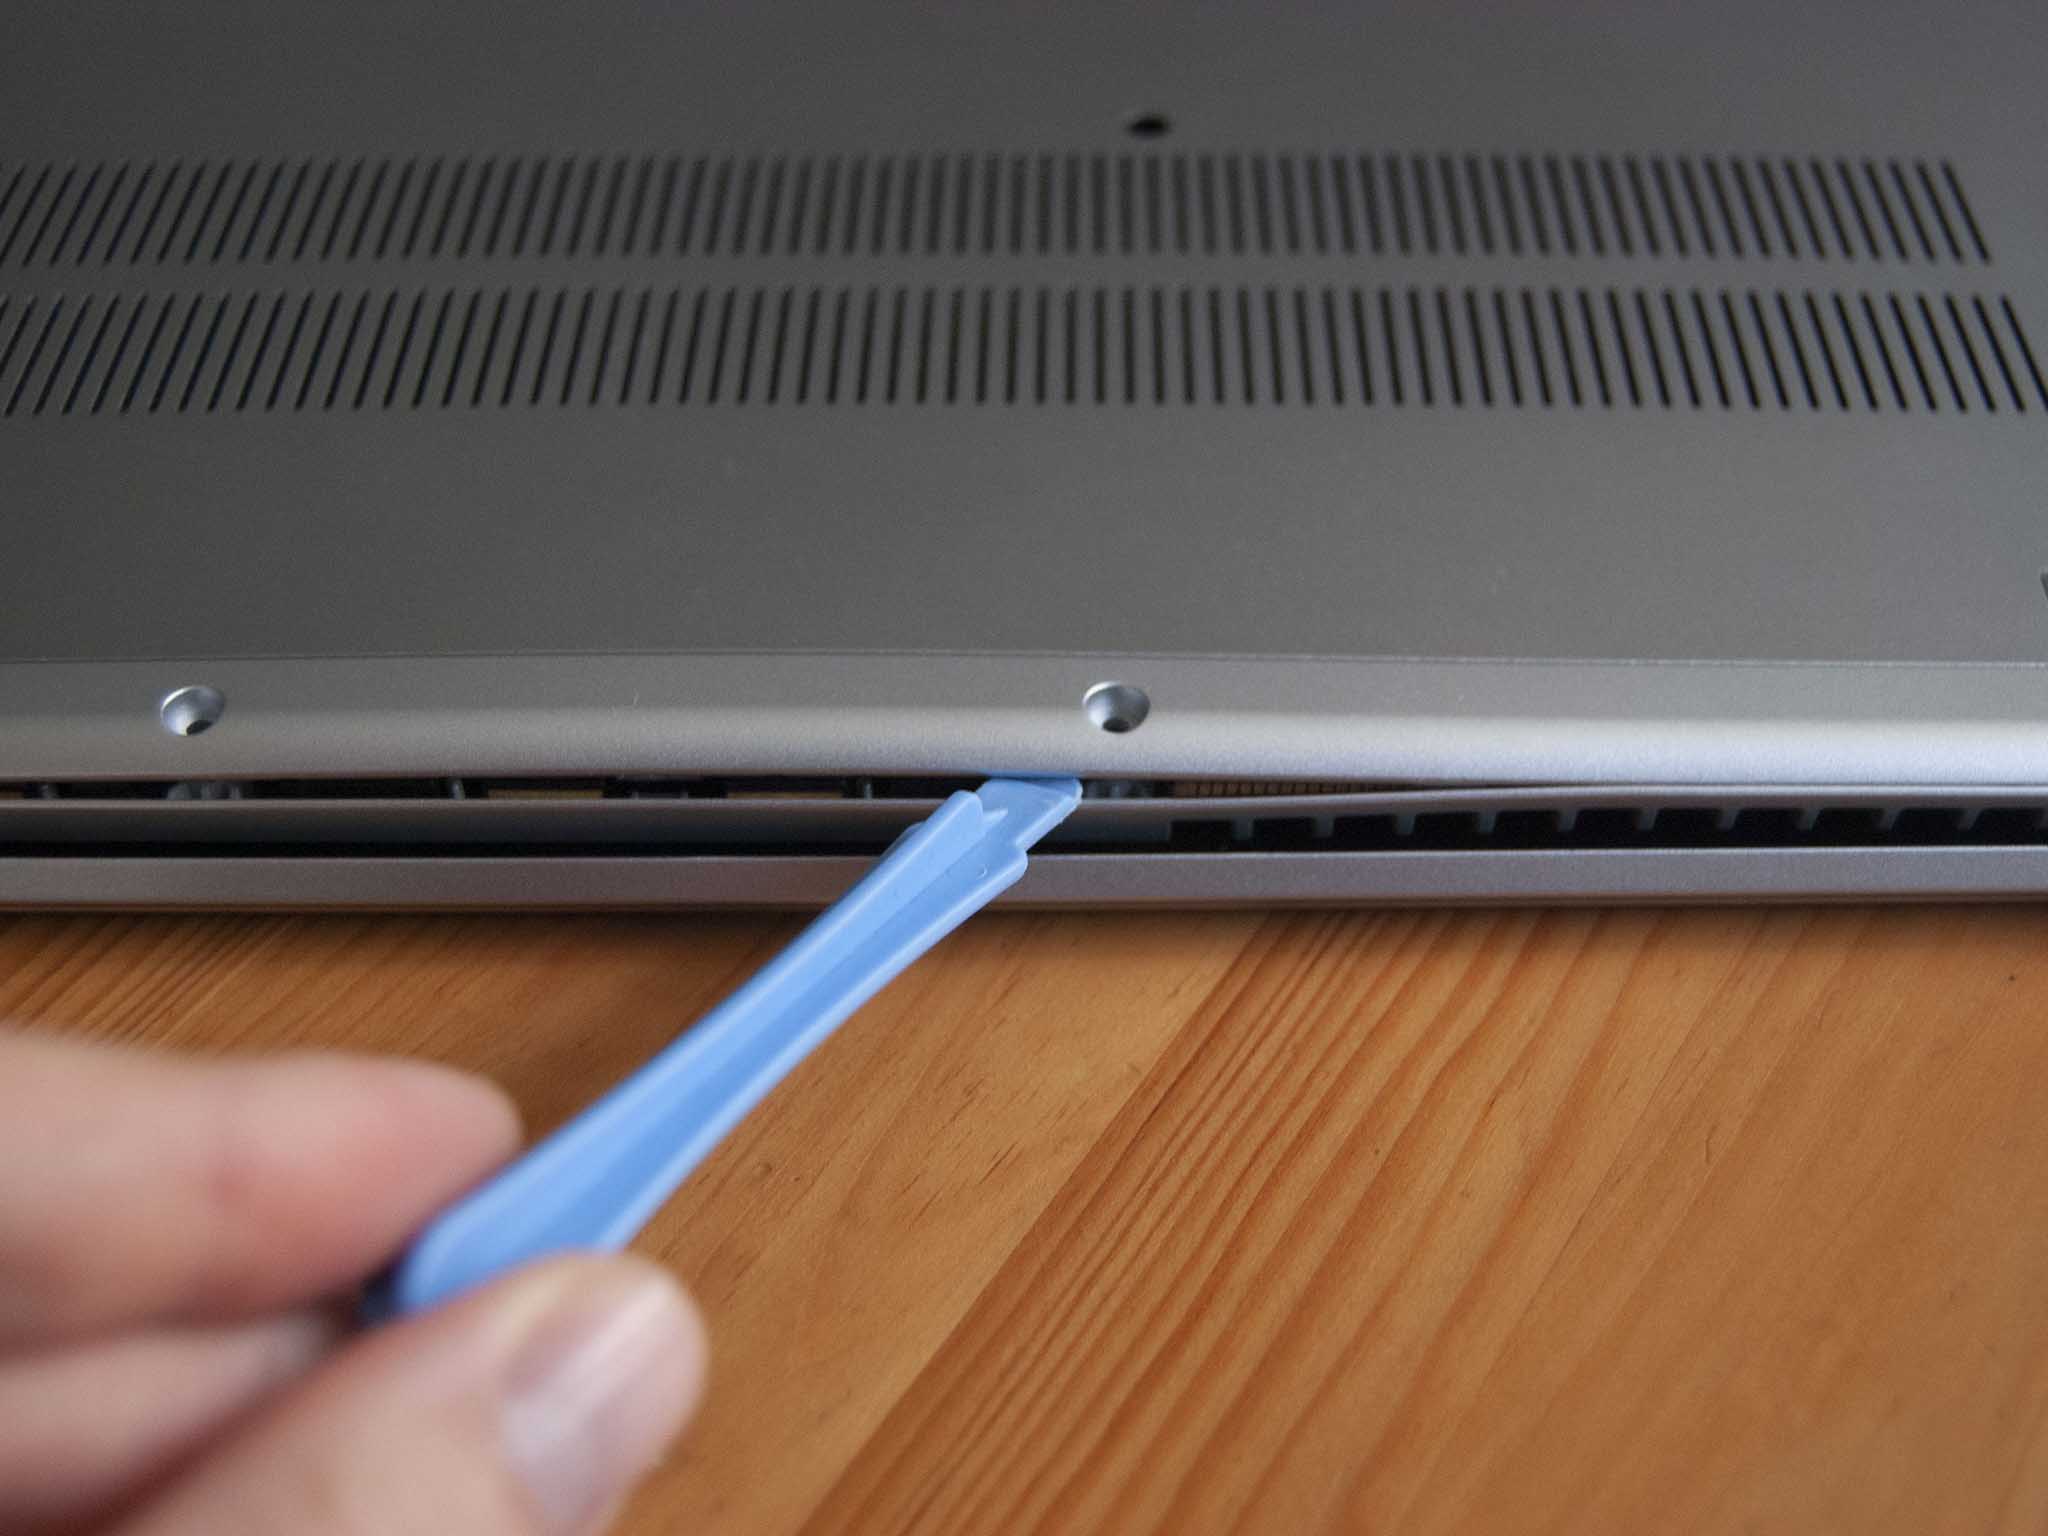
Pry up the bottom panel using a pry tool. Start at one corner (or at a loose spot along the hinges) and work your way around.
-
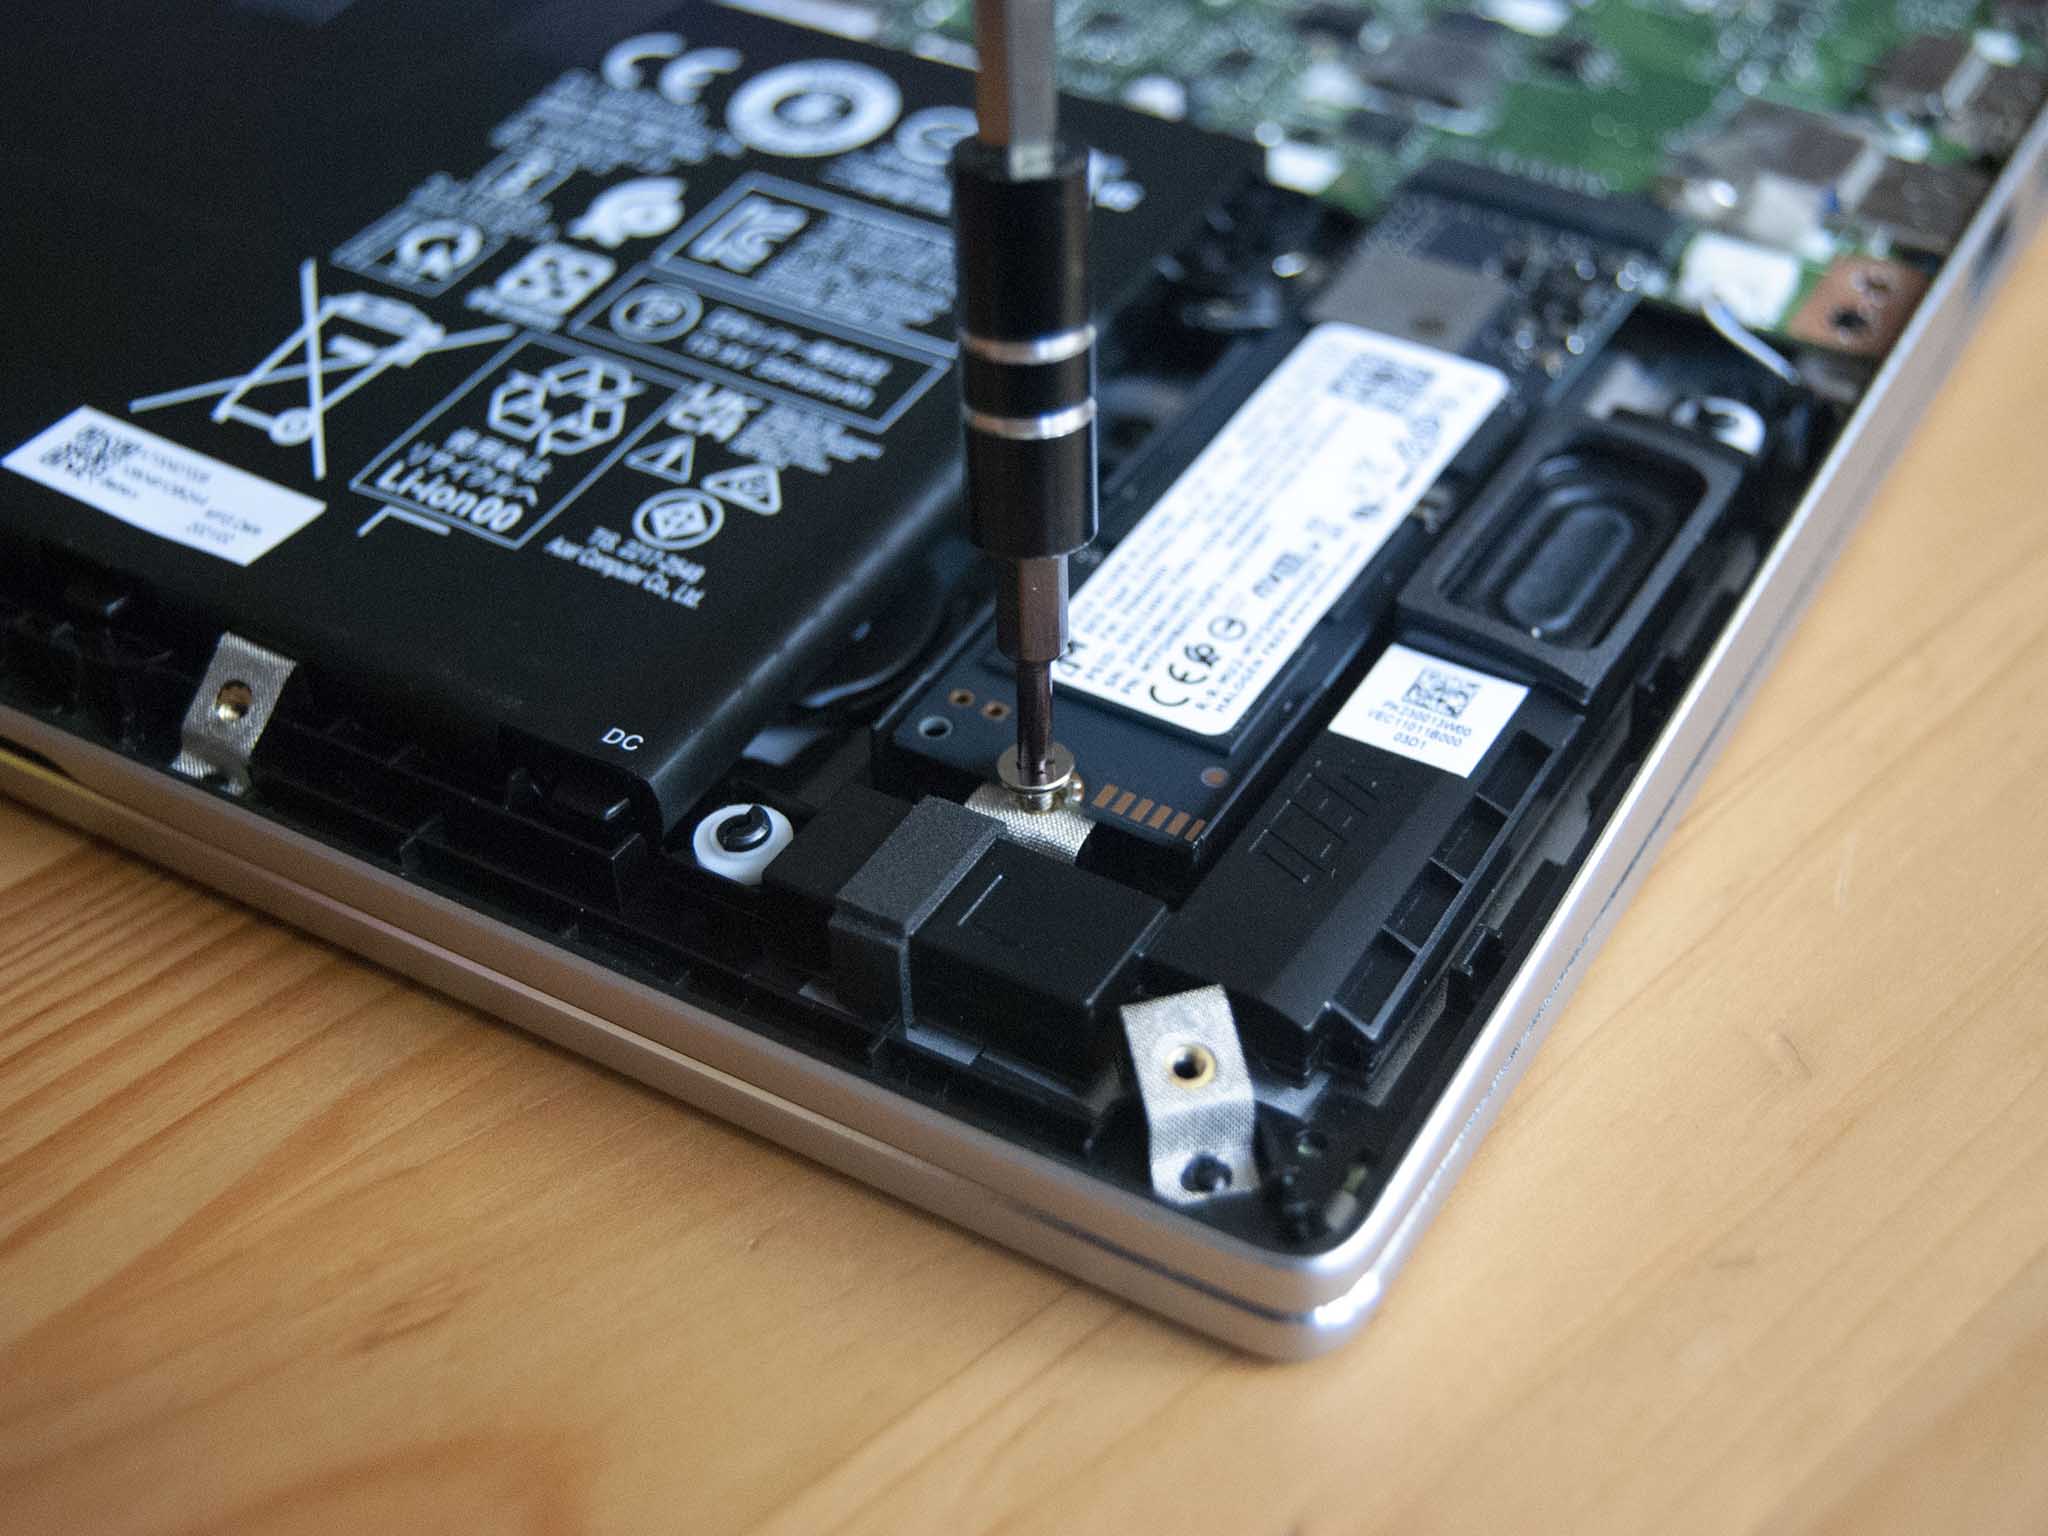
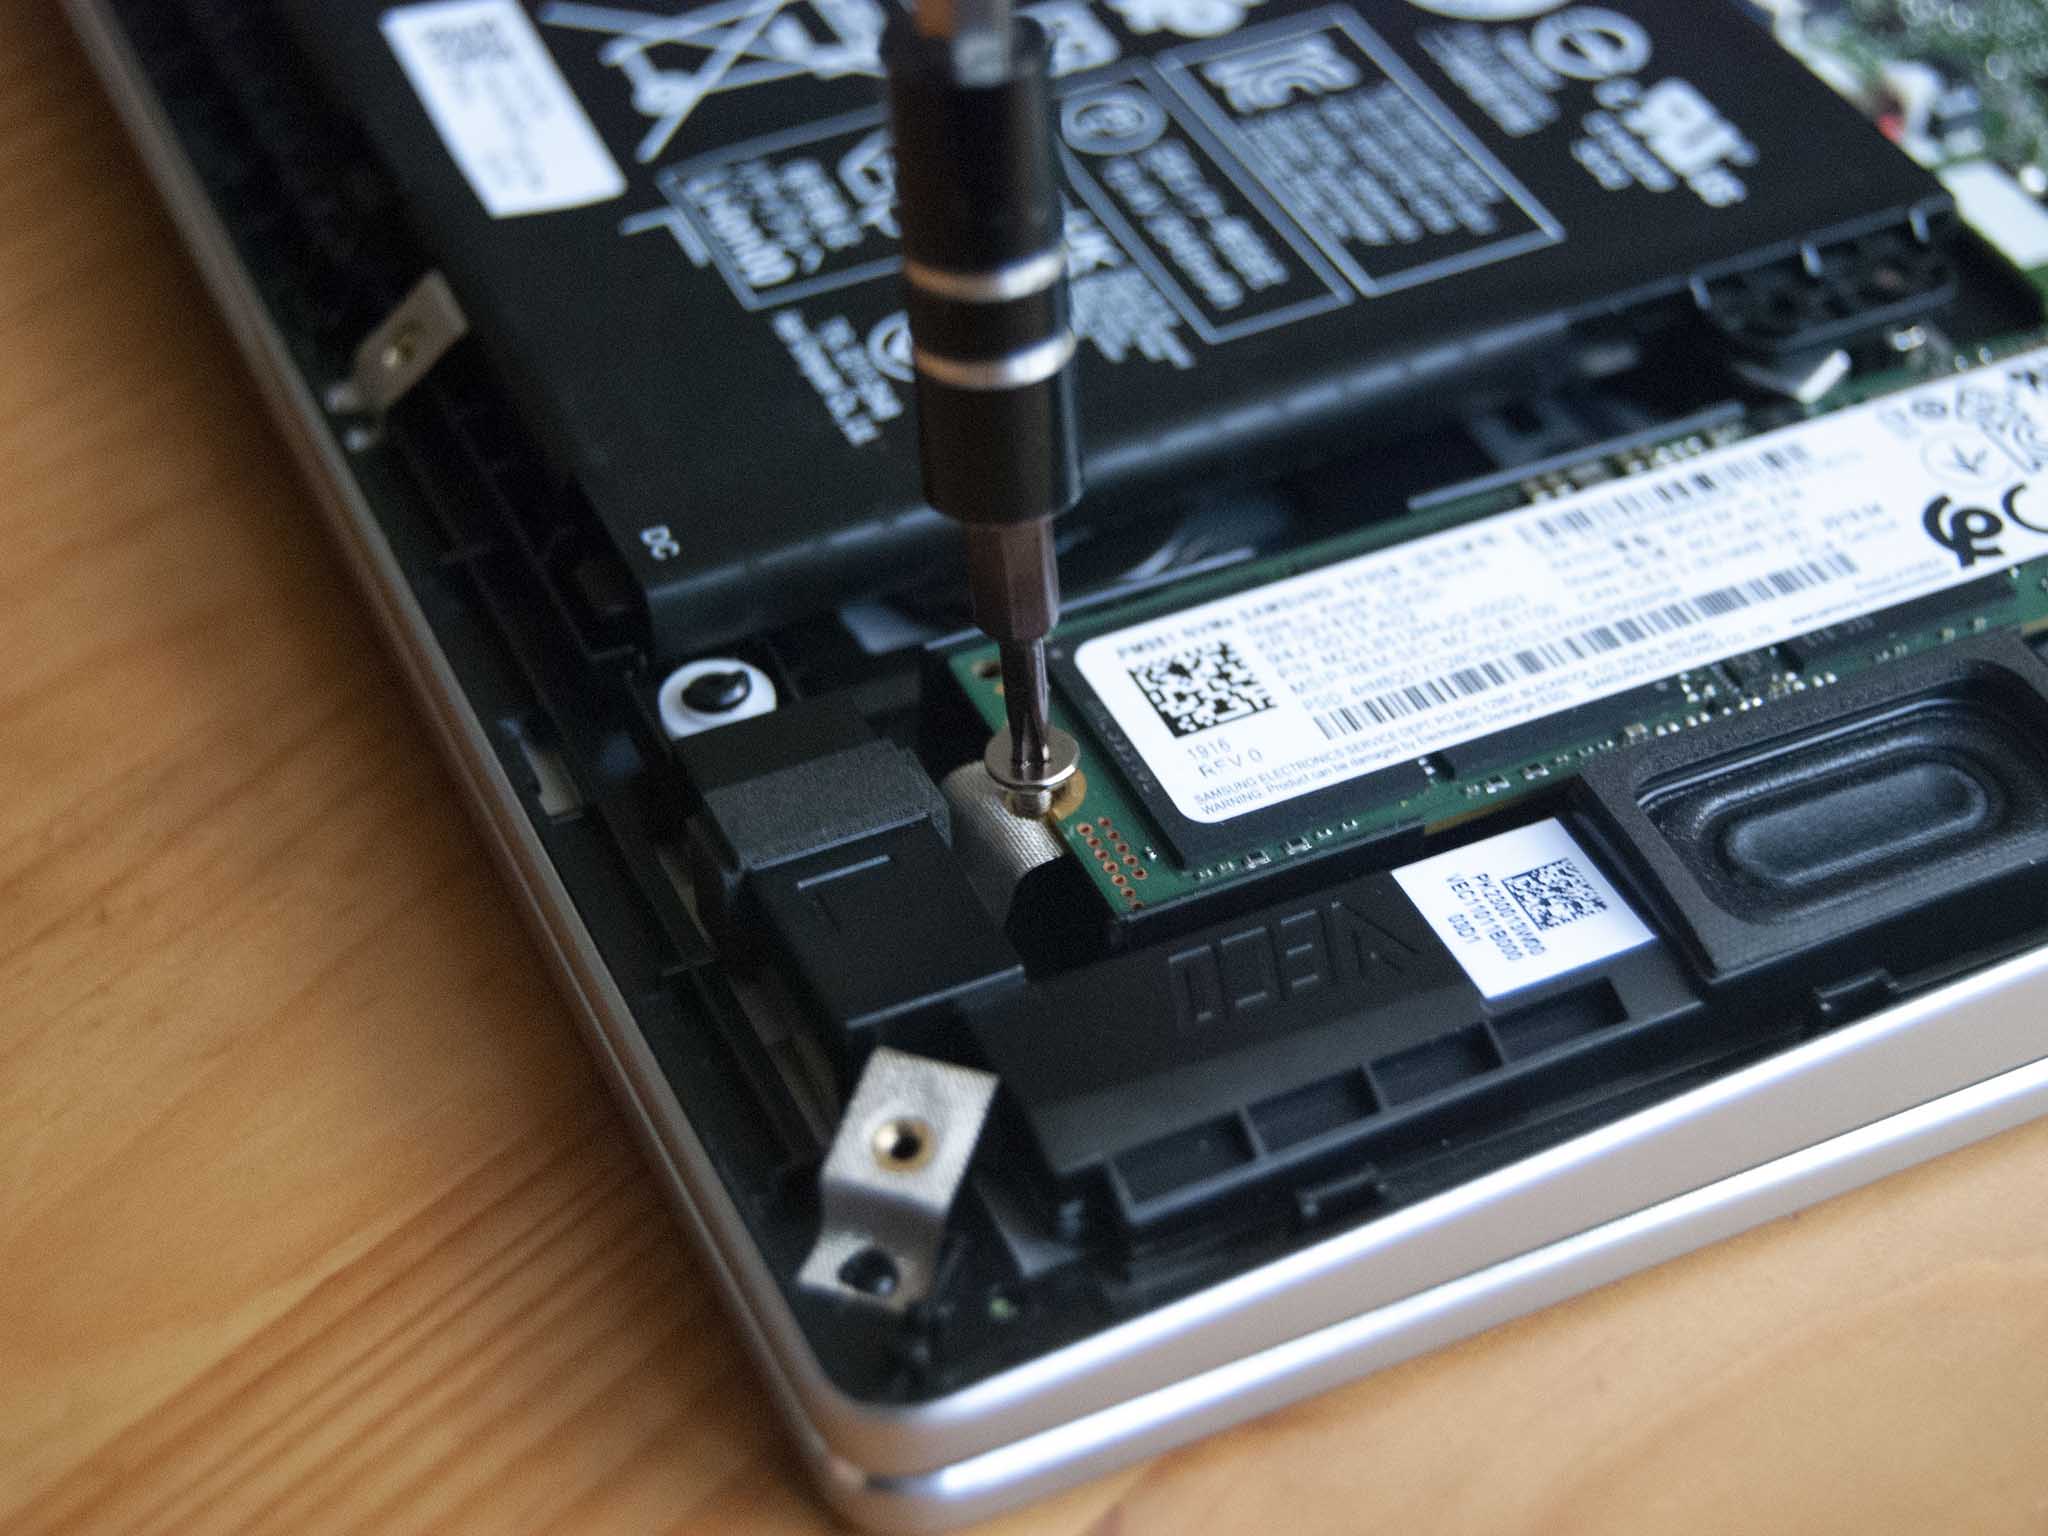
Unscrew the fastener holding the M.2 SSD in place using a Phillips screwdriver.
-
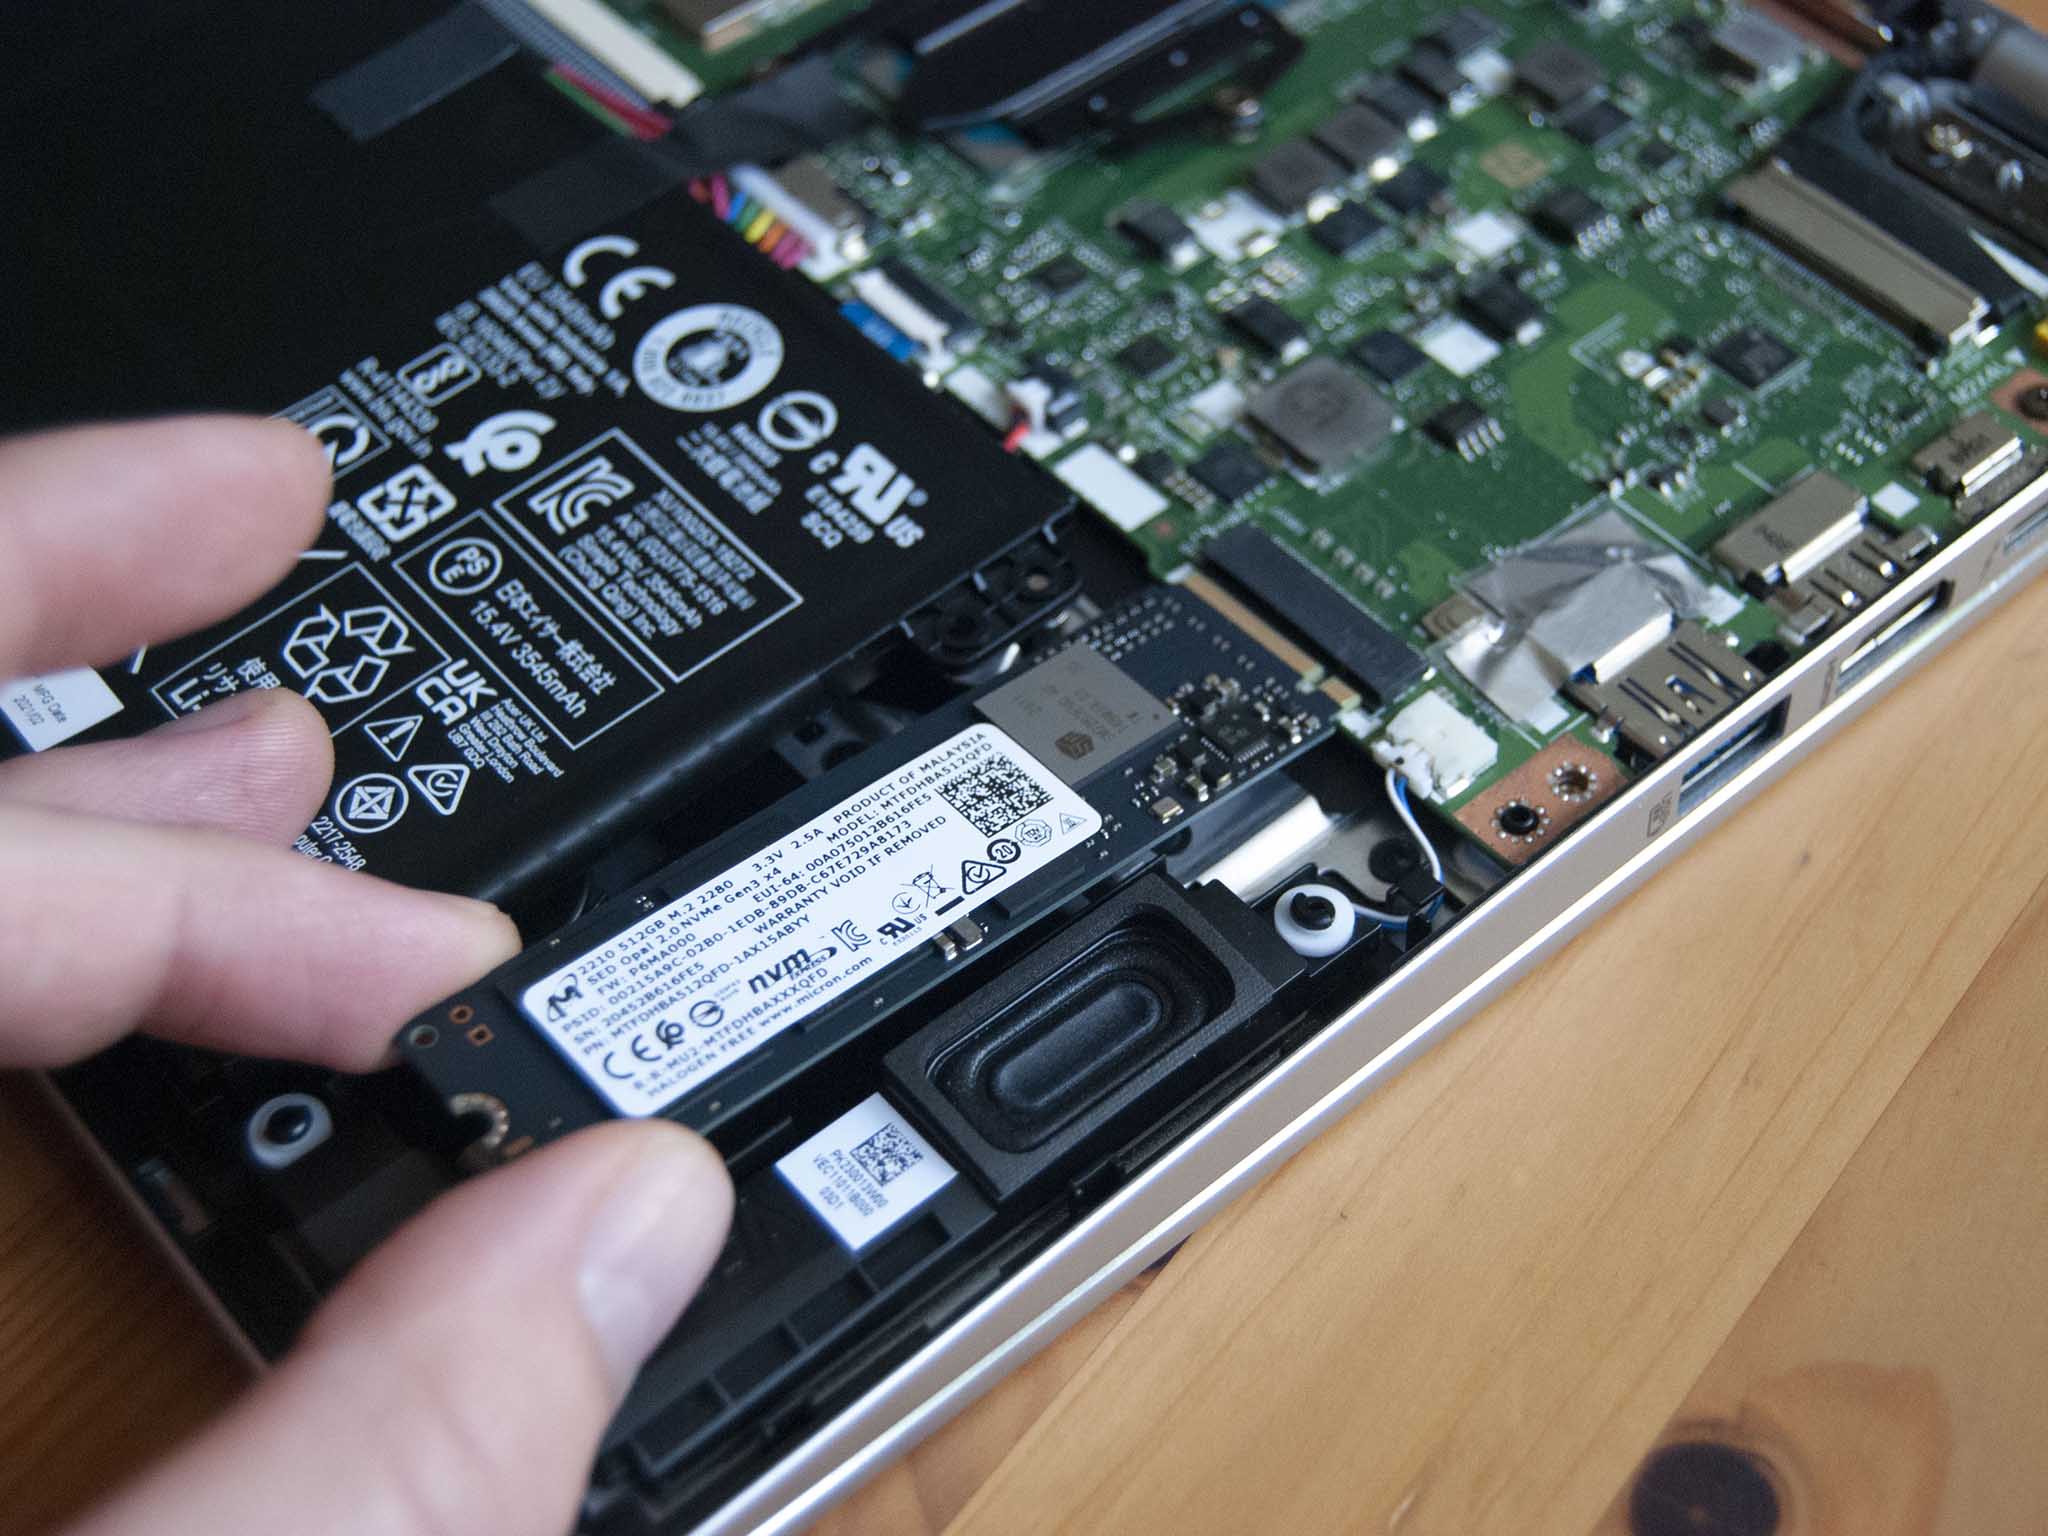
Pull the old SSD away from the M.2 slot. Avoid lifting straight up to prevent damage.
-
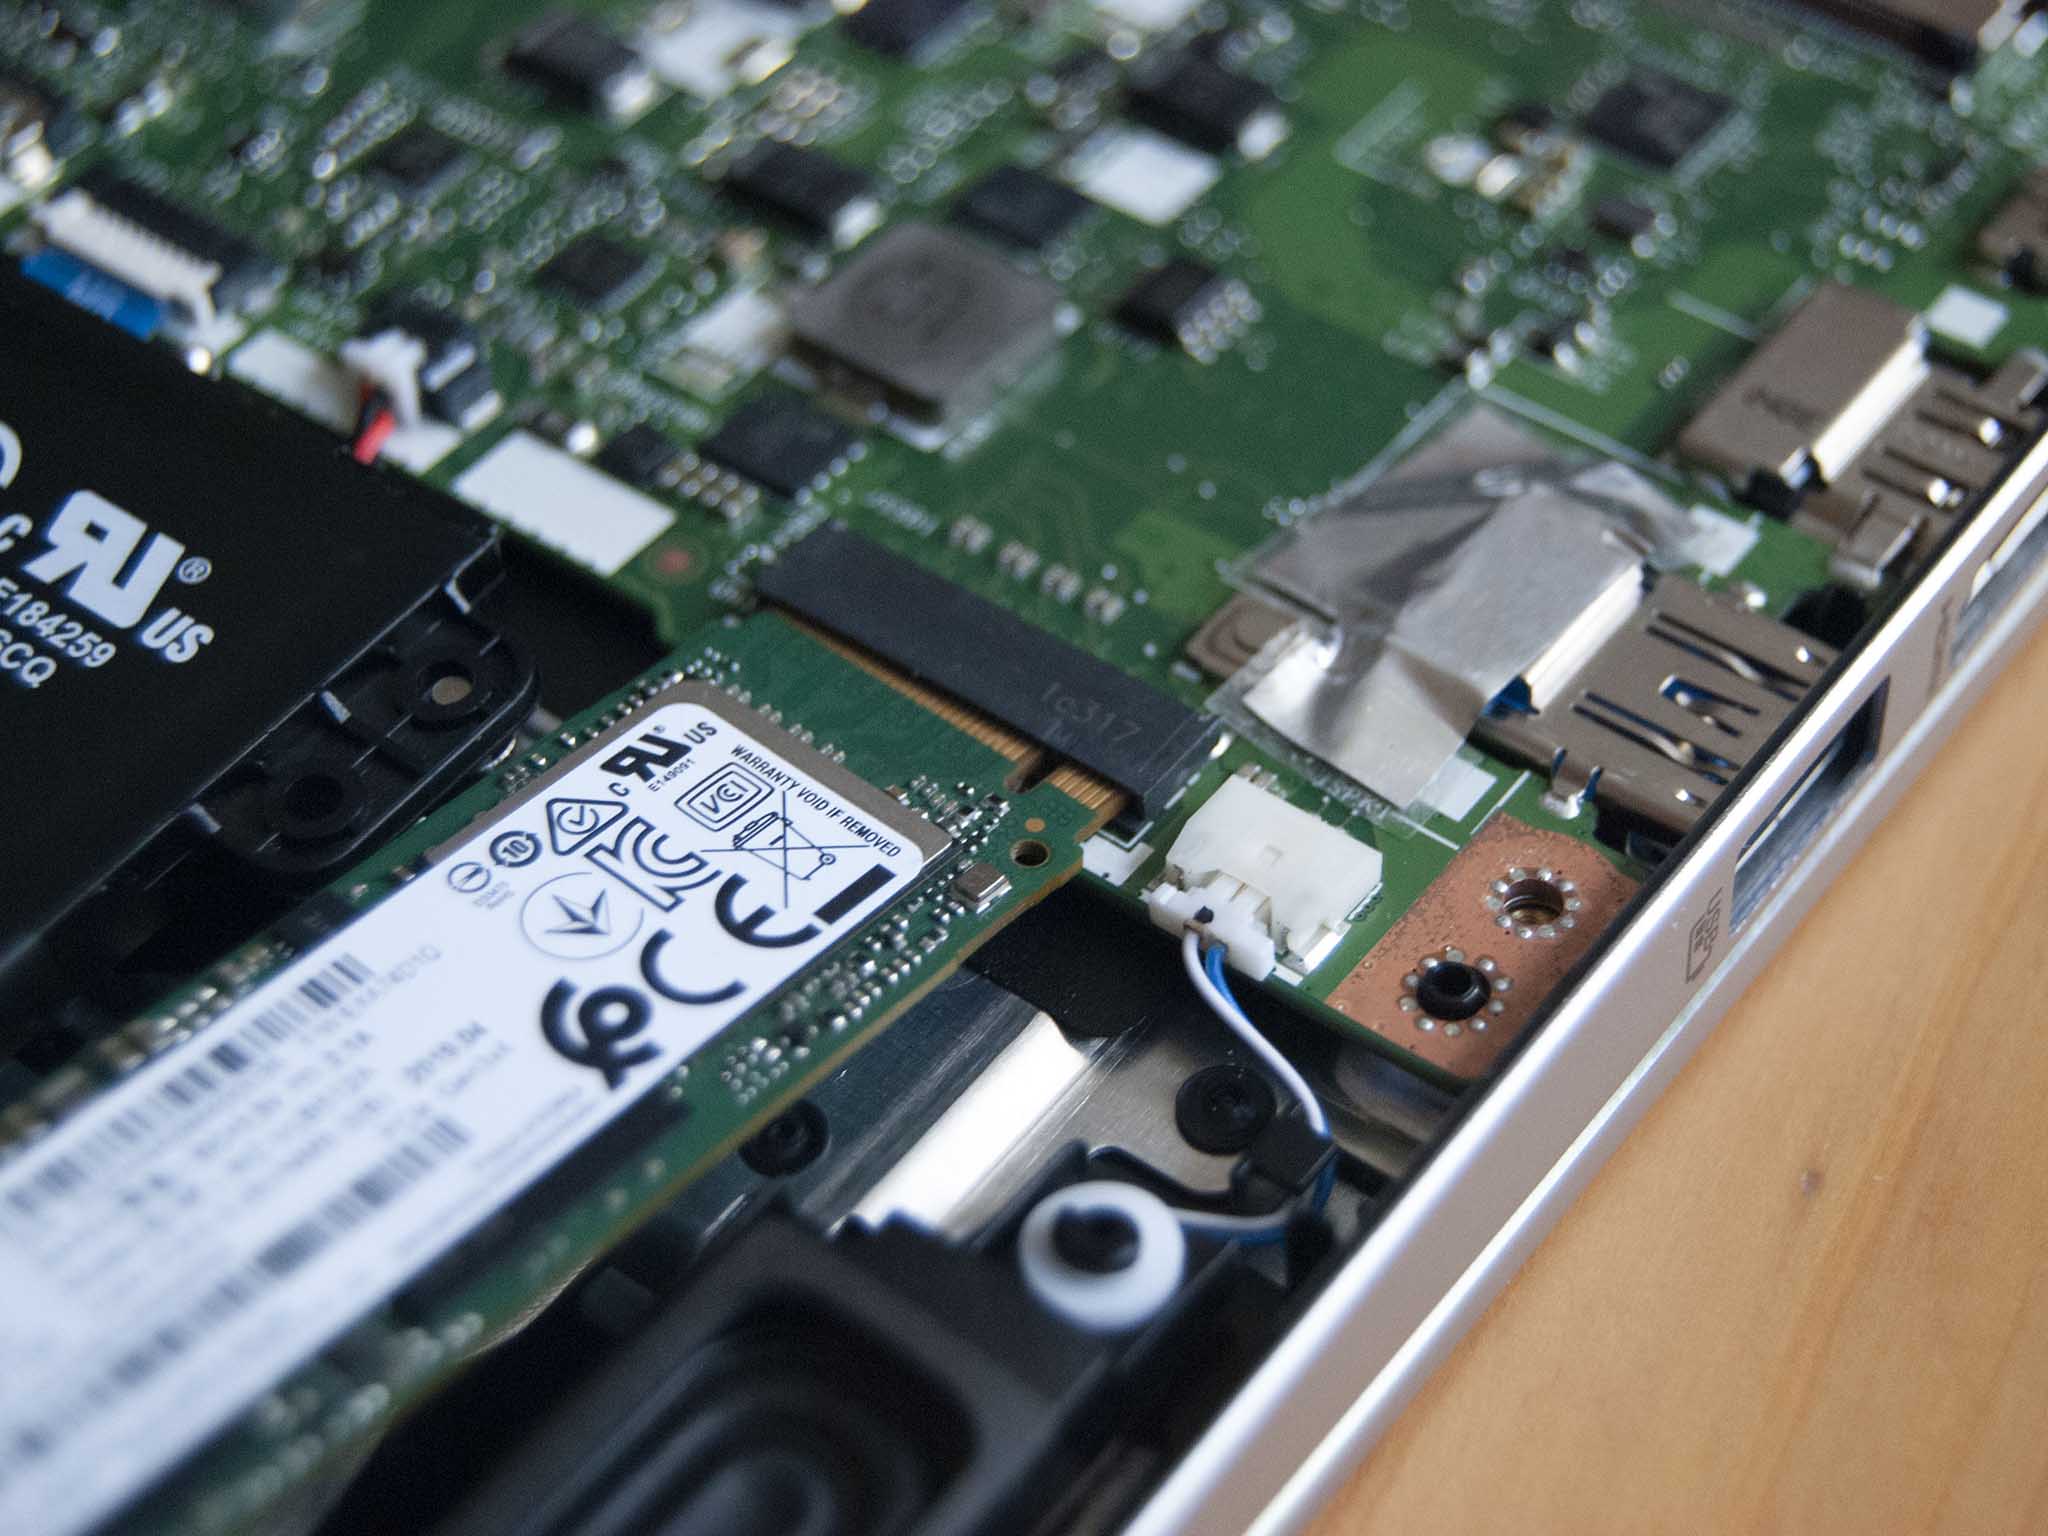
Insert the new SSD into the slot at about a 25-degree angle. The slot and drive are both keyed and will only fit together one way.
-
Screw in the fastener that holds the M.2 drive in place.
-
Replace the bottom panel of the laptop. Apply pressure around the edges and in the center to ensure it's clicked into place.
- Screw in the 11 fasteners on the bottom of the laptop.
If you didn't clone your data, you can now go ahead with a clean install of Windows 10 or Windows 11. Otherwise, if you did clone the drive, you should be able to boot up your laptop as usual.
Our top hardware and software picks
We recommend checking out either the Samsung 970 EVO Plus or SK hynix Gold P31 M.2 PCIe NVMe SSD as an upgrade pick. They're both fast and affordable, with large sizes available for more storage.
Blazing SSD speeds
Samsung 970 EVO Plus
Samsung's 970 EVO Plus brings blistering read and write speeds, a competitive price, and a five-year warranty, which altogether is an impressive package. Sizes start at 250GB and go up to 2TB.
128-layer 4D NAND M.2 SSD
SK hynix Gold P31
Excellent performance but affordable
The SK hynix Gold P31 cuts the price out from a lot of the competition, yet it offers stronger endurance and faster performance. It's an excellent option for anyone looking to upgrade their PCIe 3 storage.
Mid-range Ultrabook
Acer Swift 3
The Acer Swift 3 (SF314-511-70TU) has a lot going for it, including exceptional battery life and strong performance. However, the $1,000-laptop market is crowded, and you'll likely be able to find something without as many drawbacks for about the same price.
Additional equipment
To make the upgrade process easier and less risky, consider investing in some of these affordable PC tools, and don't forget about Macrium Reflect and an external enclosure if you want to clone drives.
SSK M.2 enclosure
This affordable aluminum enclosure works with M.2 PCIe NVMe SSDs like the Samsung 970 EVO Plus and SK hynix Gold P31 for cloning. Connect to the Swift 3 with USB-C.
Macrium Reflect 7
We've had success cloning drives with Macrium Reflect 7, and have even written a complete guide on how to use it properly. A free edition is available, but you can purchase a full edition with a bunch more features for those who truly take backups seriously.
ORIA PC toolkit
Having the proper gear to work on your PC will always make the job much easier. Here you get a plethora of tools contained in a portable case.
Rosewill anti-static wristband
Static electricity can damage sensitive PC parts, so remove the risk with an anti-static wristband. Fasten it around your wrist and clip it onto your PC for peace of mind.


0 Commentaires