You don't have to be a master programmer to use GitHub.
Besides being a Microsoft property these days, GitHub is the largest place on earth for programmers to sync, share, and collaborate on code. Big companies and solo superstars use GitHub as well as everyone in between. If there's an open-source project, chances are pretty high it's hosted on GitHub.
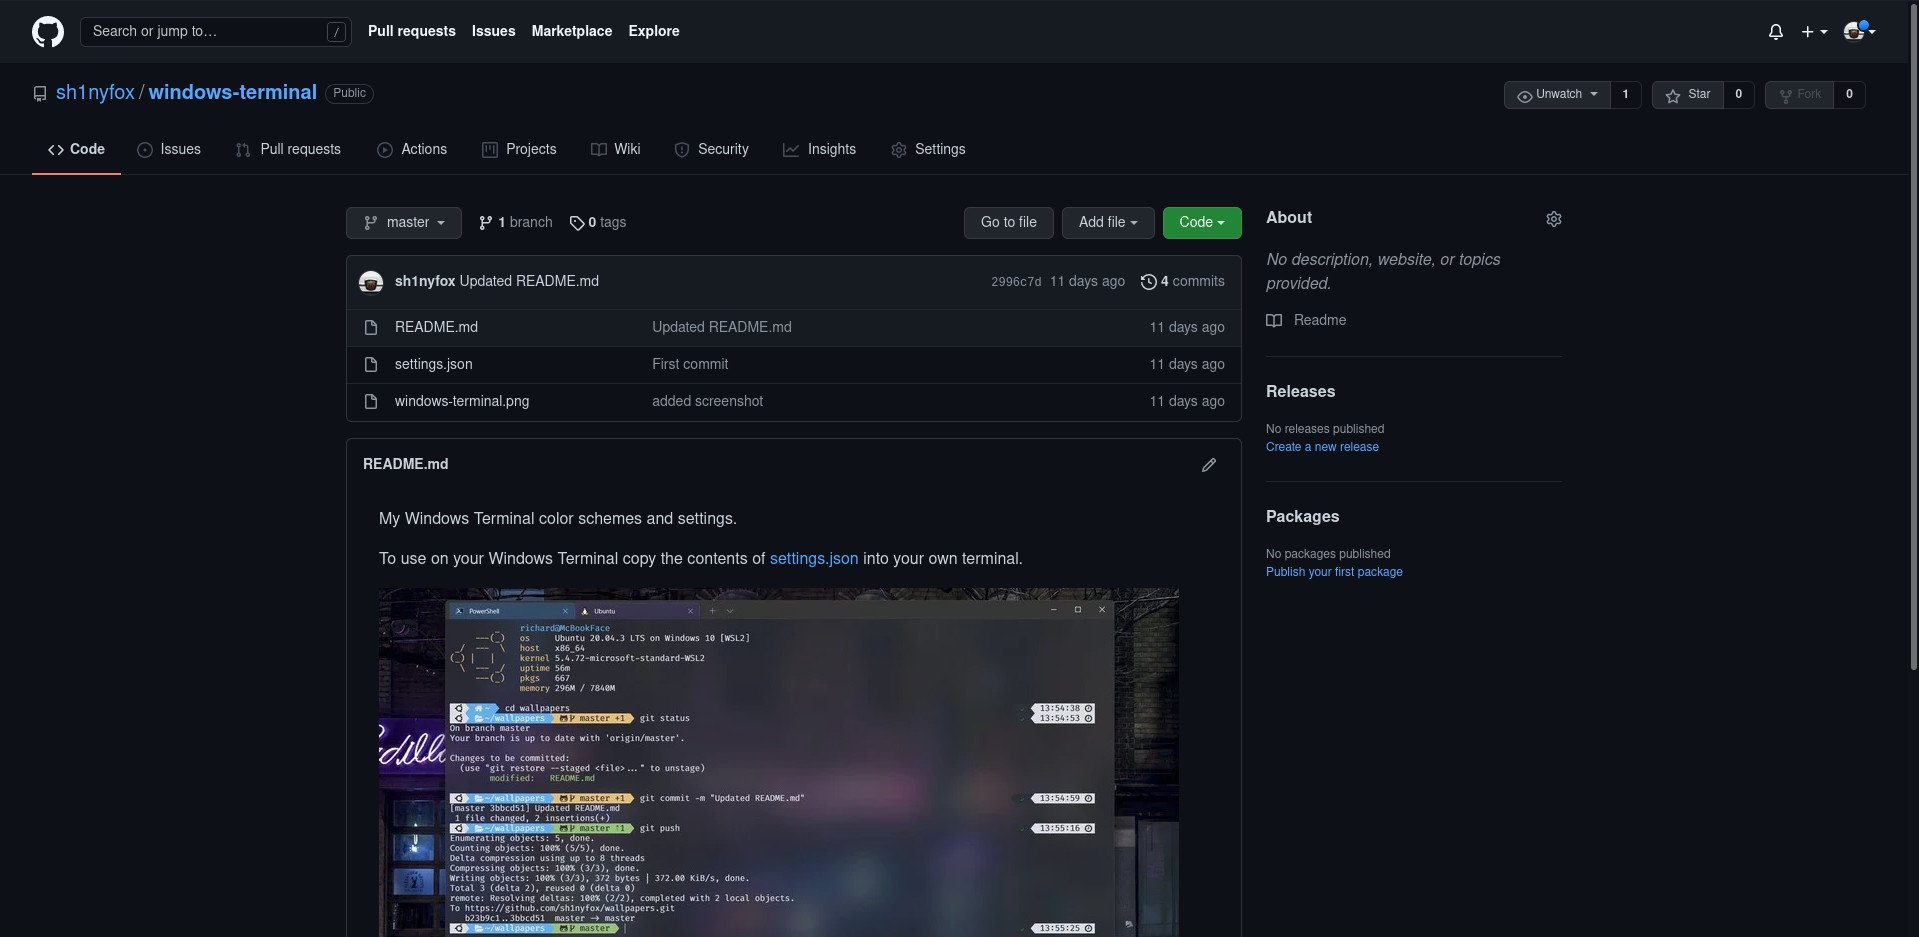
But it's not just useful for folks writing code. Anyone can pull code and files from a public GitHub repo, and there are limitless projects you might want to interact with at some point. From bigger ones like Microsoft's Visual Studio Code or Windows Package Manager to smaller ones like using someone else's configuration files to theme your terminal. If it needs some form of code, it can be done through GitHub.
But while you don't need to know how to write code to use GitHub, to absolute beginners things can be a little confusing. It doesn't have to be, though, so here are some of the basics you need to know.
Set up a GitHub account
You don't need a GitHub account to browse code and clone repos, but it's still worth signing up. Only with your own account and repo space can you store your own files and fork other projects, follow other members, and star repos for easy access later on. It's completely free to use and doesn't require you to have a Microsoft Account.
A GitHub account also allows you to make use of the oft-overlooked GitHub CLI terminal application, which due to some changes in how GitHub allows accounts to be authenticated, is actually something you should have. More on that later.
You don't have to interact with GitHub through the terminal, but in many cases, it's the most efficient workflow. There is a GitHub desktop application for Windows, Mac, and Linux instead if you'd rather have something with a GUI. But for the purposes of this guide, we'll be focusing on the terminal. It's not scary, promise!
Installing Git and GitHub CLI onto your PC
The main tool you'll be using with GitHub is Git. This can be confusing, but Git is the tool and GitHub is the service that interacts with it, Git is completely separate and has nothing to do with Microsoft. The basic definition of Git is that it's a version control tool, allowing multiple people to interact with the same files independently with the option to merge changes into the master branch.
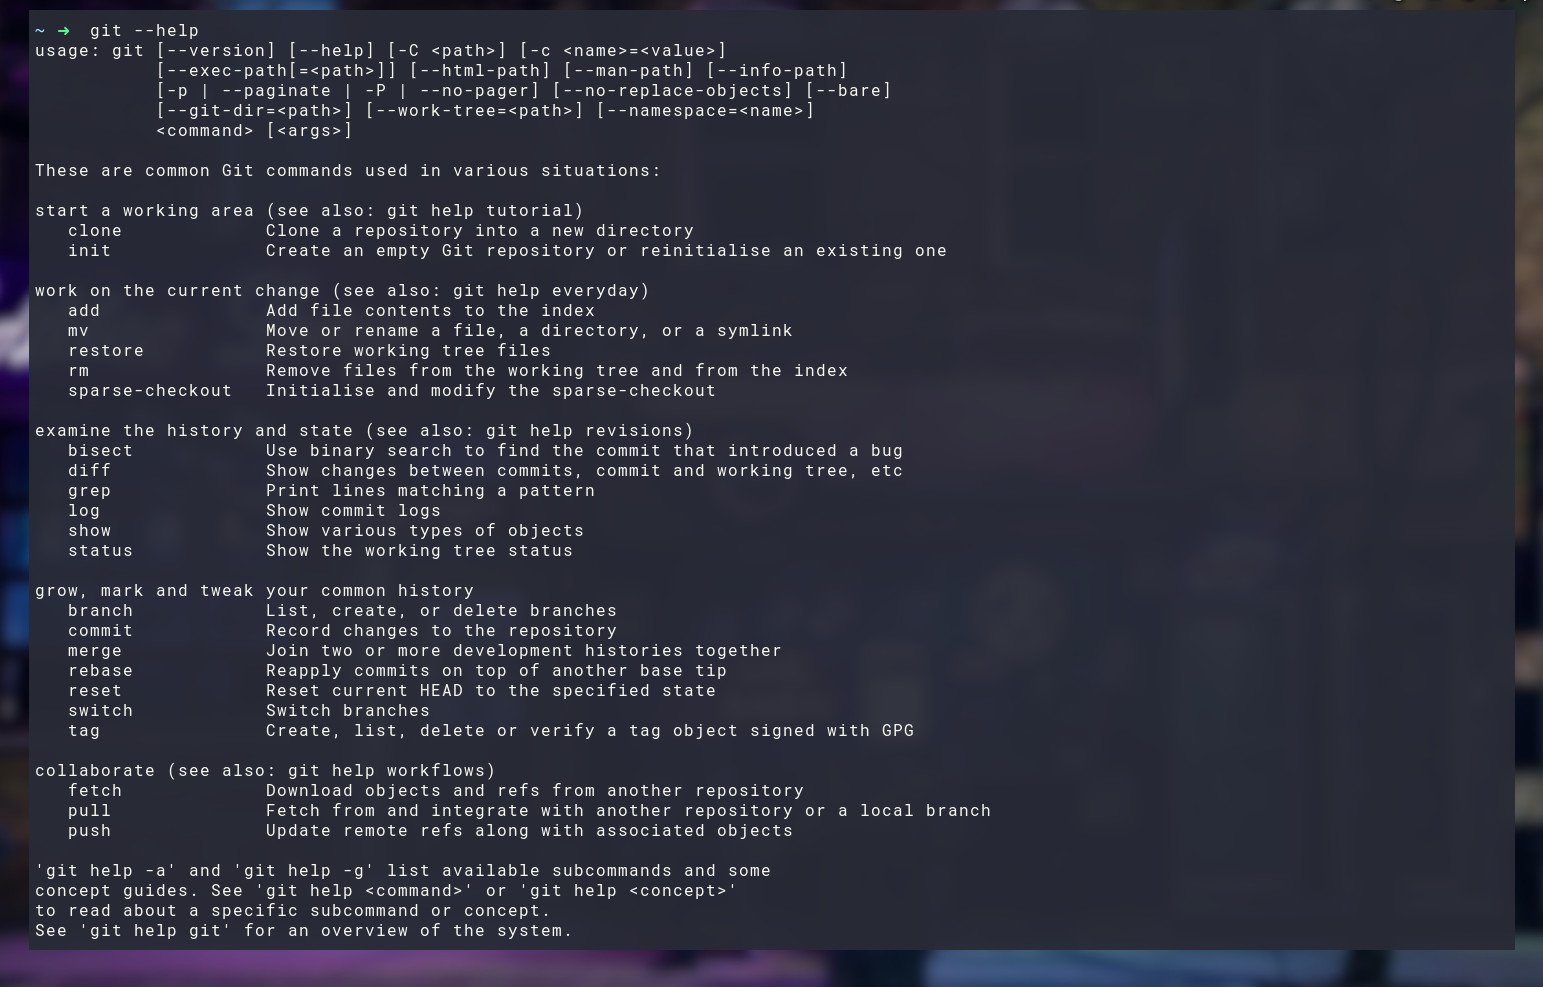
For now, we'll only be touching on the main commands you need to know to get started cloning GitHub repos to your PC, but look out for a more detailed guide on Git soon.
To install Git on Windows you can simply go to the Git for Windows website and download the executable, or if you want to use the Windows Package Manager, open up a new PowerShell window and enter winget install git.
In WSL distros like Ubuntu and Debian you can install Git using the command sudo apt install git. Easy.
The GitHub CLI tool is an official GitHub application and for now, you can hold off if you're not planning to upload anything yourself to a GitHub repo. If you are, it's well worth having, as it gets around using personal access tokens with Git.
To install the GitHub CLI on Windows you can use the Windows Package Manager again by entering winget install github.cli, or grab it directly from GitHub. Alternatively, it's available through the Scoop and Chocolately package managers, too, where you'll simply need to install gh.
On Linux and WSL, there are various different methods depending on the distribution you're running, but GitHub has full documentation you can follow. Mac users can also get the GitHub CLI application, either from the releases page or through Homebrew, Conda, MacPorts and Spack where it can be found as gh.
Cloning your first GitHub repo
Cloning a GitHub repo is basically like syncing a folder to your PC from the cloud. The repo will create a new local folder and contained within it will be everything that was available on that repo. Generally, a GitHub repo is only dedicated to one project, so when you clone it you'll get everything you need. If any further dependencies are required, there will nearly always be a README.md file with full instructions.
When you clone the repo in the terminal, it will create your local folder inside whatever directory your command line is in at that point. So if you want to put it somewhere specific, find the right location in File Explorer then right-click and open in PowerShell/Windows Terminal. WSL distros can also access the Windows filesystem so if you're using Linux on your Windows box, the same idea applies. It will only save to the Linux file system if you tell it to.
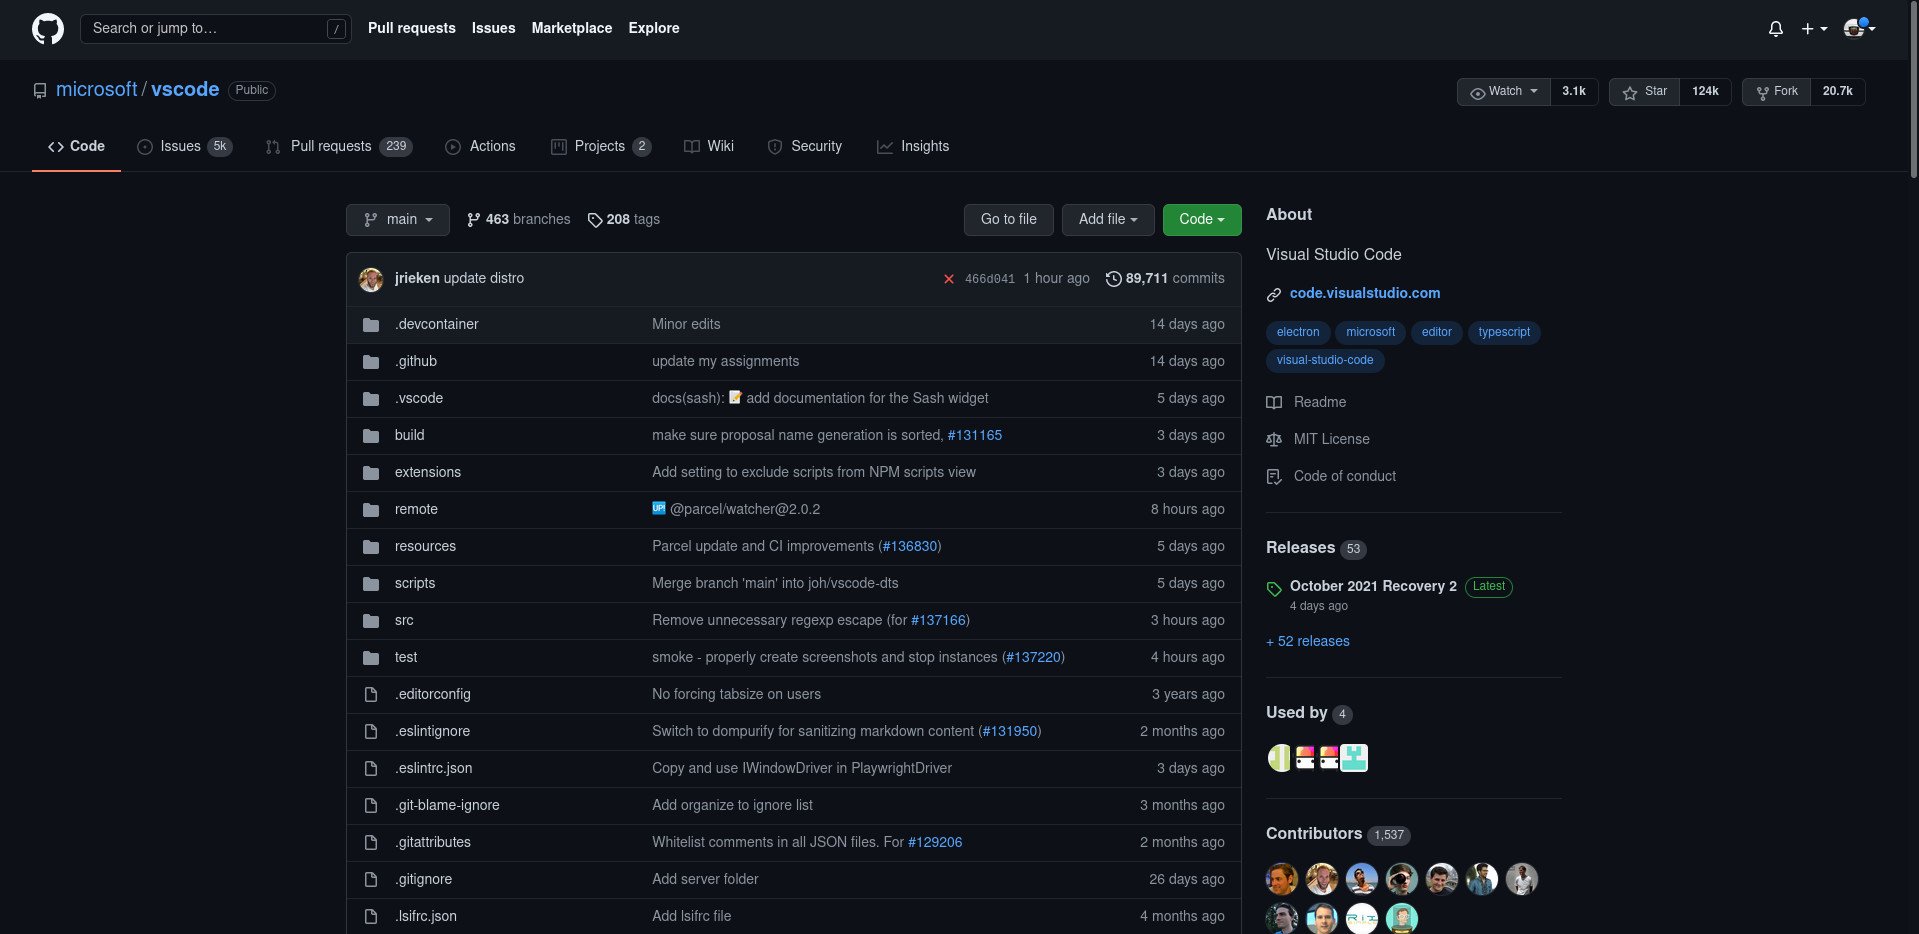
So, time to get cloning. For this example, we're going to clone the Microsoft Visual Studio Code repo.
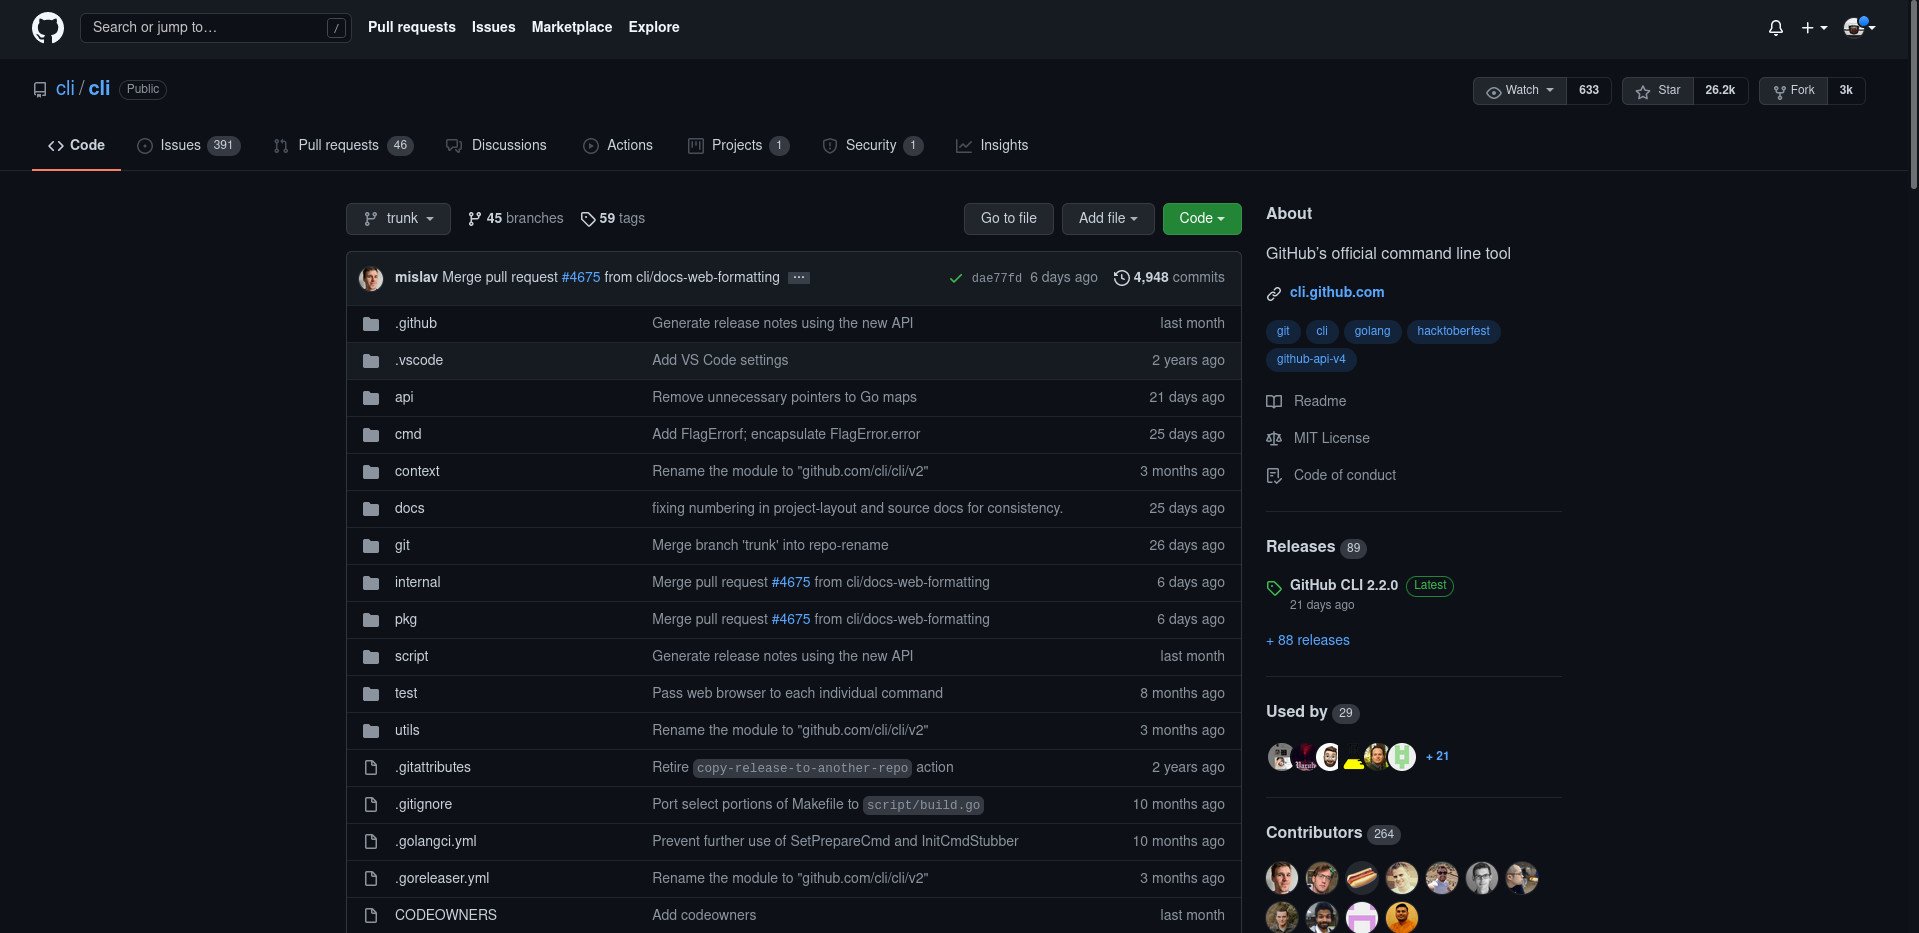
- Find the repo you want on the GitHub website. For this example, we're using https://github.com/microsoft/vscode
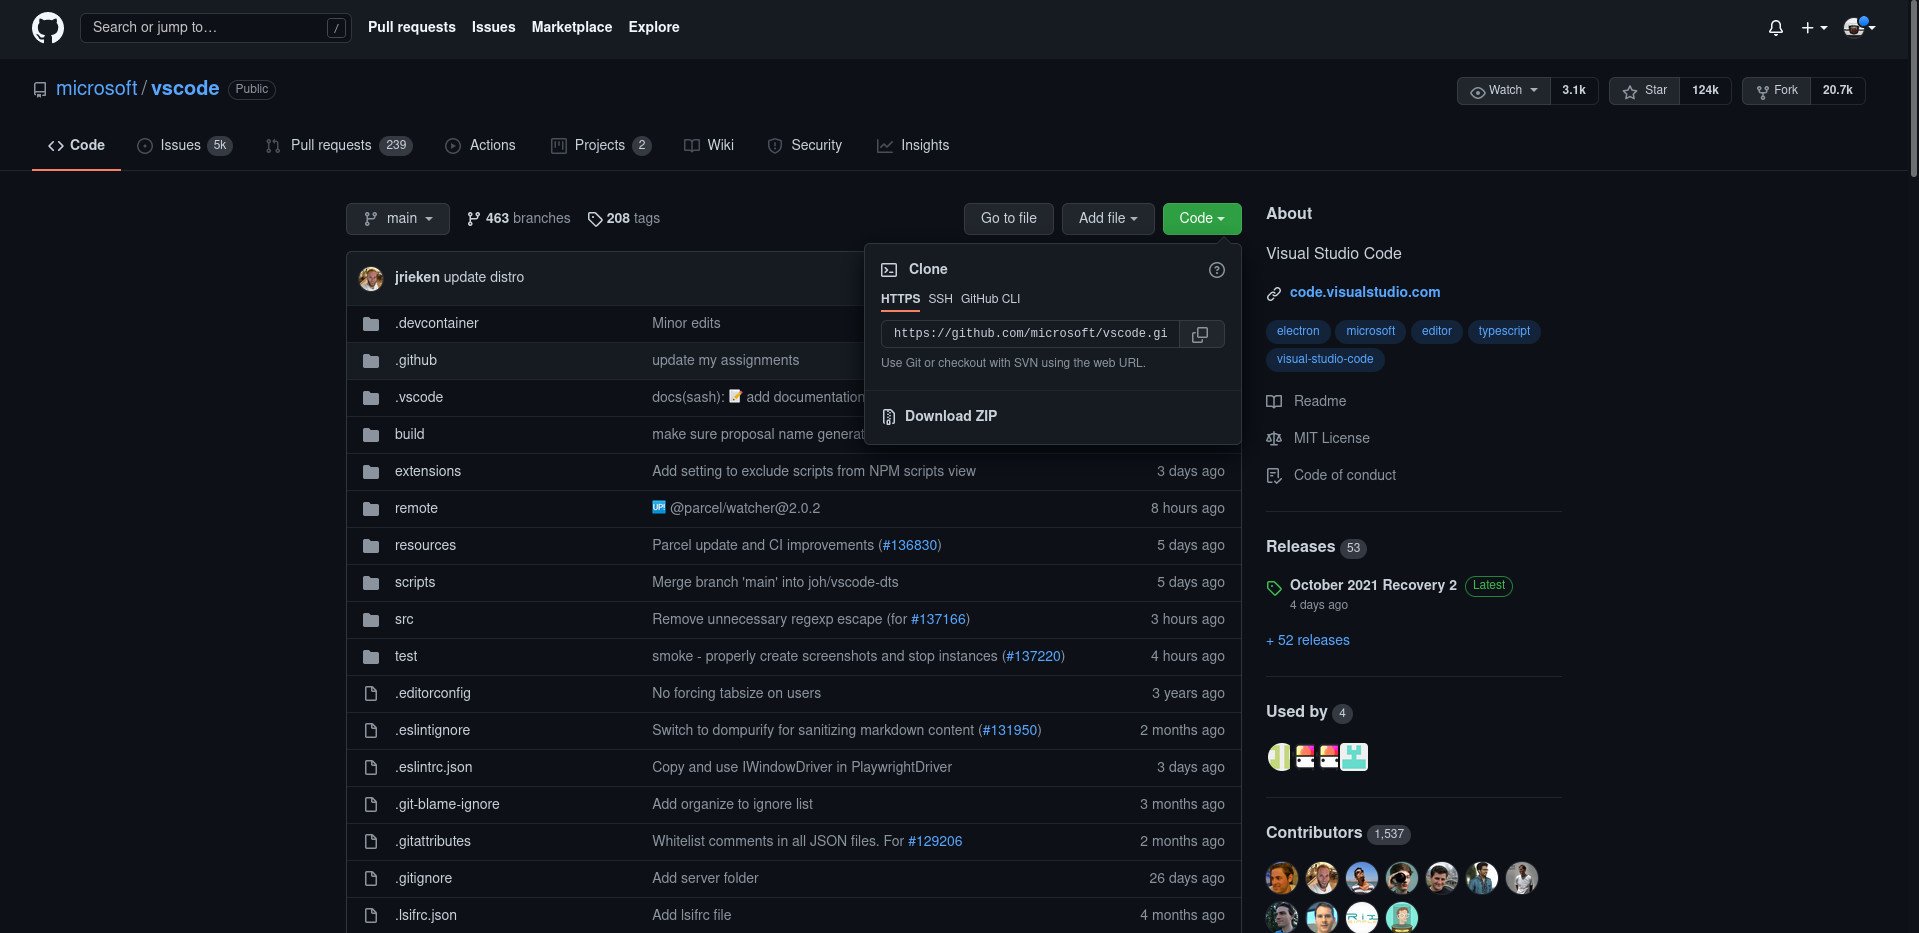
- Click the button labeled Code.
-
Select HTTPS.
- Copy the URL.
- Open up your chosen terminal. Whether it's WSL, PowerShell, Mac, or Linux, the Git commands are the same.
- In the terminal enter
git clone https://github.com/microsoft/vscode
There are other options to clone, including SSH and using the GitHub CLI client, but this is the simplest method, especially for beginners. It's also the method you'll find in most tutorials and in a lot of the installation instructions you might find on GitHub.
You now have the entire contents of the Visual Studio Code repo downloaded to your PC. You can't make changes and re-upload them to GitHub (known as a Push) because you don't have the permissions needed, but if you wanted to use or tinker with the code on your local machine, you can. To see the contents of the directory you can enter cd vscode in the terminal and do an ls or on Windows, you can enter explorer.exe . to open File Explorer into that directory.
You now know the very basics of using Git to clone any GitHub repo. The only ones you can't clone are private repos not under your ownership, but everything else that's public is fair game. If you don't want the files anymore, simply delete them from your local machine. They won't affect the remote repo. If you want to get the latest files from this repo at any time, ensure you're in that directory in the terminal and simply enter git pull to download the latest changes.
Authenticating GitHub CLI with your account credentials
If you want to go a bit further with GitHub and start pushing your own files to it then I highly recommend also having the GitHub CLI application in your arsenal. It's a command-line tool that exists alongside Git and is specific to GitHub (Git itself can interact with multiple services such as GitLab and BitBucket also).
GitHub no longer allows you to authenticate with Git using your account login and password, instead requiring a personal access token instead. The easier way to authenticate your system is with GitHub CLI, which can use your account login and password. To use it, open up your terminal and follow these steps. Again, all the steps are the same whether you use Windows, Mac, WSL, or Linux.
- In the terminal enter
gh auth login - Choose GitHub.com.
-
Select HTTPS as the protocol.
- Type Y to authenticate with your GitHub credentials
- Hit Enter to log in with a web browser.
-
Note down the one-time code you're presented with and press Enter.
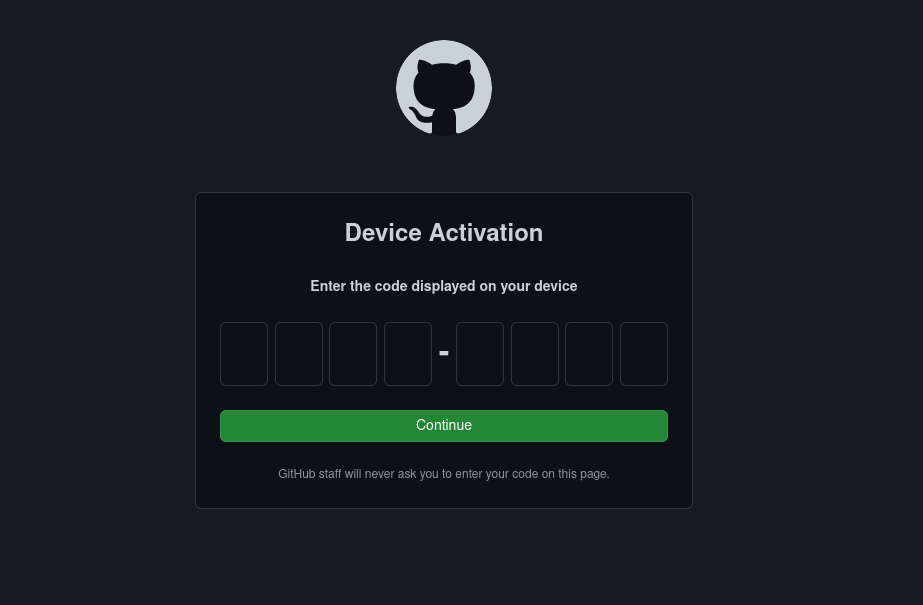
- A browser will now open, and you'll need to log into GitHub if you aren't already.
- Enter the one-time code in the box.
You'll now be logged into the GitHub CLI client, and there are a number of things you can do with it besides just now being able to push code with Git. To see the full list of commands simply type gh --help into the terminal.
Setting up your first GitHub repository
There are two ways you can easily set up your first GitHub repository. You can either use the website or if you're now logged into GitHub CLI you can create one with a few commands in a terminal.
Here's what you need to do for both methods.
Using GitHub.com
Fire up the GitHub homepage and make sure you're logged into your account. To create a new repo follow these steps.
- Click the + in the top right-hand corner.
- Select New repository.
- Give your repository a name. This is mandatory whether public or private.
- Choose public or private depending on what you need.
- Choose any of the optional files or licensing if you need them.
- Click Create repository.
One of the files you can auto-generate is a README.md text file. You don't need one of these, but it's a good idea to have one since it's the file that will contain all the front-facing information. Anything you enter into this file is displayed in your repo. If it's private and you're not going to share the contents, it's not quite as important.
You now have your first GitHub repo created! To sync it to your local PC follow the steps above to clone it.
Using GitHub CLI
Since a lot of the time using GitHub will be spent in a terminal, the command line is a quick and easy place to initialize a new GitHub repo using GitHub-CLI. The added bonus here is that the repo will be already linked to a local folder, set up, and ready for Git.
- Navigate to the local directory you want to sync to a GitHub repo, either by using
cdin the terminal or by opening to the terminal from File Explorer. - Enter
git initand press enter. - Once the empty Git repository has been created, enter
gh repo create. - Name the repo (press enter to use the folder name).
- Give the repo an optional description and press enter.
- Choose the visibility for the repo with the cursor keys and press enter.
- Type Y and press enter to continue and create an origin git remote.
-
When complete you'll see a success message and confirmation of the remote you just created.
The key steps here are the first two as without them you can't create a repo with GitHub CLI. All Git repositories need to be initialized, and if you clone one from GitHub it will already have the necessary files within. The end result is the same, but with this method, you can quickly create a GitHub repo and link it to your local folder/Git repository ready to commit and push.
Pushing to GitHub from the command line
Now you have your own GitHub repository it's time to push some files to it. Whichever method you used to create it, once it's linked to your local machine there are a few more steps to do. The following steps assume you've followed everything to this point and have used the GitHub CLI to authenticate your system with your account.
The first thing you need to do is to tell Git who you are. You can't commit anything to GitHub without first doing this. Open up a terminal and enter these two commands.
git config --global user.name "YourUserName"
git config --global user.email "YourEmailAddress"
Now, every time you commit something to GitHub from your PC, this information will be attached. In smaller cases like personal repos it's not that important, but the system is built to cater right up to large organizations.
Now we're ready to push the contents of our local Git repository to GitHub.
- Enter
git add .into the terminal. As this is a first-time push we're assuming you want to send all files. For individual files substitute the filename for the period. -
Confirm the files are now staged with
git status. -
You now need to commit the staged files with
git commit -m "Insert a message here". The message is compulsory, but for the first time "First commit" is fine. -
To push, enter
git push --set-upstream origin masterand press enter.
How long the push takes depends on how large the directory is, but once it's done you'll get a confirmation and be sent back to an empty prompt. You can use git status at any time to check whether there are staged files to be committed. It's also worth noting that step 4 is only necessary on the first commit. For future pushes, you can simply use git push to push all committed files up to the GitHub repo.
This may seem like a lot to take in, but once you're set up to use GitHub and have spent a little time using it both on the web and your local machine, it all becomes second nature pretty quickly. Everything discussed here will get you fully set up and covers the basics you need to clone, push, and pull to and from GitHub.







0 Commentaires